5 Creative Ways How to Build a Garden Trellis
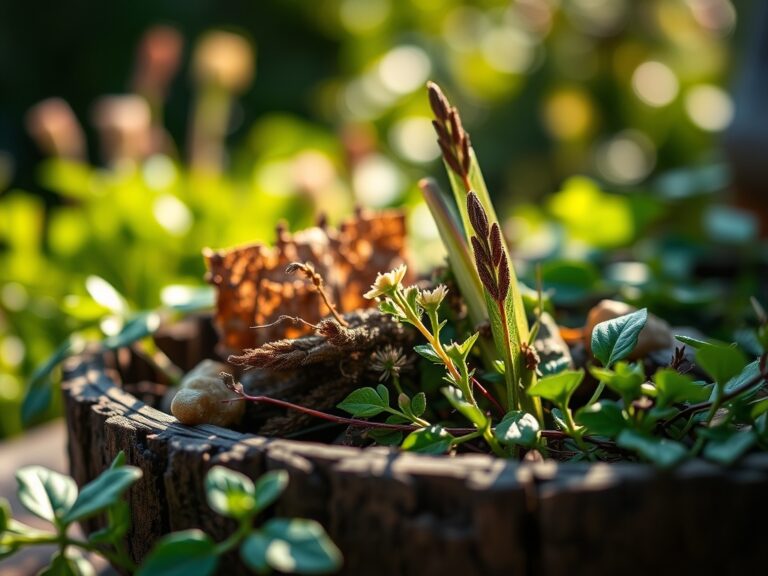
The smell of damp earth after a spring rain signals the peak of microbial activity within the rhizosphere. As soil temperatures stabilize above 55 degrees Fahrenheit, the turgor pressure in young seedlings begins to demand structural support. Learning how to build a garden trellis is not merely a task of aesthetics; it is a mechanical intervention designed to maximize photosynthetic surface area and improve airflow. Vertical cultivation prevents the buildup of humidity around the foliage, which reduces the incidence of fungal pathogens. By elevating the plant, you optimize the photoperiod exposure for each leaf, ensuring that the transition from vegetative growth to reproductive maturity is efficient and productive.
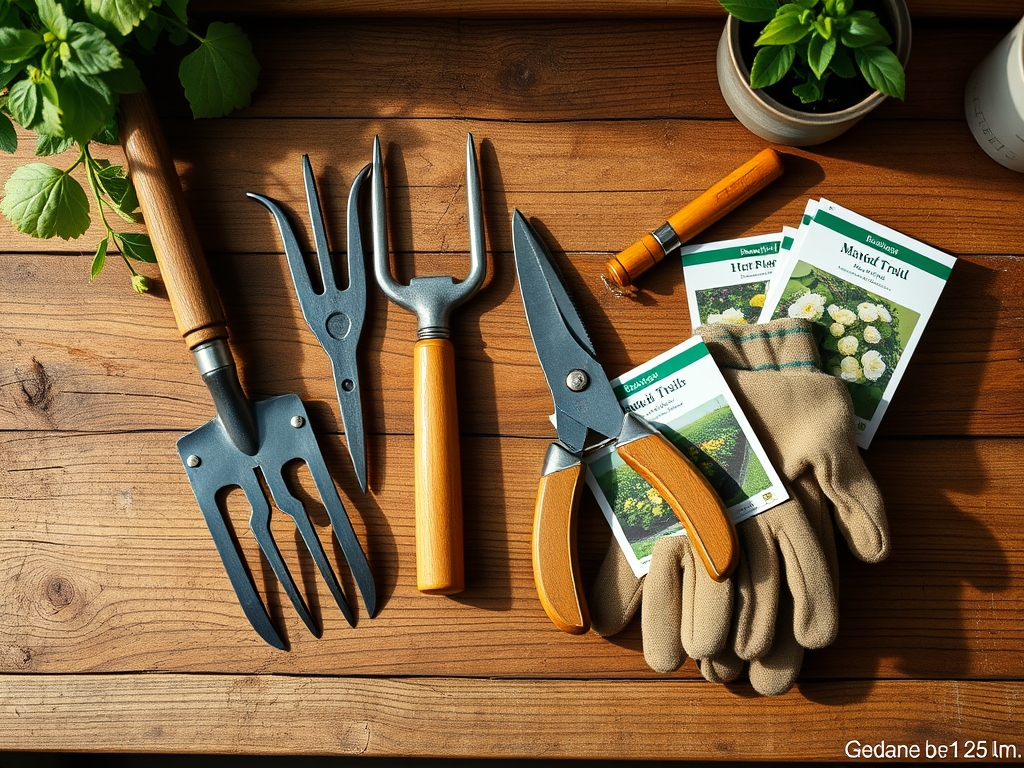
Materials:
Before assembling any vertical structure, the substrate must be calibrated to support the increased biomass of climbing cultivars. Ideal soil is a **friable loam** with a Cation Exchange Capacity (CEC) above **15**. This ensures the soil can hold and exchange essential nutrients like calcium and magnesium. The pH should be maintained between **6.2 and 6.8** for optimal nutrient bioavailability.
For heavy feeders like indeterminate tomatoes or pole beans, incorporate a slow release fertilizer with an NPK ratio of 5-10-10 at the base of the trellis. High phosphorus levels encourage robust root development and floral initiation, while controlled nitrogen prevents excessive succulent growth that attracts aphids. The physical texture of the soil must allow for deep root penetration; compacted clay will limit the plant's ability to anchor the weight of the trellis during high wind events. Use a soil moisture meter to ensure the substrate remains at 60 percent field capacity.
Timing:
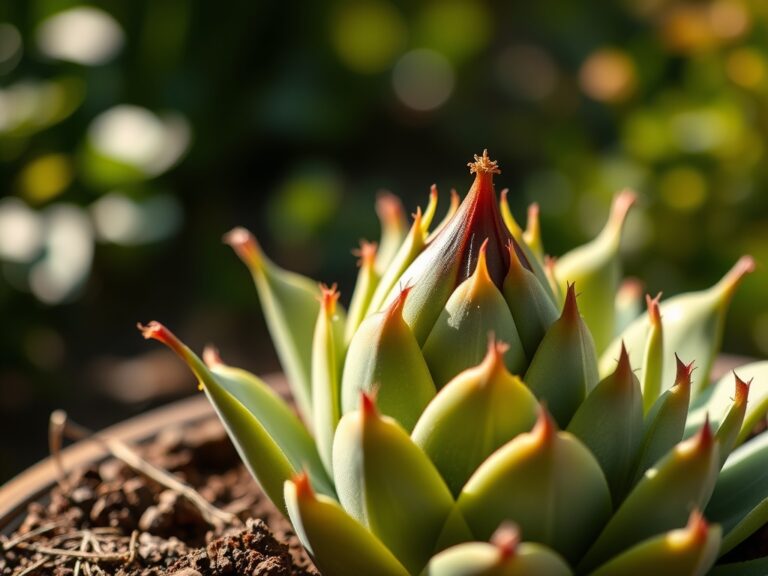
The installation of a trellis must occur before the root system expands to avoid mechanical damage to the delicate root hairs. In Hardiness Zones 5 through 7, this typically falls between late April and early May, immediately following the last frost date. Understanding the biological clock of your specific crop is vital. Most vining plants enter a rapid elongation phase once daylight exceeds 12 hours.
As the plant transitions from the vegetative stage to the reproductive stage, its demand for potassium increases. You must have your structure in place before the plant initiates "circumnutation," which is the helical movement of the growing tip as it searches for a support. If a support is not found within the first 14 days of this search phase, the plant may experience stunted growth or "lodging," where the stem collapses under its own weight.
Phases:
Sowing and Positioning
Direct sow seeds at a depth of 1 inch or twice the diameter of the seed. Space the seeds 4 to 6 inches apart along the base of the trellis line. For the "Cattle Panel Arch" method, use 16 foot galvanized steel panels bent into a U-shape and secured with T-posts driven 18 inches into the ground.
Pro-Tip: Proper spacing prevents resource competition in the rhizosphere. Maintaining a 6 inch buffer zone allows for adequate mycorrhizal symbiosis, where beneficial fungi extend the reach of the root system to scavenge for phosphorus and water.
Transplanting and Training
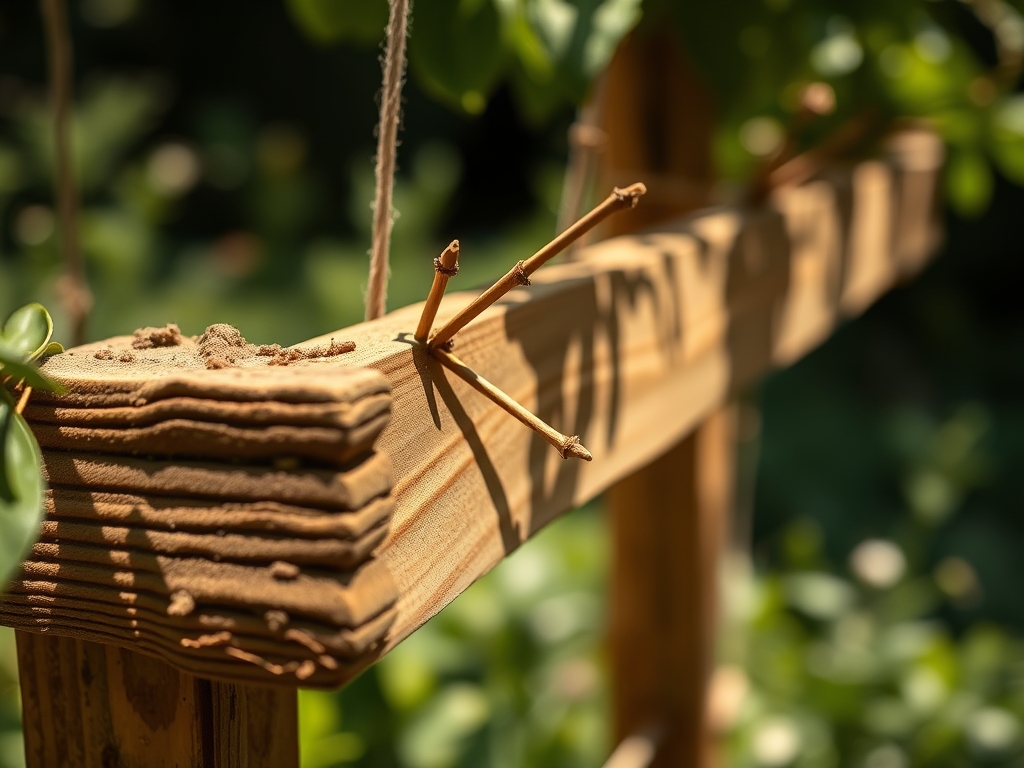
When using the "Single String Lean-To" or "Twine Drop" method, secure heavy duty jute or nylon twine to an overhead beam. Use a loose "figure eight" knot to attach the seedling to the twine. This prevents "girdling," which can restrict the flow of carbohydrates through the phloem.
Pro-Tip: Utilize the principle of auxin suppression by keeping the main lead vertical. Auxins are hormones that congregate in the apical meristem. By training the plant upward, you maintain apical dominance, which focuses energy on vertical height rather than unproductive lateral branching.
Establishing and Securing
For the "Bamboo Teepee" or "A-Frame" designs, use 8 foot poles lashed together at the top. As the plant climbs, use soft garden ties to secure the main stem every 12 inches. Ensure the structure is oriented to face the prevailing winds to minimize the risk of toppling.
Pro-Tip: Observe the plant for thigmotropism, which is the directional growth of a plant in response to touch. Once the tendrils make contact with the trellis, they will coil tightly. This is a physiological response triggered by the differential growth of cells on opposite sides of the tendril.
The Clinic:
Physiological disorders often manifest when vertical airflow is restricted or nutrient uptake is imbalanced.
Symptom: Interveinal chlorosis on older leaves (yellowing between green veins).
Solution: This indicates Magnesium deficiency. Apply a foliar spray of Epsom salts (1 tablespoon per gallon of water) to bypass soil lockout and deliver magnesium directly to the chloroplasts.
Symptom: Necrotic spots on new growth or "Blossom End Rot."
Solution: This is caused by a Calcium transport issue. It is often a result of inconsistent moisture rather than a lack of calcium in the soil. Maintain 1.5 inches of water per week to ensure a steady transpiration stream.
Symptom: Powdery white residue on leaf surfaces.
Solution: This is Oidium, a fungal pathogen. Increase spacing between plants on the trellis to 12 inches to lower the relative humidity within the canopy and improve UV penetration.
Fix-It for Nitrogen Chlorosis: If the entire plant is pale green or yellow, apply a high nitrogen fish emulsion (5-1-1 NPK) to stimulate chlorophyll production and restore vegetative vigor.
Maintenance:
Precision maintenance is required to sustain a vertical garden. Use a hori-hori knife to remove deep-rooted weeds that compete for nitrogen within the top 6 inches of soil. Pruning should be performed with sharpened bypass pruners to ensure clean cuts that heal quickly. Remove "suckers" or non-fruiting lateral shoots to redirect energy to the primary fruit clusters.
Irrigation must be targeted. Apply water at the drip line (the area directly under the outer circumference of the plant) to encourage the roots to grow outward and downward. Avoid overhead watering, as wet foliage increases the risk of bacterial blight. Monitor the soil daily; a plant on a trellis has more surface area exposed to wind and sun, which increases the rate of evapotranspiration.
The Yield:
Harvesting from a trellis requires timing based on "physiological maturity." For legumes, harvest when the pods are firm but before the seeds bulge, which prevents the plant from entering senescence (the final stage of the life cycle). For vining fruits like cucumbers or melons, harvest when the "tendril" closest to the fruit attachment turns brown and shrivels.
Use your bypass pruners to cut the peduncle (stem) rather than pulling the fruit, which can damage the vascular tissue of the main vine. To maintain "day-one" freshness, harvest in the early morning when the plant is at maximum turgor. Immediately move the harvest to a cool, shaded environment to slow down the metabolic rate and preserve sugars.
FAQ:
What is the best material for a long-lasting trellis?
Galvanized steel cattle panels or cedar wood are the most durable options. These materials resist rust and rot for over 10 years in high-moisture environments. Avoid pressure-treated lumber, which may contain chemicals that interfere with soil biology.
How do I prevent my trellis from blowing over?
Drive support posts at least 18 to 24 inches into the subsoil. For tall structures, use a "deadman anchor" or guy wires to provide counter-tension against prevailing winds, especially when the plant reaches full leaf canopy.
Can I reuse twine or netting every year?
It is not recommended. Porous materials like jute or nylon can harbor fungal spores and overwintering insect eggs. Replace soft ties and twine annually to maintain a sterile environment for the new season's rhizosphere.
How much weight can a standard A-frame trellis hold?
A well-constructed A-frame using 2×4 lumber can support over 200 pounds of biomass. This is sufficient for heavy crops like winter squash or melons, provided the structure is bolted rather than nailed.
Which plants require the most training on a trellis?
Indeterminate tomatoes and vining roses require manual tying because they lack natural climbing mechanisms like tendrils or twining stems. Use soft ties every 10 inches to support the weight of the developing fruit or flowers.