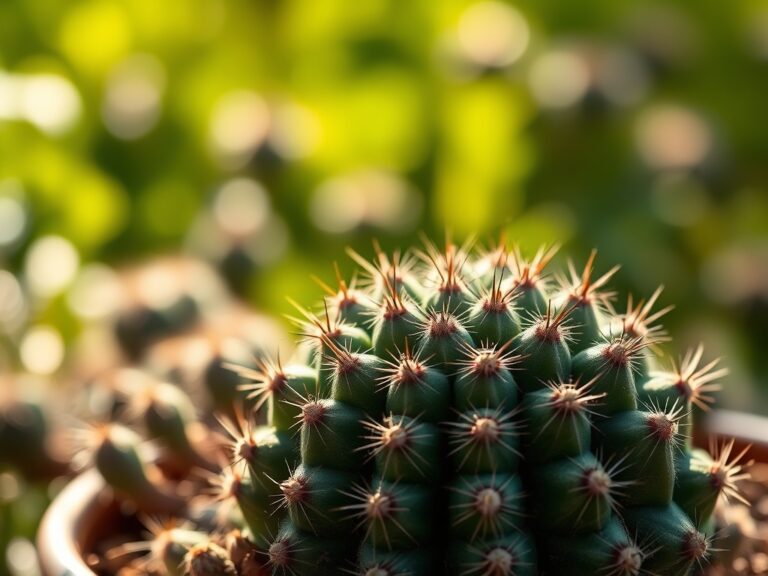
7 Simple Steps to Plant Agave Pups
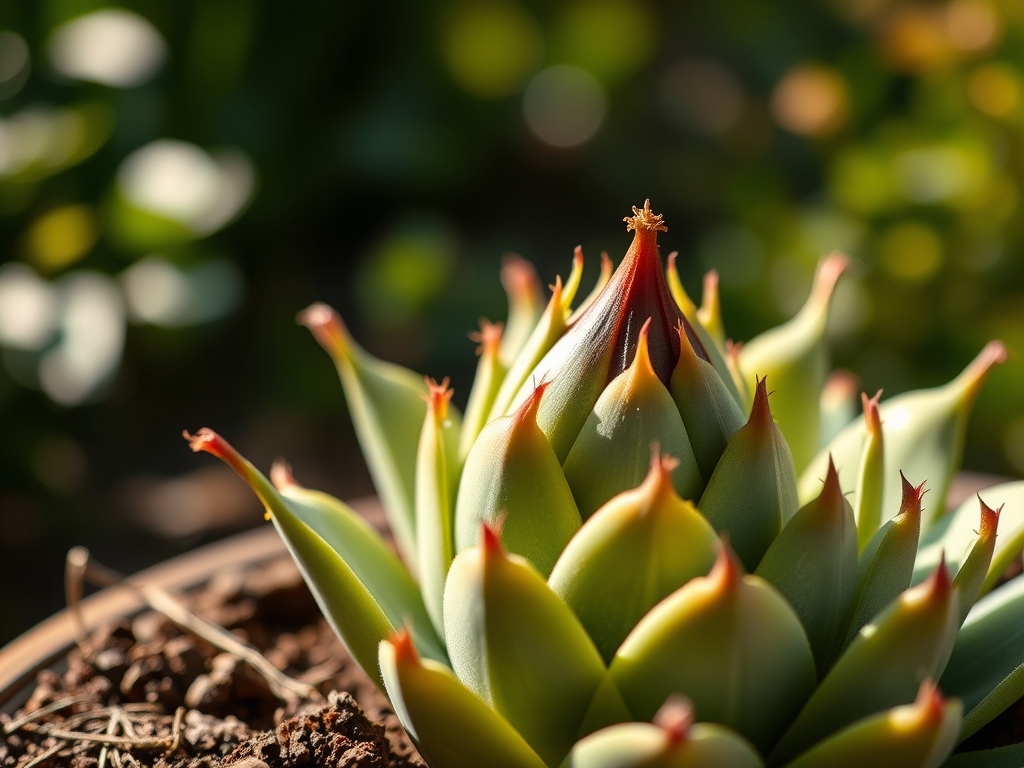
The smell of damp minerals and the sharp, metallic scent of sliced plant tissue define the propagation process. A healthy agave leaf maintains high turgor pressure; it feels rigid and unyielding to the touch. When the mother plant begins producing offsets, known as pups, it signals a shift in hormonal dominance. Mastering the steps to plant agave pups requires understanding the transition from the mother plant's rhizome to an independent root system. Success depends on the precise timing of separation and the chemical composition of the receiving substrate.
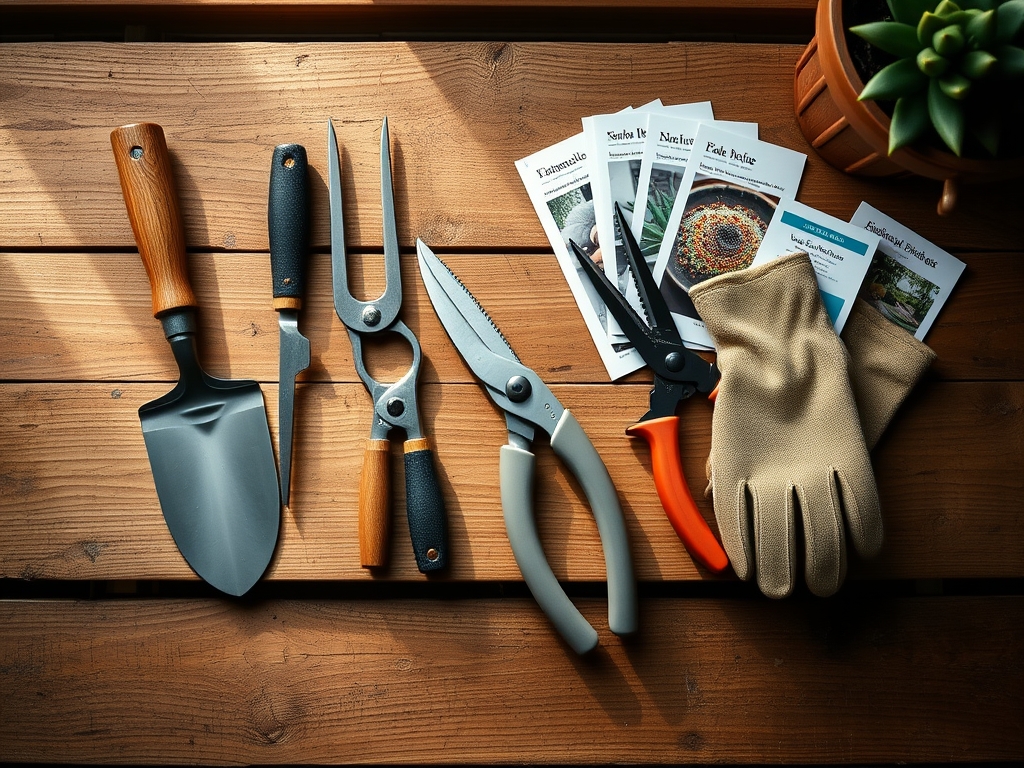
Materials:
The ideal substrate must be a friable, gritty mix that facilitates rapid drainage to prevent fungal pathogens in the rhizosphere. Aim for a soil pH between 6.0 and 7.0. High Cation Exchange Capacity (CEC) is less critical than porosity for these succulents; however, a base level of nutrients is necessary for initial cellular expansion.
Use a potting medium composed of 50 percent inorganic grit (perlite, pumice, or decomposed granite) and 50 percent organic matter (coir or sterilized compost). Avoid heavy clays that collapse and suffocate emerging roots. For supplemental nutrition, utilize a low-nitrogen fertilizer with an NPK ratio of 5-10-10. Excessive nitrogen at this stage leads to weak, succulent growth that is susceptible to desiccation and pathogens. Ensure your hori-hori knife and bypass pruners are sterilized with 70 percent isopropyl alcohol to prevent the transmission of necrotic viruses.
Timing:
Agave species are primarily hardy in USDA Zones 8 through 11, though certain varieties like Agave parryi can survive in Zone 5. The biological clock of the plant dictates that propagation should occur during the active vegetative growth phase, typically in late spring or early summer. This period ensures that soil temperatures remain consistently above 70 degrees Fahrenheit, which is the thermal threshold for rapid root initiation.
Separating pups during the winter dormancy period increases the risk of senescence before the plant can establish a root system. Observe the pup size; it should be at least one-third the size of the parent plant or approximately four to six inches in diameter. This ensures the pup has stored sufficient carbohydrates to survive the transition period while it lacks a functional root network.
Phases:
Sowing and Separation
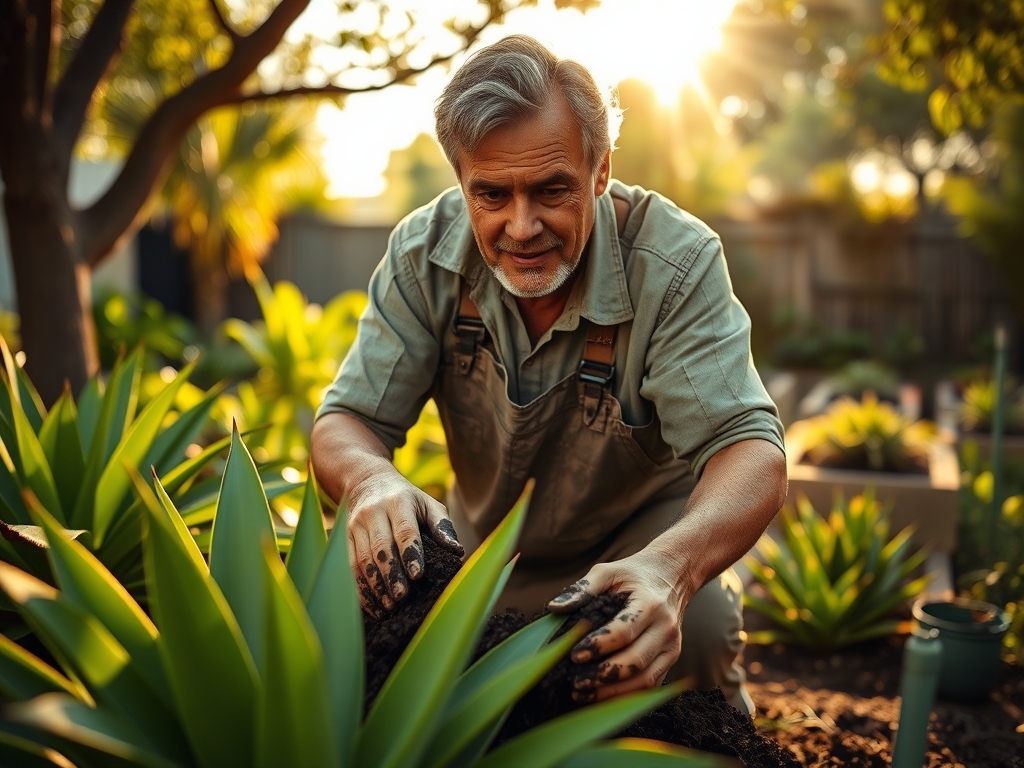
Locate the rhizome connecting the pup to the mother plant. Use a hori-hori knife to sever this connection as close to the parent as possible without damaging the main root ball. Lift the pup gently, preserving any existing adventitious roots. Place the pup in a shaded, dry area for 48 to 72 hours to allow the wound to callous.
Pro-Tip: Callousing is essential because it allows the plant to form a suberized layer over the wound. This biological barrier prevents opportunistic bacteria from entering the vascular system and causing systemic rot.
Transplanting
Position the calloused pup in a container or a prepared garden bed. Dig a shallow hole that accommodates the base without burying the leaves. Firm the gritty substrate around the base to provide mechanical stability. Do not water immediately; wait five to seven days to allow the plant to settle and for microscopic root hairs to begin searching for moisture.
Pro-Tip: Avoid deep planting to prevent crown rot. Maintaining the original soil line ensures that the meristematic tissue remains aerated, which is vital for gas exchange within the plant tissues.
Establishing
Once the initial waiting period has passed, provide a deep soak. Monitor the plant for signs of establishment, such as new leaf emergence from the center of the rosette. During the first growing season, the pup requires consistent monitoring of soil moisture levels using a soil moisture meter.
Pro-Tip: Agaves utilize Crassulacean Acid Metabolism (CAM) photosynthesis. They open their stomata at night to minimize water loss. Providing water in the early evening ensures maximum hydration during the period when the plant is most metabolically active.
The Clinic:
Physiological disorders often stem from environmental stressors or nutrient imbalances rather than biotic pests.
Symptom: Yellowing of lower leaves (Chlorosis).
Solution: This typically indicates Nitrogen deficiency or poor drainage. If the soil is saturated, reduce watering. If the soil is dry and depleted, apply a 5-10-10 fertilizer at half strength.
Symptom: Soft, blackened base (Basal Rot).
Solution: This is caused by fungal pathogens in anaerobic soil conditions. Remove the plant, excise the necrotic tissue, treat the area with a copper-based fungicide, and replant in a medium with higher inorganic content.
Symptom: Stretching or elongated leaves (Etiolation).
Solution: The plant is receiving insufficient light. Gradually move the agave to a location with at least six hours of direct solar radiation per day to restore compact growth.
Symptom: Sunken, dry brown spots (Desiccation).
Solution: This is often a result of sudden exposure to high-intensity UV rays without acclimation. Use a shade cloth to provide 30 percent filtration during the hottest part of the day until the plant hardens off.
Maintenance:
Post-establishment maintenance is minimal but must be precise. Provide 1.5 inches of water per week during the peak summer months, delivered at the drip line rather than directly into the crown. Use bypass pruners to remove spent or damaged lower leaves; cut as close to the trunk as possible to maintain a clean aesthetic and prevent debris buildup where moisture can collect.
Check the soil compaction annually. If the substrate becomes too dense, use a garden fork to gently aerate the perimeter of the root zone. Avoid disturbing the primary root mass. In regions with high winter rainfall, ensure the planting site is mounded or sloped to facilitate runoff, as standing water during cold temperatures is the primary cause of agave mortality.
The Yield:
While most agaves are grown for their architectural form, some species are harvested for their nectar or fiber. If harvesting for fiber, wait until the leaves reach full maturity, typically after five to seven years. Use a sharp blade to cut the outer leaves at the base. For those interested in the ornamental yield, the "harvest" is the production of new pups. A healthy mother plant can produce three to ten pups annually. To maintain the health of the mother, remove these pups regularly to prevent resource competition and maintain the structural integrity of the main rosette.
FAQ:
How deep should I plant agave pups?
Plant the pup so the base sits exactly at the soil surface. Never bury the leaves or the central crown. Deep planting traps moisture against the meristem, leading to rapid tissue decay and plant death.
When is the best time to separate agave pups?
The optimal window is late spring or early summer when soil temperatures exceed 70 degrees Fahrenheit. This aligns with the plant's peak metabolic rate, ensuring the pup has enough energy to initiate new root growth before winter dormancy.
How long does it take for agave pups to root?
In ideal conditions with warm soil and proper drainage, agave pups typically establish a functional root system within three to six weeks. New growth at the center of the rosette is the primary indicator of successful rooting.
Do agave pups need direct sunlight immediately?
No. Newly planted pups should be kept in filtered light or partial shade for the first two weeks. Gradual acclimation to full sun prevents UV scorching while the plant is unable to replace lost moisture through its new roots.