6 Basic Steps to Grow Tissue Culture Plants
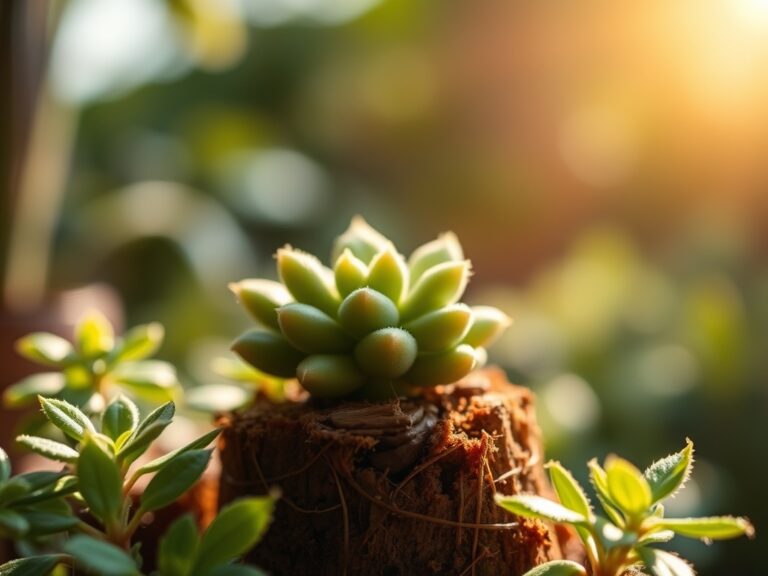
The sharp, sterile scent of agar gives way to the earthy musk of a damp rhizosphere as a micro-propagated clone meets true soil. Success in the laboratory means nothing if the transition to the terrestrial environment fails. To master the steps to grow tissue culture plants, a grower must manage the delicate turgor pressure of plantlets that have never known a dry breeze or unfiltered sun. These specimens emerge from vessels with high humidity and exogenous sugar sources; they are functionally aquatic and physiologically fragile. The transition requires a controlled hardening process to develop the waxy cuticle and stomatal control necessary for survival in a non-sterile world.
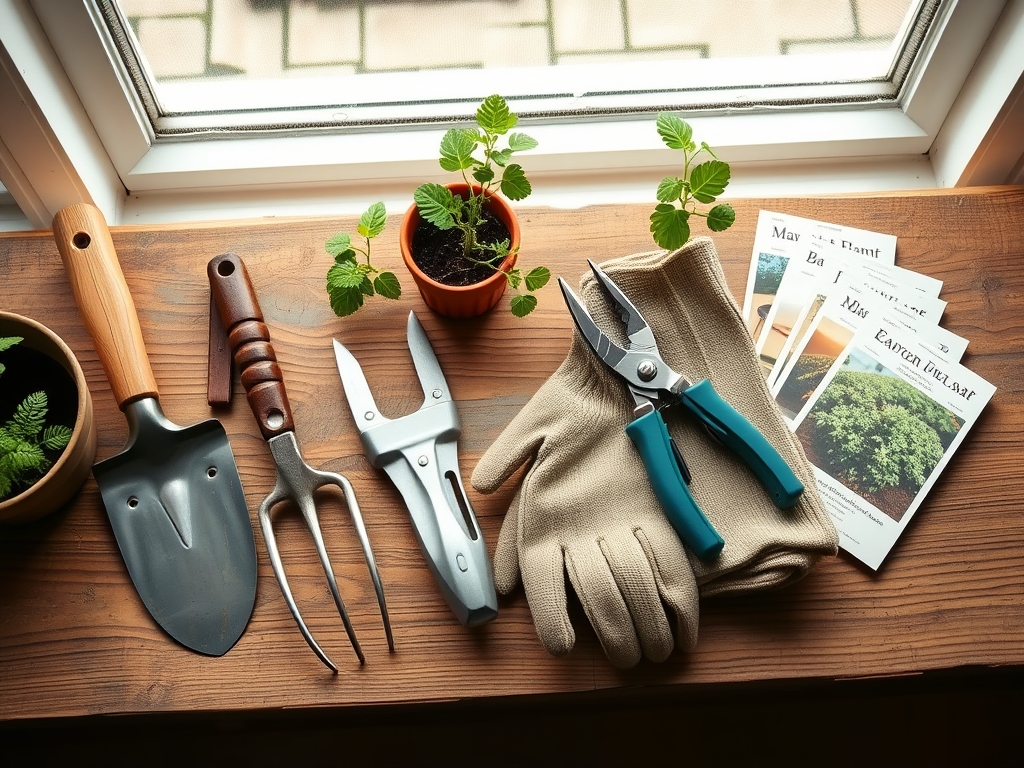
Materials:
Substrate selection dictates the success of the acclimatization phase. You require a friable loam or a professional-grade soilless mix composed of 50 percent perlite and 50 percent peat moss to ensure maximum aeration. The target soil pH must sit between 5.8 and 6.2 to optimize nutrient availability. For the initial potting stage, avoid heavy fertilizers. Use a dilute, water-soluble NPK ratio of 7-9-5 to prioritize root development over rapid foliar expansion.
The physical texture must be gritty and porous. High porosity allows for rapid gas exchange in the root zone, preventing the anaerobic conditions that lead to Pythium or other root rot pathogens. Ensure your containers have adequate drainage holes. A high Cation Exchange Capacity (CEC) is secondary to drainage in the first fourteen days; the plantlet relies on immediate moisture availability rather than long-term nutrient buffering.
Timing:
Acclimatization should align with local environmental conditions, typically occurring in late winter or early spring for temperate species. In USDA Hardiness Zones 5 through 7, begin the process indoors 8 to 10 weeks before the last frost date. For tropical species in Zones 10 or 11, avoid the peak heat of mid-summer to prevent thermal shock.
The biological clock of a tissue culture plant is reset to a juvenile vegetative state. You must maintain a consistent photoperiod of 14 to 16 hours of light to prevent premature senescence or dormancy. The transition from the vegetative stage to the reproductive stage is governed by light intensity and duration. If the plantlet experiences significant temperature fluctuations exceeding 15 degrees Fahrenheit within a 24-hour period, it may bolt or enter a stunted state from which it cannot recover.
Phases:

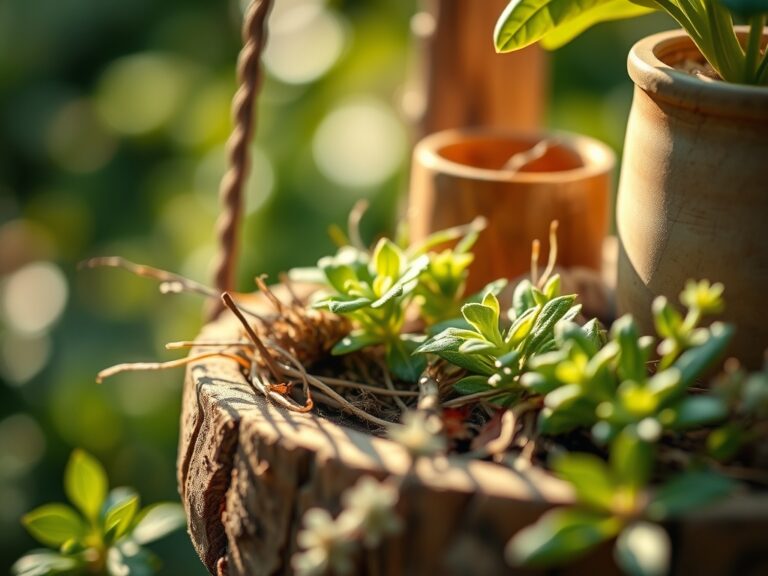
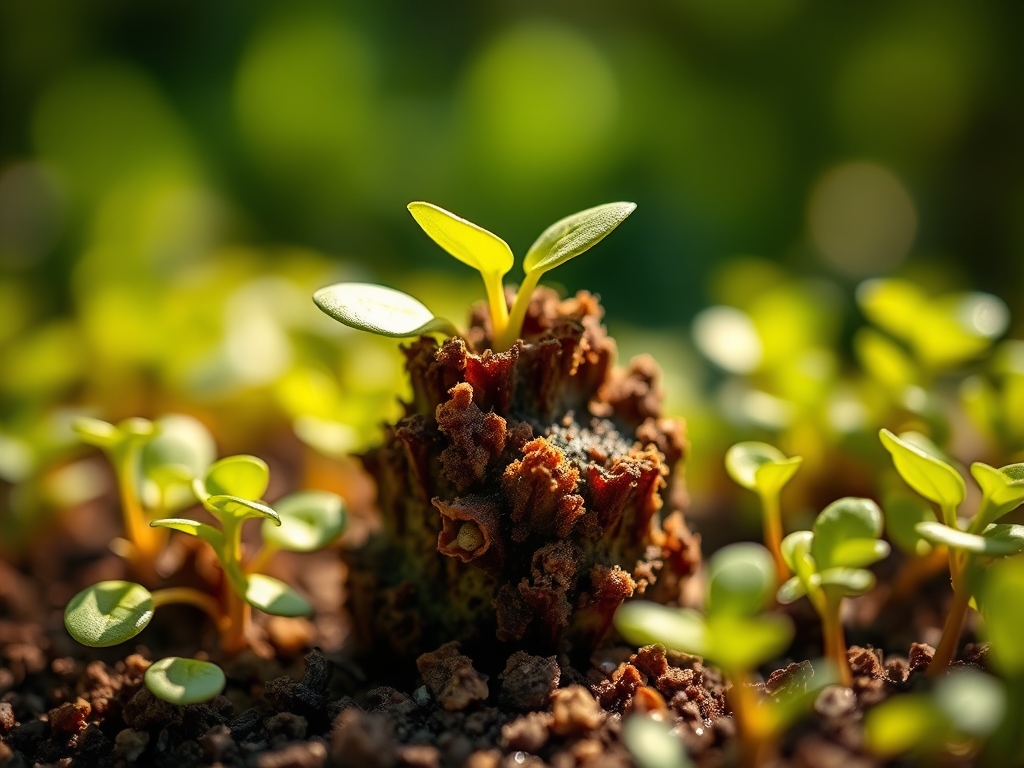
Sowing and Deflasking
Remove the plantlets from their sterile containers using long forceps. Rinse the agar or liquid media from the roots using lukewarm, deionized water. Residual sugar on the roots will attract opportunistic fungi and bacteria once the plant is placed in soil. Place the cleaned plantlet into the pre-moistened substrate immediately to prevent desiccation of the fine root hairs.
Pro-Tip: Maintaining high humidity during this phase prevents the collapse of the cell walls. Biological Why: Tissue culture plants have non-functional stomata and a thin cuticle; high humidity reduces the vapor pressure deficit (VPD), allowing the plant to maintain turgor while it develops the ability to regulate transpiration.
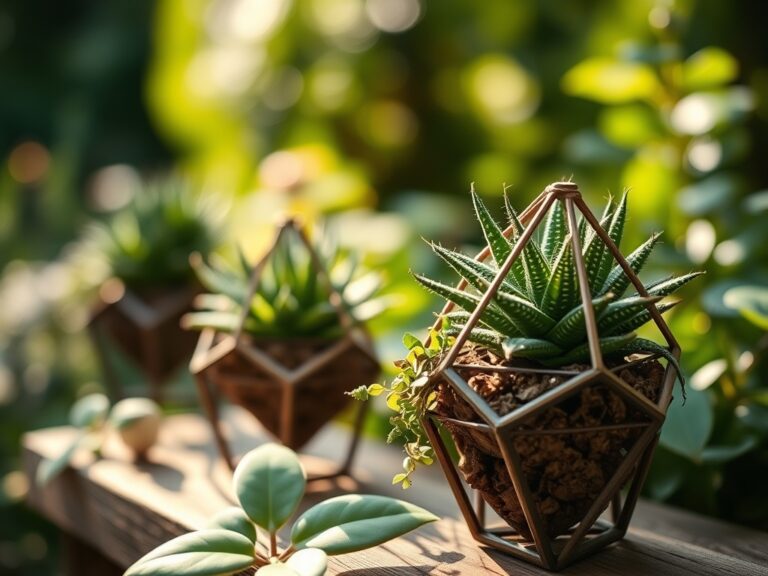
Transplanting to Secondary Containers
Once the plantlet shows new apical growth, usually after 21 days, move it to a 4-inch pot. Use a hori-hori knife to create a deep enough pilot hole to accommodate the vertical root structure without "J-rooting." Increase the NPK ratio to a balanced 10-10-10 at half-strength to support structural lignin development.
Pro-Tip: Introduce mycorrhizal inoculants during this transplant. Biological Why: Mycorrhizal symbiosis increases the effective surface area of the root system, enhancing phosphorus uptake and improving the plant's resistance to soil-borne pathogens through competitive exclusion.
Establishing and Hardening Off
Gradually reduce the humidity from 90 percent to ambient levels over a period of 10 days. Move the plants to a cold frame or a shaded outdoor area where they are protected from direct wind. Monitor the soil with a soil moisture meter to ensure the root zone stays between 60 and 80 percent field capacity.
Pro-Tip: Avoid pruning any terminal buds during the first 60 days. Biological Why: The terminal bud produces auxins that move downward, suppressing lateral bud growth and focusing the plant's energy on establishing a dominant taproot and primary stem structure.
The Clinic:
Physiological disorders often mimic infectious diseases. Accurate diagnosis is required before intervention.
- Symptom: Interveinal chlorosis on older leaves.
Solution: This indicates Magnesium deficiency. Apply a foliar spray of Epsom salts (magnesium sulfate) at a rate of 1 tablespoon per gallon of water. - Symptom: Tip burn on new growth.
Solution: This is often a Calcium deficiency caused by low transpiration rates. Increase airflow with a circulating fan to move humid air away from the leaf surface, encouraging the plant to pull water and calcium upward. - Symptom: Yellowing of the entire lower leaf (Nitrogen chlorosis).
Fix-It: Apply a high-nitrogen organic fertilizer like fish emulsion. Nitrogen is a mobile nutrient; the plant is scavenging it from old growth to support new apical meristems. - Symptom: Leaf wilting despite moist soil.
Solution: This is likely "damping off" caused by Rhizoctonia. Reduce watering frequency and improve drainage immediately. Use a copper-based fungicide if the stem base appears necrotic.
Maintenance:
Precision is the hallmark of a professional grower. Provide 1.5 inches of water per week at the drip line, avoiding the foliage to minimize fungal spores. Use bypass pruners for clean cuts when removing any dead or senescing tissue; ragged tears are entry points for pathogens.
Check the soil pH every 30 days. If the pH rises above 7.0, apply elemental sulfur to acidify the rhizosphere. If it drops below 5.5, top-dress with pelletized lime. Maintain a 2-inch layer of organic mulch to stabilize soil temperatures and prevent moisture evaporation, but keep the mulch 1 inch away from the main stem to prevent crown rot.
The Yield:
For edible or flowering tissue culture plants, harvest timing is determined by the specific gravity of the fruit or the opening of the first ray floret. Use a sharp knife to harvest during the coolest part of the morning, typically between 6:00 AM and 8:00 AM, when cellular turgor is at its peak.
Immediately plunge the cut stems or harvested produce into a 40-degree Fahrenheit water bath. This rapid cooling, or "hydro-cooling," removes field heat and slows the respiration rate. This technique preserves "day-one" freshness by locking in sugars and preventing the rapid breakdown of cellular structures.
FAQ:
How long does the acclimatization process take?
The transition typically requires 4 to 6 weeks. The first 14 days focus on humidity control, while the subsequent weeks involve gradual exposure to lower humidity and higher light intensity to toughen the leaf cuticle.
Why are my tissue culture plants wilting in soil?
Wilting usually occurs because the plantlets have non-functional stomata and a thin cuticle. They cannot regulate water loss. High humidity must be maintained using a humidity dome or misting system until the plant develops a waxy cuticle.
What is the best light for new tissue culture plants?
Use broad-spectrum LED or fluorescent lights at an intensity of 50 to 100 micromoles per square meter per second. Avoid direct sunlight initially, as the high UV index and thermal energy will scorch the unhardened leaf tissues.
Can I use standard potting soil for tissue culture?
Standard soil is often too dense and may contain pathogens. Use a sterile, porous, soilless medium with a pH of 5.8 to 6.2. This ensures adequate oxygen reaches the developing roots and prevents fungal infections during the vulnerable early stages.