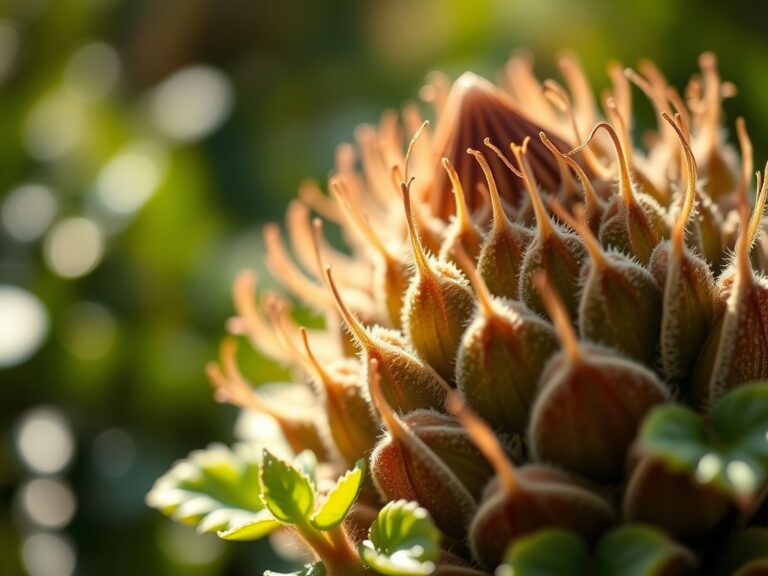
9 Vital Steps to Create Plant Shelfie Ideas
Crushing a handful of well aged humus reveals the earthy scent of geosmin; this is the olfactory hallmark of a healthy rhizosphere. A successful indoor display requires more than aesthetic placement. It demands an understanding of cellular turgor and light saturation points. Mastering the steps to create plant shelfie ideas involves balancing the physiological needs of diverse species against the microclimates of your interior architecture. High turgor pressure keeps leaves rigid and upright; this is the first indicator of a plant that is metabolically optimized for display.
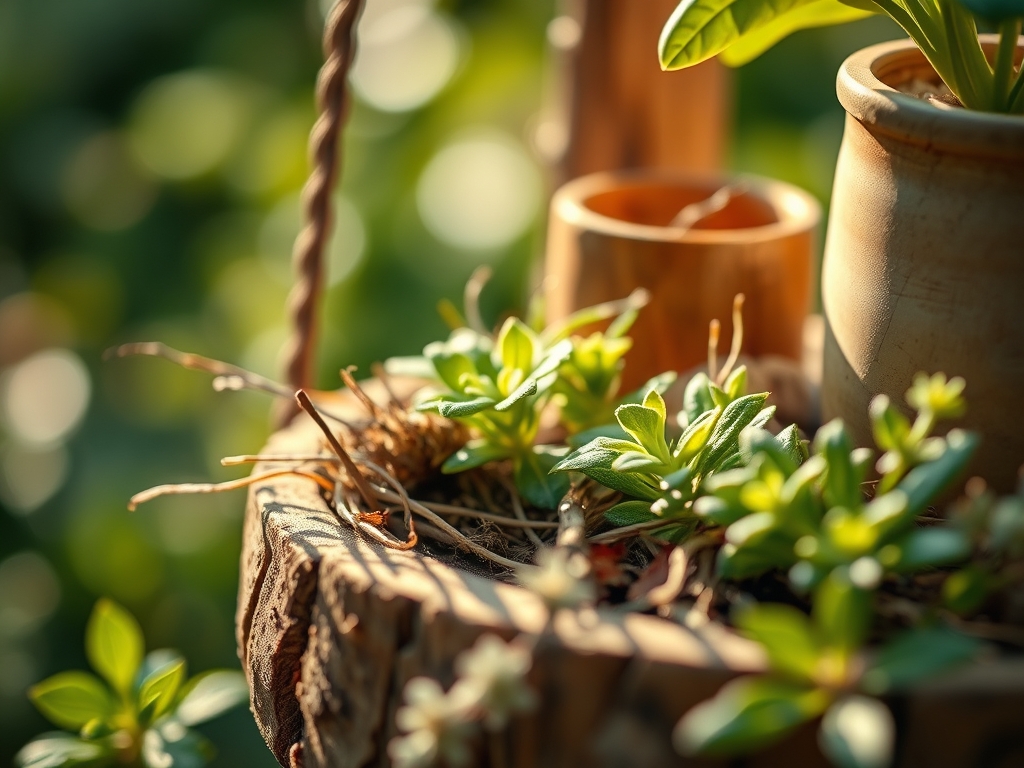
A shelf is not merely a piece of furniture. It is a vertical ecosystem where light intensity drops off according to the inverse square law. To maintain long term health, you must curate species based on their specific photosynthetic compensation points. This guide provides the technical framework to transition from casual hobbyist to a disciplined indoor horticulturalist. We will focus on the structural integrity of the plant and the chemical composition of the substrate to ensure every specimen thrives in its designated niche.
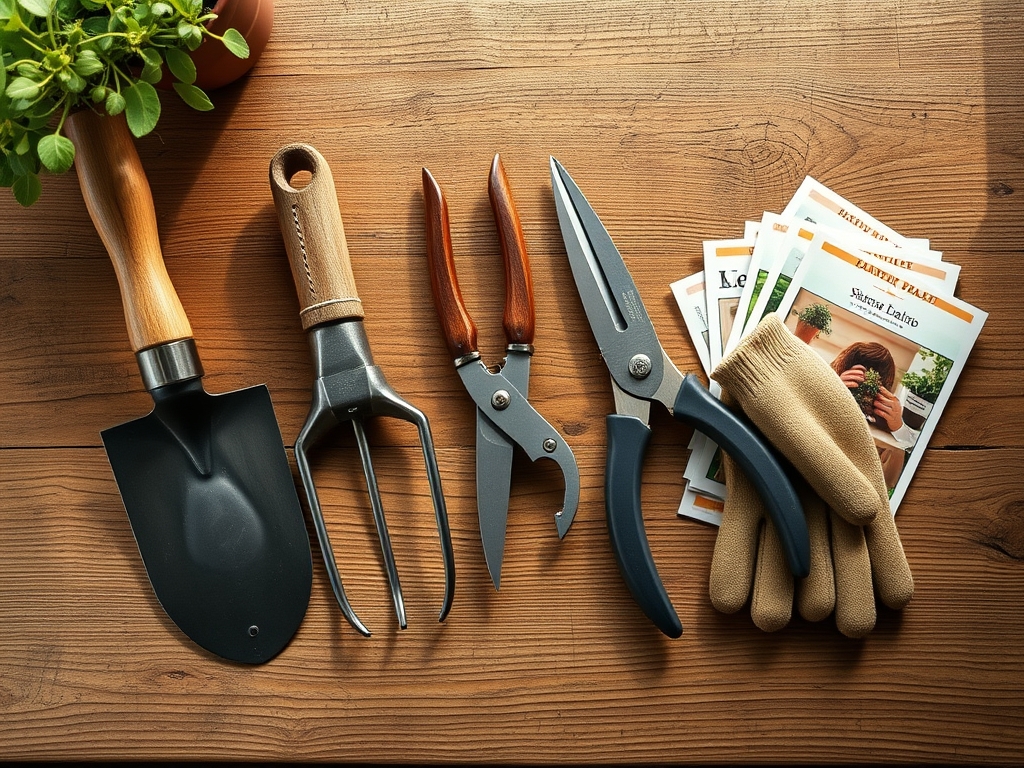
Materials:
The foundation of any indoor display is the substrate. For most tropical foliage used in shelf displays, you require a friable loam with high porosity. Aim for a soil pH between 5.8 and 6.5 to ensure maximum nutrient availability. At this range, phosphorus is most soluble, supporting root development and cellular energy transfer.
Specific NPK ratios are critical for maintaining the structural form of your plants. Use a 3-1-2 NPK ratio for vegetative growth. High nitrogen (N) levels support chlorophyll production and leaf expansion. Phosphorus (P) at a lower ratio is sufficient for indoor plants that rarely flower, while Potassium (K) at a level of 2 parts ensures strong cell walls and water regulation.
The Cation Exchange Capacity (CEC) of your mix should be high. Use components like calcined clay or high grade peat moss to increase the soil's ability to hold onto positively charged ions like Calcium (Ca2+) and Magnesium (Mg2+). A mix containing 40 percent orchid bark, 30 percent perlite, and 30 percent coco coir provides the necessary aeration to prevent anaerobic conditions in the root zone.
Timing:
Indoor gardening bypasses traditional Hardiness Zones, yet plants still respond to the "Biological Clock" dictated by seasonal light shifts. In Zones 5 through 7, the reduction in day length during October triggers a metabolic slowdown. During this period, the plant transitions from a high energy vegetative state to a maintenance phase.
The most critical window for establishing your shelfie is early spring, approximately two weeks after the local last frost date. This aligns with the natural increase in photoperiod, the duration of light a plant receives in a 24 hour cycle. During this transition, plants increase their production of growth hormones. Avoid heavy fertilization or repotting during the winter solstice when light levels are below 100 foot candles, as the plant cannot process the nutrients, leading to salt buildup in the substrate.
Phases:
Sowing and Propagation
Starting from seed or cuttings allows you to monitor the plant's health from the cellular level. When propagating stem cuttings, ensure at least two nodes are submerged or in contact with the medium. Use a rooting hormone containing Indole-3-butyric acid (IBA) to stimulate undifferentiated cell growth into root tissue.
Pro-Tip: Auxin suppression is key here. By removing the apical meristem (the growing tip), you stop the downward flow of auxins that inhibit lateral bud growth. This results in a bushier, more compact plant that fits the vertical constraints of a shelf.
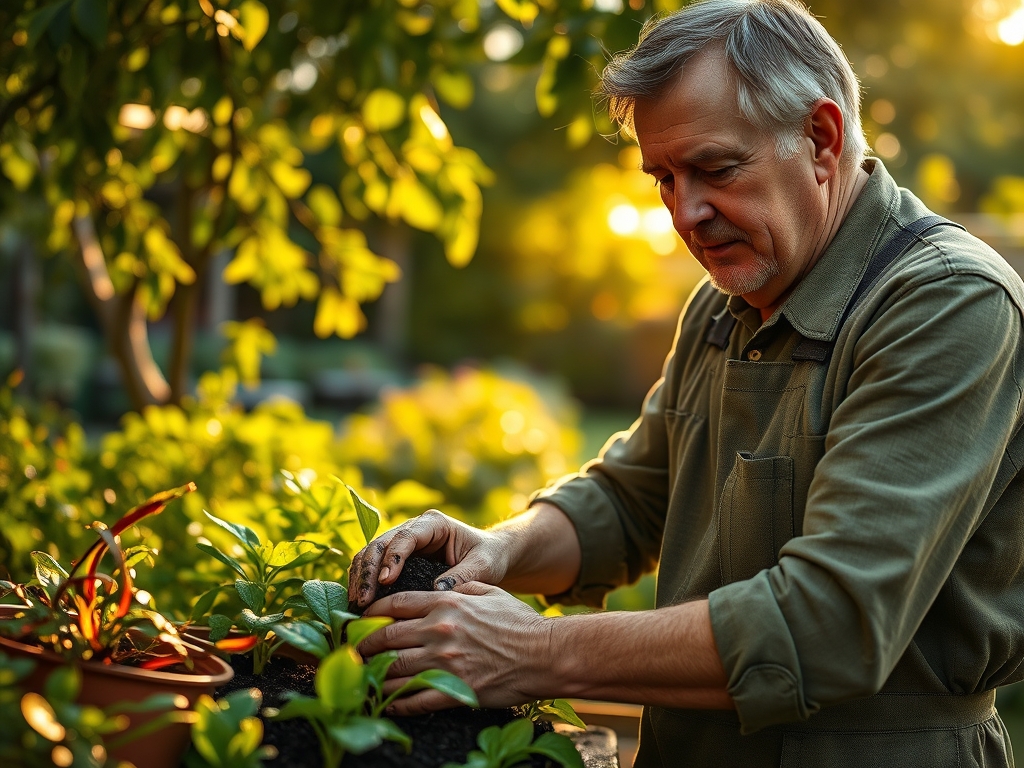
Transplanting
When moving a plant to its permanent display vessel, minimize root disturbance to prevent transplant shock. Ensure the new container is no more than 2 inches wider than the previous one. This prevents "over potting," where excess soil stays wet too long, leading to Pythium or Phytophthora root rot.
Pro-Tip: Mycorrhizal symbiosis is a biological advantage. Inoculating the roots with beneficial fungi during transplanting extends the reach of the root system. These fungi trade captured phosphorus for plant sugars, significantly increasing the plant's drought tolerance on a dry shelf.
Establishing
Once placed, do not move the plant for 21 days. This allows the plant to orient its chloroplasts toward the primary light source. This process, known as phototropism, is a hormonal response where auxins accumulate on the shaded side of the stem, causing cells to elongate and tilt the leaves toward the light.
Pro-Tip: Understand the "Biological Why" of leaf orientation. Plants utilize pulvini, specialized cells at the base of the leaf, to adjust their angle. Frequent movement forces the plant to expend metabolic energy constantly reorienting, which can lead to stunted growth.
The Clinic:
Monitoring physiological disorders is essential for a clean aesthetic.
-
Symptom: Interveinal Chlorosis. The leaf remains green along the veins but turns yellow in between.
Solution: This is typically a Magnesium deficiency. Apply a solution of 1 tablespoon of Epsom salts per gallon of water to restore chlorophyll function. -
Symptom: Leaf Tip Burn. Brown, crispy edges on the distal ends of the foliage.
Solution: This indicates a buildup of mineral salts or fluoride toxicity. Flush the substrate with three times the volume of the pot using distilled or deionized water. -
Symptom: Epinasty. Downward curling or twisting of leaves.
Solution: Often caused by ethylene gas or overwatering. Increase airflow and ensure the soil moisture levels are between 4 and 6 on a standard 10 point scale. -
Symptom: Nitrogen Chlorosis. Uniform yellowing of older, lower leaves.
Fix-It: The plant is translocating mobile nitrogen to new growth. Apply a high nitrogen liquid fertilizer at half strength immediately.
Maintenance:
Precision is the difference between a surviving plant and a thriving one. Use a soil moisture meter to verify the moisture content at the root ball, not just the surface. Most tropicals require the top 1 to 2 inches of soil to dry before the next hydration cycle.
When watering, provide enough volume to reach the drip line and exit the drainage holes. This ensures that the entire root volume is hydrated and that accumulated salts are leached out. Use a hori-hori knife for precision weeding or to check soil compaction. For pruning, use bypass pruners to make clean, slanted cuts that allow moisture to roll off the wound, preventing fungal entry.
Dust accumulation on leaves can reduce photosynthetic efficiency by up to 30 percent. Wipe leaves monthly with a damp cloth to keep stomata clear for gas exchange.
The Yield:
If your shelfie includes herbs like Ocimum basilicum (Basil) or Mentha (Mint), harvesting is a technical task. Harvest in the morning when essential oil concentration is at its peak. Never remove more than one third of the total leaf area at one time to avoid putting the plant into a state of senescence.
For "day-one" freshness, submerge the cut stems in 40 degree Fahrenheit water immediately after cutting. This rapidly cools the tissue and slows the respiration rate, preserving the turgor and flavor of the harvest.
FAQ:
How much light do shelf plants actually need?
Most "low light" plants require a minimum of 50 to 100 foot candles. For active growth, aim for 200 to 400 foot candles. Use a light meter to measure the specific intensity at different shelf heights.
Why are my plant leaves turning yellow?
Yellowing, or chlorosis, usually indicates a Nitrogen deficiency or overwatering. Check the soil moisture first. If the soil is dry, apply a balanced fertilizer. If wet, allow the substrate to dry and check for root rot.
How often should I fertilize indoor shelves?
During the active growing season (March to September), fertilize every four to six weeks. Use a water soluble fertilizer at half the recommended strength to prevent salt accumulation in the confined root zone of decorative pots.
What is the best way to increase humidity on a shelf?
Group plants together to utilize transpirational cooling and moisture. As plants release water vapor through their stomata, they create a localized microclimate. A pebble tray with water can also marginally increase humidity in the immediate vicinity.