10 Pro Tips How to Style a Mid Century Planter
The smell of damp peat and the crisp snap of a leaf with high turgor pressure define the workspace of a serious horticulturalist. When you learn how to style a mid century planter, you are balancing the architectural geometry of the vessel with the biological requirements of the specimen. These planters often feature elevated wooden stands and tapered ceramic cylinders that lack drainage. Success requires a mastery of the rhizosphere to prevent anaerobic conditions. You must select plants that complement the clean lines of the 1950s aesthetic while maintaining a strict regimen of moisture management and nutrient delivery.
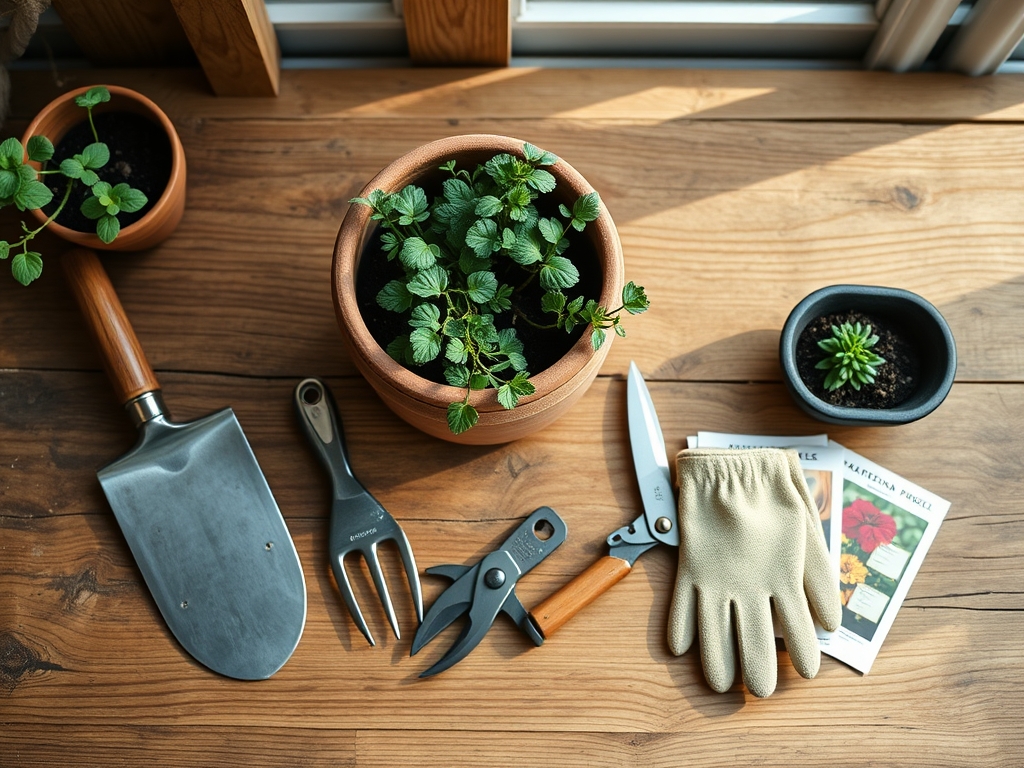
Materials:
Substrate selection is the foundation of container health. For most tropical species used in mid century styling, aim for a **pH between 5.8 and 6.5**. The physical texture should be a friable loam; this allows for maximum oxygen diffusion to the root zone.
- Base Substrate: Use a mix of 60% orchid bark, 20% perlite, and 20% coco coir. This ensures a high Cation Exchange Capacity (CEC) while preventing compaction.
- NPK Ratios: During the active growing season, apply a water-soluble fertilizer with a 3-1-2 NPK ratio. High nitrogen levels (3) support the lush foliage required for the "architectural" look, while phosphorus (1) and potassium (2) maintain cellular integrity and root strength.
- Drainage Layer: Since many mid century pots lack holes, include a 2-inch layer of horticultural charcoal at the base. This acts as a biological filter against pathogens.
Timing:
Styling and planting should occur during the transition from the dormant phase to the vegetative stage. For indoor environments, this typically aligns with the increase in photoperiod during early spring. If your planter is destined for a patio in Hardiness Zones 9-11, ensure the last frost date has passed by at least 14 days.
The biological clock of the plant is triggered by light intensity. In the Northern Hemisphere, styling a planter in March or April allows the specimen to capitalize on rising light levels, ensuring rapid root establishment before the heat of mid-summer. Avoid transplanting during the senescence phase of late autumn, as the plant lacks the metabolic energy to repair root hairs damaged during the move.
Phases:
Sowing and Selection
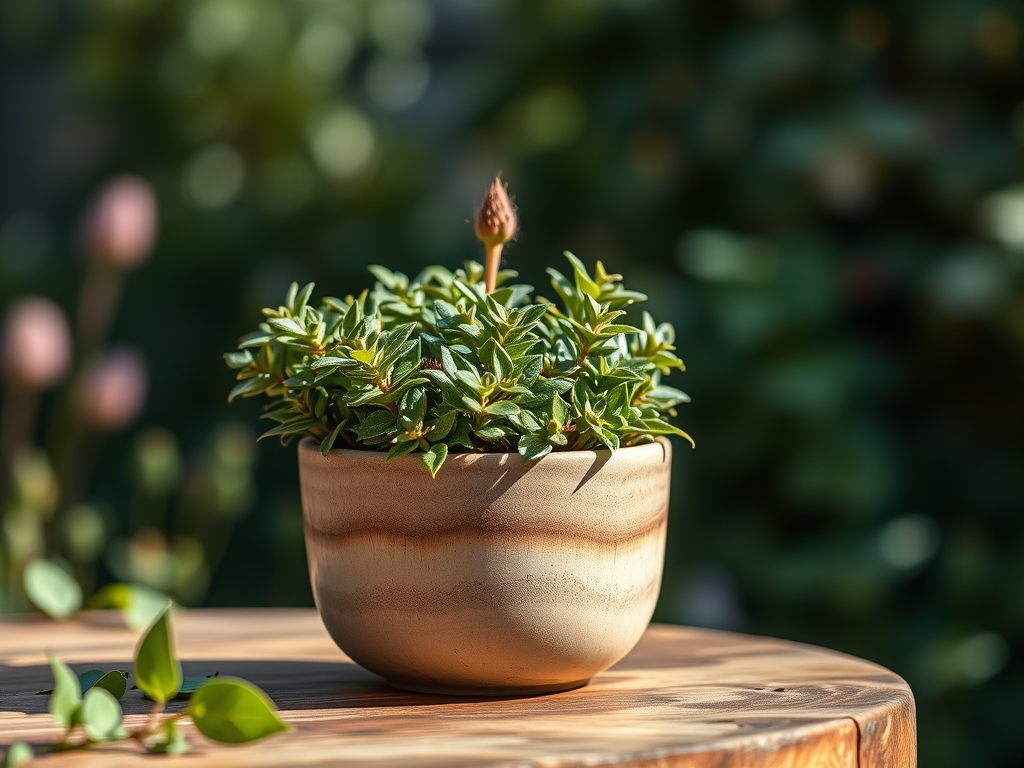
Select specimens with distinct silhouettes, such as Dracaena marginata or Ficus elastica. Ensure the root ball is not "pot-bound" or circling the nursery container.
Pro-Tip: Choose plants with strong apical dominance. The Biological Why: Apical dominance is driven by auxin suppression; the lead bud inhibits the growth of lateral buds, creating the tall, clean vertical lines essential for mid century aesthetics.
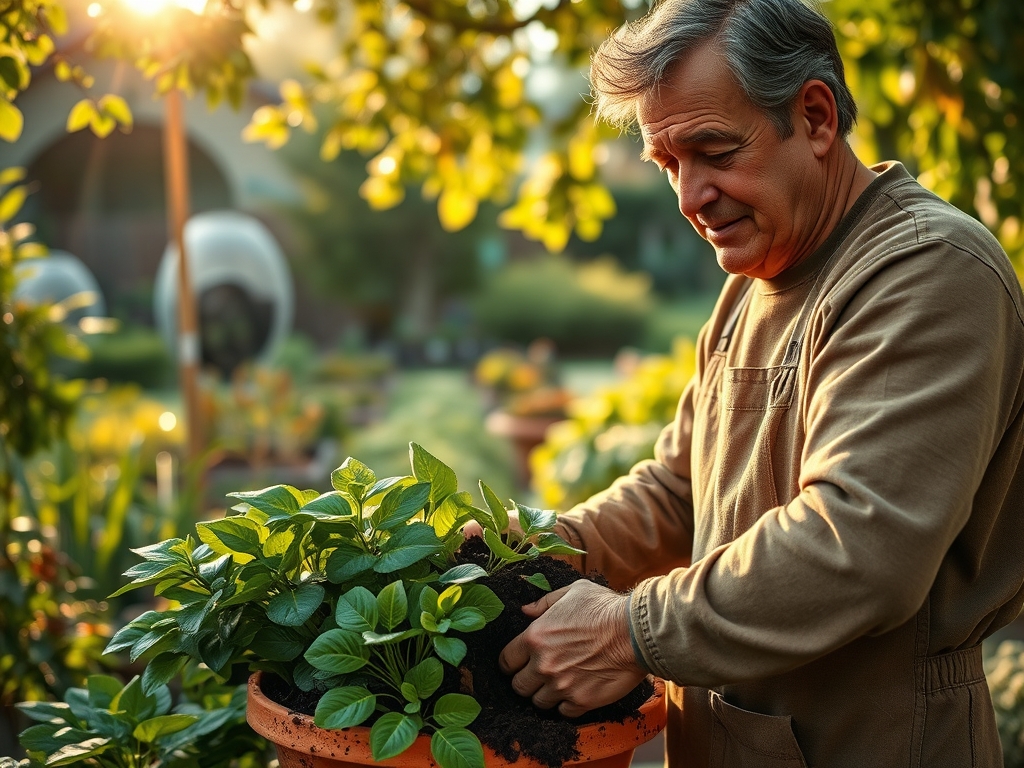
Transplanting
Remove the plant from its nursery pot and gently tease the outer roots. Place the specimen so the flare of the trunk sits 0.5 inches below the rim of the planter.
Pro-Tip: Dust the root ball with mycorrhizal fungi inoculant. The Biological Why: Mycorrhizal symbiosis extends the root system's reach, increasing the surface area for water and phosphorus absorption by up to 100 times.
Establishing
Once the plant is situated, water it until the substrate is fully saturated. Place the planter in a location that receives 200 to 400 foot-candles of light, depending on the species' requirements.
Pro-Tip: Rotate the planter 90 degrees every week. The Biological Why: This counters phototropism, the process where auxin concentrates on the shaded side of the stem, causing the plant to lean toward the light source.
The Clinic:
Physiological disorders in container plants often stem from improper gas exchange or nutrient imbalances.
- Symptom: Interveinal Chlorosis. The leaves turn yellow while the veins remain green.
Solution: This indicates a Magnesium deficiency. Apply a solution of 1 tablespoon of Epsom salts per gallon of water to restore chlorophyll production. - Symptom: Leaf Tip Burn. Brown, crispy edges on the foliage.
Solution: This is often caused by fluoride toxicity or salt buildup from tap water. Flush the substrate with distilled water until it runs clear from the base. - Symptom: Epinasty. Downward curling or twisting of leaves.
Solution: Often a sign of overwatering leading to root rot. Check for a foul odor in the rhizosphere. Increase aeration by poking holes in the substrate with a wooden dowel.
Fix-It for Nitrogen Chlorosis: If older leaves are turning a uniform pale yellow, the plant is scavenging nitrogen for new growth. Apply a high-nitrogen liquid fertilizer (NPK 10-5-5) to immediately boost vegetative vigor.
Maintenance:
Precision maintenance separates the amateur from the professional. Use a soil moisture meter to ensure the substrate is dry to a depth of 2 inches before adding water. For a standard 12-inch mid century planter, expect to deliver approximately 1.5 liters of water every 10 to 14 days.
Use a hori-hori knife to occasionally probe the soil and check for compaction. If the soil becomes hydrophobic, the water will run down the sides of the pot without wetting the root ball. Use bypass pruners to remove any yellowing leaves at the base of the petiole to prevent the spread of fungal spores. Clean the foliage monthly with a damp cloth to remove dust, which can reduce photosynthetic efficiency by up to 30%.
The Yield:
If you are styling your planter with floral specimens like Anthurium or Strelitzia, harvest the blooms when they are 75% open. Use a sharp blade to cut the stem at a 45-degree angle to maximize the surface area for water uptake. To maintain "day-one" freshness, immediately plunge the stems into 100-degree Fahrenheit water to break any air locks in the xylem. This process, known as conditioning, ensures the blooms remain turgid for up to 14 days.
FAQ:
How do I prevent root rot in planters without holes?
Create a "perched water table" by adding two inches of horticultural charcoal or lava rock at the bottom. Use a soil moisture meter to ensure the root zone is not sitting in stagnant water.
What is the best NPK ratio for indoor foliage?
A 3-1-2 NPK ratio is ideal. High nitrogen supports leaf development, while lower phosphorus prevents unnecessary stretching. This balance maintains the compact, structural look required for mid century modern styling.
How much light does a mid century planter need?
Most architectural plants require 200 to 400 foot-candles. Use a light meter to verify. If the plant develops long internodes (leggy growth), it is a sign of low light and reduced photosynthetic rate.
When should I repot my mid century specimen?
Repot when you observe roots emerging from the soil surface or when the water drains immediately through the pot. This typically occurs every 18 to 24 months as the plant reaches its maximum biomass for the container.
Can I use tap water for my planter?
Tap water often contains chlorine and fluorides that cause leaf tip necrosis. Use filtered or rainwater. If using tap, let it sit for 24 hours to allow chlorine to dissipate before application to the rhizosphere.