10 Solid Ways How to Build a Stone Patio
The scent of damp, disturbed earth signals the start of a structural intervention in the landscape. When you learn how to build a stone patio, you are not merely laying rock; you are managing the hydrology and soil compaction of a specific microclimate. Successful installation requires an understanding of how heavy masonry affects the gas exchange in the rhizosphere of surrounding flora. A poorly planned patio creates an impermeable barrier that can lead to root senescence in nearby specimen trees. Proper execution ensures a stable, level surface that integrates seamlessly with the biological needs of the garden.
Materials:
Before the first shovel hit, you must analyze the substrate. The ideal soil for a stone patio foundation is not the **friable loam** desired for vegetables. You seek a high mineral content with low organic matter to prevent settling. If the site currently hosts heavy vegetation, the soil likely has a **pH between 6.0 and 7.0**. For the surrounding transition zones, maintain a balanced **NPK ratio of 10-10-10** to repair turf damage.
The base layer requires crushed 3/4-inch minus limestone. This material provides high structural integrity while allowing for minimal capillary action. Above this, a 1-inch layer of washed concrete sand acts as the setting bed. The stones themselves should be at least 2 inches thick to resist thermal expansion and contraction cycles. You will also need a plate compactor capable of exerting 3,000 to 4,000 pounds of centrifugal force to ensure the sub-base achieves maximum density.
Timing:
In Hardiness Zones 4 through 7, the window for construction is dictated by the frost line. You must wait until the ground has fully thawed and the spring rains have subsided to avoid working with plastic, anaerobic mud. The ideal time is during the transition from vegetative growth to the reproductive stage of local perennial grasses; this usually occurs in late spring or early autumn.
Avoid construction when the soil temperature is below 40 degrees Fahrenheit. At these temperatures, moisture trapped in the soil pores can freeze, causing "frost heave" that will displace your stones within six months. Monitor the Biological Clock of your garden. If your Syringa or Malus species are in full bloom, the soil moisture levels are generally stable enough for excavation.
Phases:

Sowing the Foundation
Excavate to a depth of 8 inches. This allows for 4 inches of compacted gravel, 1 inch of sand, and the thickness of the stone. Use a line level to ensure a 1 percent slope away from any permanent structures. This prevents hydrostatic pressure from building up against your home foundation.
Pro-Tip: Compact the sub-grade soil before adding gravel. This prevents the "pumping" of fine soil particles into your clean aggregate, which maintains the Cation Exchange Capacity (CEC) of the surrounding soil by preventing anaerobic pockets.
Transplanting the Stone
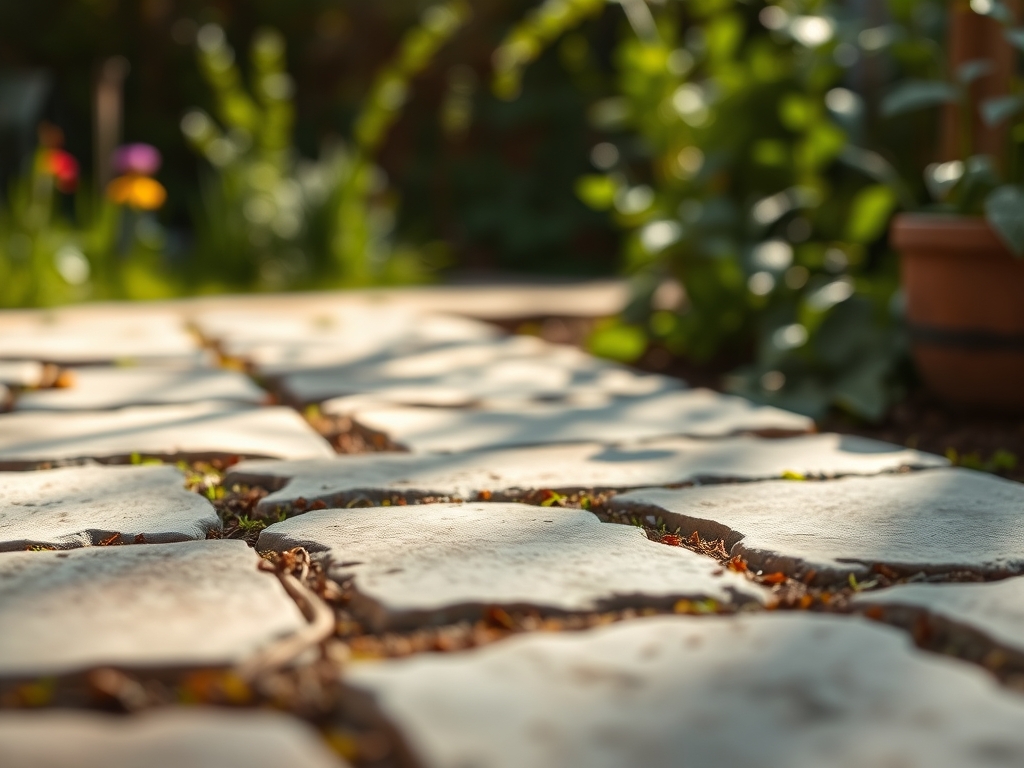
Lay the stones from the longest straight edge outward. Maintain a gap of 1/8 to 3/8 inches between units. Use a rubber mallet to set each stone into the sand bed. Check for level frequently. If a stone wobbles, it indicates an air pocket in the sand bedding that must be filled to maintain even weight distribution.
Pro-Tip: Use a hori-hori knife to trim any encroaching roots from the excavation perimeter. Clean cuts promote rapid "callusing" and prevent the release of excess auxins, which would otherwise trigger stunted, bushy root growth that could eventually lift your stones.
Establishing the Joints
Once the stones are set, sweep polymeric sand or fine stone dust into the joints. This stabilizes the units and prevents the germination of wind-blown seeds. Lightly mist the surface with water to activate the binding agents without washing the material out of the gaps.
Pro-Tip: In the transition zones between stone and garden, introduce mycorrhizal fungi inoculants. This symbiosis improves the water-uptake efficiency of plants whose root systems were disturbed during the excavation process.
The Clinic:
Physiological disorders in the landscape often manifest shortly after hardscape installation. Monitor nearby plants for these specific symptoms:
Symptom: Leaf Scorching and Marginal Necrosis.
This usually occurs when heat radiates off the new stone surface, increasing the transpiration rate beyond what the roots can supply.
Solution: Increase irrigation frequency to maintain turgor pressure during the first season.
Symptom: Nitrogen Chlorosis (Yellowing of older leaves).
Excavation often removes the nutrient-rich O-horizon of the soil.
Fix-It: Apply a high-nitrogen fertilizer with an NPK of 21-0-0 to the perimeter to compensate for the lost organic matter and stimulate chlorophyll production.
Symptom: Iron Deficiency (Interveinal chlorosis in new growth).
Concrete and stone dust can raise the soil pH above 7.5, locking out micronutrients.
Fix-It: Apply chelated iron or elemental sulfur to lower the pH back to a range of 6.2 to 6.8.
Maintenance:
A stone patio requires precise hydrological management. Ensure the surrounding turf receives 1.5 inches of water per week at the drip line to prevent the soil from shrinking away from the patio edges. Use a soil moisture meter to check levels at a depth of 6 inches.
Every spring, inspect the joints for "heaving." Use bypass pruners to remove any overhanging vegetation that creates excessive shade; persistent moisture on the stone promotes the growth of bryophytes (mosses), which can hold water and accelerate the weathering of the stone. For any weeds that manage to penetrate the perimeter, use a hori-hori knife to extract the entire taproot, ensuring no regenerative tissue remains.
The Yield:
While a patio does not produce a caloric yield, its "harvest" is measured in the health of the surrounding ecosystem. A correctly built patio acts as a thermal mass, extending the growing season for nearby plants by radiating heat during the night. If you have placed the patio near a kitchen garden, use this microclimate to plant Mediterranean herbs like Rosmarinus or Thymus. These species thrive in the well-drained, high-heat environment provided by the stone margins. For "day-one" freshness of harvested herbs, clip them at dawn when turgor pressure is at its peak and the essential oil concentration is highest.
FAQ:
How deep should I dig for a stone patio?
Excavate to a minimum of 8 inches. This depth accommodates 4 inches of compacted gravel base, 1 inch of leveling sand, and 2 to 3 inches of stone, ensuring structural stability and frost resistance in most climates.
What is the best base material for stone?
Use 3/4-inch minus crushed limestone. This angular aggregate locks together under compaction, providing a rigid foundation that resists shifting while allowing for essential drainage to prevent hydrostatic pressure buildup beneath the stones.
How do I prevent weeds between stones?
Fill joints with polymeric sand. This material hardens when misted with water, creating a semi-permanent seal that inhibits seed germination and prevents ants from excavating the sand bed beneath your stones.
Can I lay stone directly on dirt?
No. Soil contains organic matter that decomposes and shifts, leading to uneven stones and "settling." A mineral-based sub-base of compacted gravel is required to provide a stable, non-shifting platform for the masonry.