5 Elegant Ways How to Design a Formal Landscape
Crushed limestone crunches under a heavy boot while the sharp, metallic scent of wet slate mingles with the earthy aroma of disturbed humus. Mastering how to design a formal landscape requires an uncompromising commitment to bilateral symmetry and structural integrity. You must look past the superficial greenery to see the skeletal geometry of the land. Success depends on the turgor pressure of tightly sheared boxwoods and the precise calculation of sightlines that lead the eye toward a singular, intentional focal point.
Formalism is not a suggestion; it is a discipline of control over biological chaos. It demands a deep understanding of plant physiology and soil chemistry to ensure that every hedge remains dense and every parterre stays uniform. To learn how to design a formal landscape is to learn the art of botanical engineering. You are managing light, water, and nutrients to suppress the wild tendencies of the species you select. This guide provides the technical framework to execute a high-end, structured environment that remains resilient across seasons.
Materials:

The foundation of a formal garden is the substrate. You require a **friable loam** with a high **Cation Exchange Capacity (CEC)**, ideally between **15 and 25 meq/100g**. This ensures the soil can hold and exchange essential cations like potassium and magnesium. The target **pH level is 6.5**, which optimizes the bioavailability of macronutrients.
For the structural evergreens that define the perimeter, utilize a slow-release NPK ratio of 10-10-10 during the initial planting phase. As the plants mature, transition to a 12-4-8 fertilizer to prioritize vegetative density over excessive vertical elongation. You will also need sharp silica sand for leveling hardscape elements and non-woven geotextile fabric to prevent soil migration beneath gravel paths. Ensure you have a high-quality soil moisture meter to monitor the rhizosphere at a depth of 6 to 8 inches.
Timing:
Timing is dictated by the USDA Hardiness Zones. In Zones 5 through 7, the primary planting window for woody perennials is late autumn or early spring when the plant is in a state of dormancy. This minimizes transplant shock and allows for root development before the high transpiration demands of summer.
The biological clock of a formal landscape is governed by the photoperiod. Deciduous elements will enter senescence as day lengths shorten; therefore, all structural pruning must be completed before the first hard frost to prevent desiccation of wounded tissue. For evergreen hedges, the ideal pruning window is late spring, just after the first flush of new growth has hardened off. This timing ensures the plant has sufficient carbohydrate reserves to heal and maintain its crisp silhouette.
Phases:

Sowing and Site Preparation
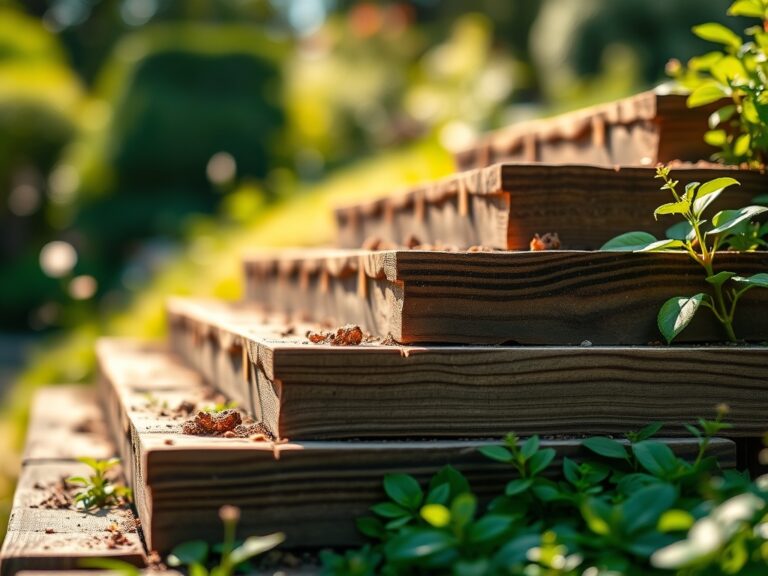
Begin by clearing the site of all competitive biomass. Use a hori-hori knife to extract taproots. Grade the soil to a 1 percent slope away from structures to ensure drainage. If using turf as a central plinth, sow seed at a rate of 6 to 8 pounds per 1,000 square feet.
Pro-Tip: Proper grading prevents anaerobic conditions in the rhizosphere. When oxygen is displaced by standing water, root respiration ceases, leading to the production of ethanol and eventual root rot.
Transplanting Structural Elements
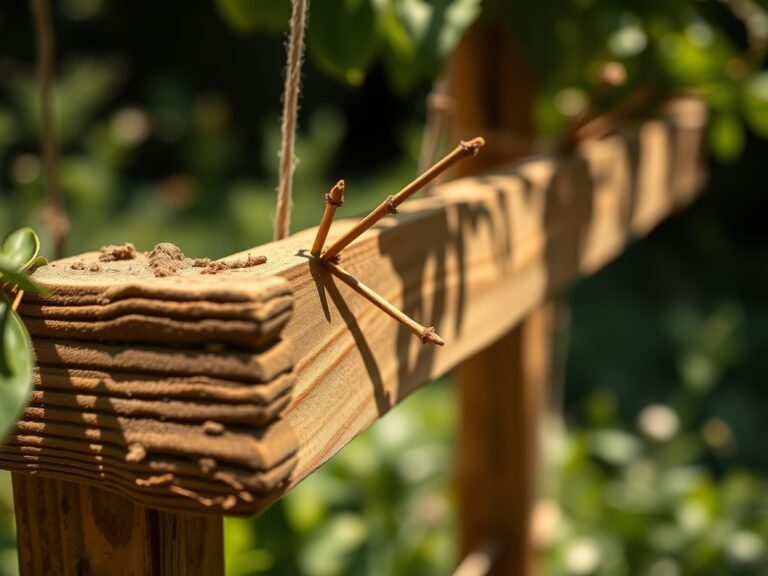
Dig planting holes two times wider than the root ball but no deeper. This encourages lateral root expansion into the native soil. Ensure the root flare is visible at the soil surface to prevent bark decay. Backfill with native soil to maintain consistent texture and prevent the "bathtub effect" where water traps in a pocket of amended soil.
Pro-Tip: Maintain apical dominance in central specimen trees by avoiding "topping." This preserves the auxin suppression of lateral buds, ensuring the tree maintains its intended vertical architecture.
Establishing the Framework
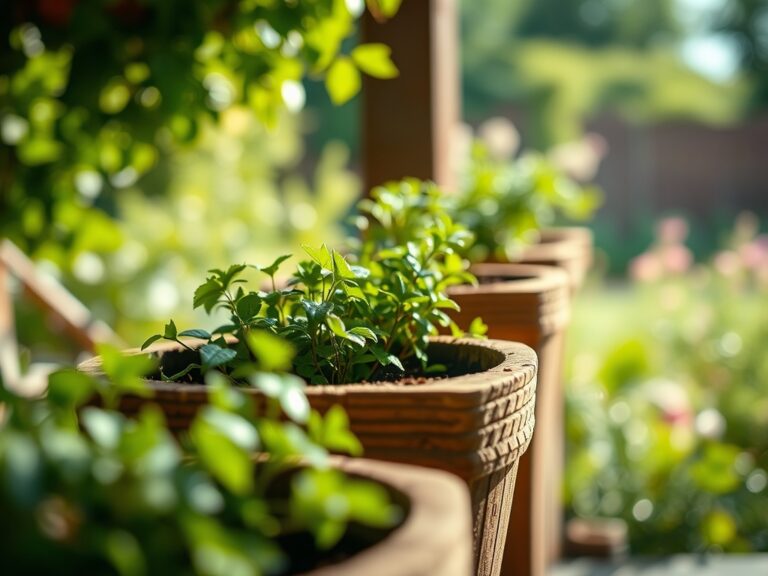
During the first 18 months, the landscape is in an establishment phase. Plants require consistent hydration to maintain turgor pressure, which is the internal fluid pressure that keeps stems rigid. Install a drip irrigation system to deliver water directly to the root zone, reducing evaporation and foliar disease.
Pro-Tip: Utilize mycorrhizal inoculants during transplanting. This fungal symbiosis increases the effective root surface area by up to 1,000 times, significantly improving phosphorus uptake and drought resistance.
The Clinic:
Physiological disorders can ruin the precision of a formal design. Use this diagnostic guide to address issues before they become systemic.
- Symptom: Interveinal chlorosis on new growth (yellow leaves with green veins).
- Solution: This indicates an Iron deficiency, often caused by high soil pH. Apply chelated iron and adjust pH toward 6.5.
- Symptom: Marginal leaf burn or browning on hedge tips.
- Solution: This is often Salt Toxicity from over-fertilization or winter de-icing agents. Flush the soil with 2 inches of water to leach the salts.
- Symptom: Sudden wilting despite moist soil.
- Solution: Likely Phytophthora root rot. Improve drainage immediately and apply a copper-based fungicide to the soil.
- Fix-It for Nitrogen Chlorosis: If older leaves turn uniformly pale yellow, the plant lacks Nitrogen. Apply a quick-release 20-0-0 liquid fertilizer for immediate uptake, followed by organic compost for long-term stability.
Maintenance:
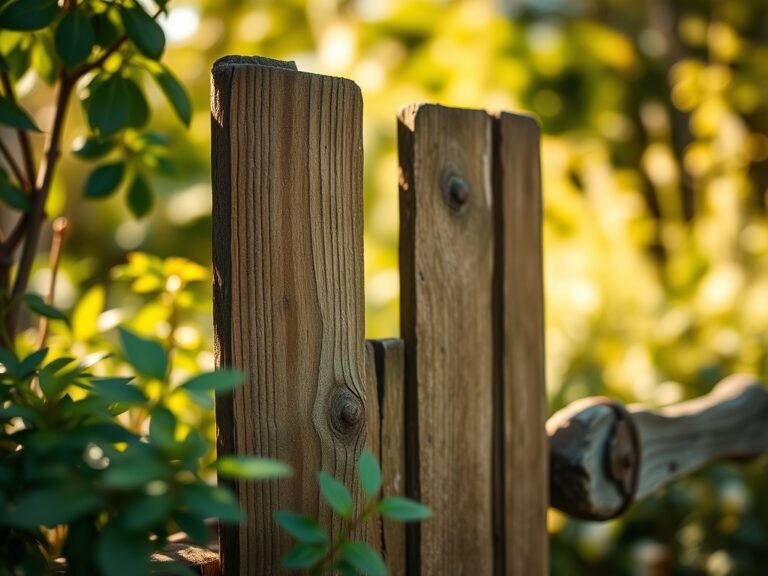
A formal landscape is a high-maintenance ecosystem. Precision is mandatory. Deliver exactly 1.5 inches of water per week at the drip line, ideally in two sessions of 0.75 inches to encourage deep rooting. Use bypass pruners for all soft-tissue cuts to ensure a clean shear that heals quickly.
Check the sharpness of your blades weekly; dull tools crush vascular tissue, creating entry points for pathogens. Monitor soil compaction with a penetrometer. If the soil resists more than 300 psi, use a core aerator to restore gas exchange to the roots. Mulch should be maintained at a depth of 2 to 3 inches, kept 4 inches away from the trunks of trees and shrubs to prevent fungal infection.
The Yield:
In a formal landscape, the "yield" is the aesthetic perfection of the foliage. For flowering formal elements like Rosa or Lavandula, harvest blooms just as the first petals begin to unfurl. This is the stage of peak carbohydrate concentration.
Use a sterilized blade to cut at a 45-degree angle just above a node. To maintain "day-one" freshness, immediately plunge the stems into 110-degree Fahrenheit water to remove air bubbles from the xylem. Store in a cool, dark environment for two hours before displaying to allow the plant to regain full turgidity.
FAQ:
How do I choose the right plants for a formal design?
Select species with naturally compact growth habits and high tolerance for frequent shearing. Buxus sempervirens and Taxus baccata are industry standards due to their small leaf size and dense branching structures.
What is the most important rule of formal symmetry?
The "Golden Ratio" or 1:1.618 should govern the proportions of your parterres and paths. Every element on the left axis must be mirrored exactly on the right axis to maintain visual equilibrium.
How often should I test my soil?
Conduct a professional laboratory soil test every 2 to 3 years. This tracks changes in CEC and nutrient depletion, allowing for precise amendments rather than speculative fertilization.
Can I design a formal landscape in a small space?
Yes. Use a central "allée" or a single focal point like a sundial to create the illusion of depth. Maintain strict scale by choosing "dwarf" cultivars that won't outgrow the confined geometry of the site.