9 Technical Steps to Install Asphalt Pavers
The smell of damp earth after a heavy rain indicates a high concentration of geosmin; it is the scent of a healthy soil microbiome where actinobacteria thrive. When you integrate hardscaping into this environment, you must respect the structural integrity of the soil profile. Mastering the steps to install asphalt pavers requires a deep understanding of compaction, drainage, and the load-bearing capacity of the underlying substrate. Improper installation disrupts the rhizosphere and causes localized compaction that can lead to root asphyxiation in nearby specimens. You are not just laying stone; you are engineering a permanent interface between the built environment and the living landscape. Every millimeter of sub-base preparation dictates the longevity of the installation and the health of the surrounding flora. Failure to account for the Cation Exchange Capacity (CEC) and the drainage patterns of your site will result in frost heaves or subsidence. Precision is the only path to a stable, functional, and botanically safe hardscape.
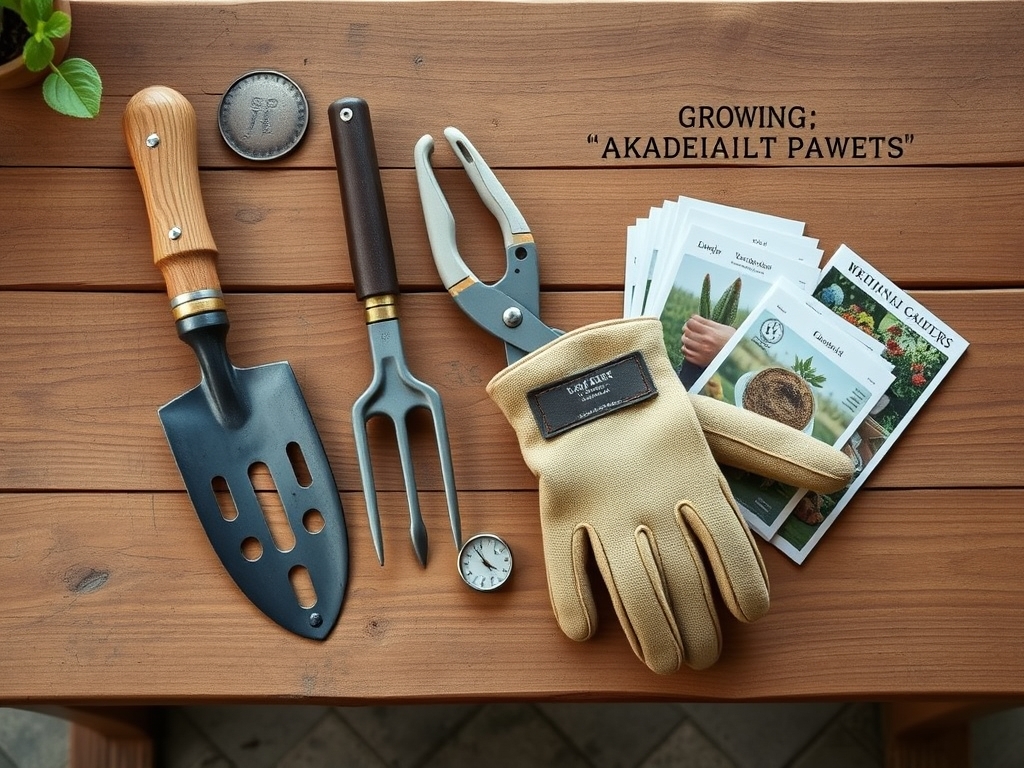
Materials:
The foundation of any hardscape project begins with the soil chemistry and physical structure. For the areas adjacent to your pavers, you require a friable loam with a pH between 6.0 and 7.0. This acidity range ensures that essential micronutrients remain bioavailable. Before excavation, test your soil for its CEC; a higher CEC indicates a better ability to hold onto nutrients like potassium and magnesium.
Your nutrient profile should be balanced based on the surrounding vegetation. For established woody perennials near the installation site, an NPK ratio of 10-10-10 provides a steady supply of nitrogen for leaf growth, phosphorus for root development, and potassium for cellular turgor. If you are planting new groundcovers along the paver edges, look for a 5-10-5 starter fertilizer to prioritize root establishment over rapid foliar expansion. The substrate beneath the pavers must be a non-expansive material, typically a Class 5 crushed limestone or a recycled concrete aggregate, which provides the mechanical stability necessary to prevent lateral movement of the pavers under load.
Timing:
Hardiness Zones 3 through 7 must observe strict frost-date windows for this installation. The optimal time to begin the steps to install asphalt pavers is when the soil temperature consistently reaches 55 degrees Fahrenheit. This temperature ensures that the ground has thawed completely, preventing the "pumping" effect where moisture trapped in the subsoil destabilizes the base.
The biological clock of your landscape is a primary factor. You should aim to complete heavy excavation during the dormant season or early spring before the "bud break" occurs. This timing minimizes the stress on the vascular systems of nearby trees. Once the plant moves from the vegetative stage to the reproductive stage, its energy reserves are diverted to flowering and fruiting; disturbing the root zone during this transition can trigger premature senescence, leading to leaf drop and reduced vigor.
Phases:

Sowing the Foundation
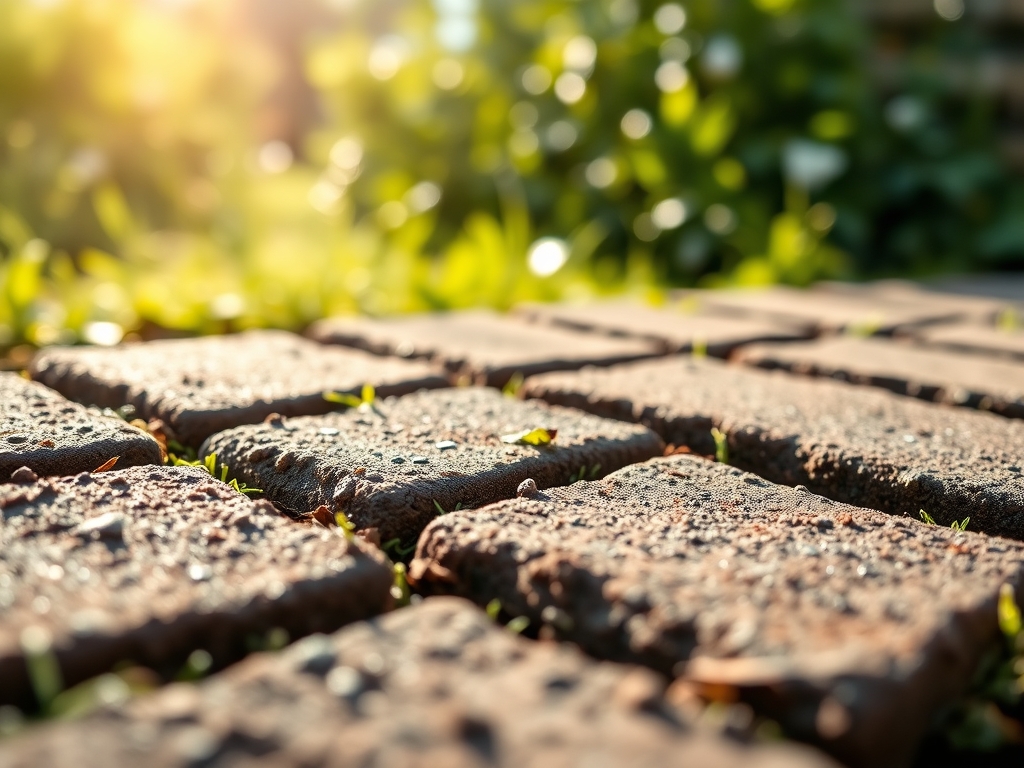
Excavate the area to a depth of 8 to 10 inches. This depth allows for 6 inches of compacted aggregate and 1 inch of bedding sand beneath the pavers. Use a plate compactor to achieve a 95 percent Proctor density in the subgrade.
Pro-Tip: Maintaining soil density prevents hydrostatic pressure from shifting the pavers. Biologically, this ensures that water moves through the profile via capillary action rather than pooling, which prevents anaerobic conditions that rot nearby roots.
Transplanting the Pavers
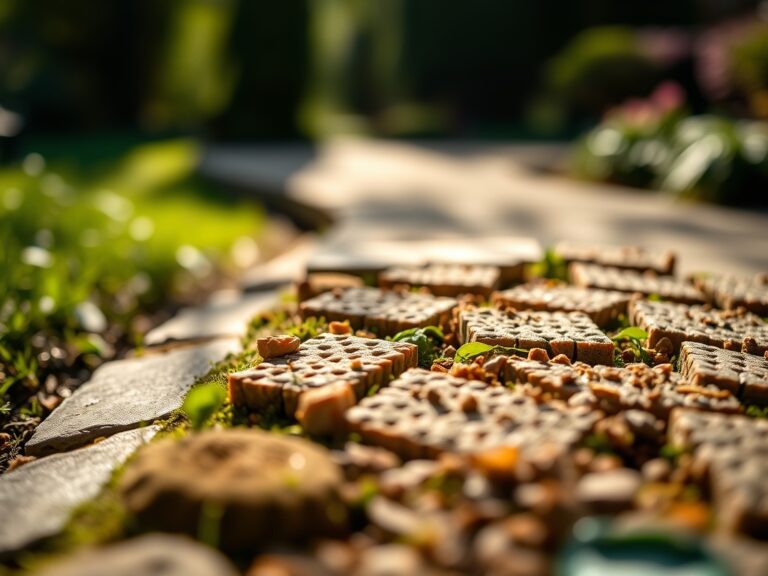
Lay the asphalt pavers in your desired pattern, ensuring they are set tightly against one another. Use a string line to maintain a 1 percent to 2 percent slope away from building foundations to facilitate proper drainage.
Pro-Tip: Proper spacing allows for minimal jointing sand. This prevents auxin suppression in nearby plants by ensuring that the hardscape does not leach excessive heat into the soil, which can alter the hormonal balance and growth direction of roots.
Establishing the Edge
Install a heavy-duty edge restraint using 10-inch steel spikes driven every 12 inches. Backfill the edges with a high-quality topsoil mix containing 20 percent organic matter.
Pro-Tip: The edge restraint prevents lateral "creep." By stabilizing the perimeter, you protect the mycorrhizal symbiosis in the soil; constant shifting of pavers shears the delicate fungal hyphae that help plants absorb phosphorus and water.
The Clinic:
Physiological disorders in the landscape often manifest after heavy construction. Monitor these symptoms closely:
- Symptom: Nitrogen Chlorosis. The older leaves turn pale yellow while the veins remain green.
Solution: This often occurs when high-carbon mulch is mixed into the soil during construction. Apply a liquid urea fertilizer to quickly restore nitrogen levels. - Symptom: Leaf Scorch. Edges of leaves turn brown and brittle.
Solution: This is a sign of water stress or heat reflection from the new pavers. Increase irrigation frequency and use a soil moisture meter to ensure the root zone is reaching a 30 percent volumetric water content. - Symptom: Root Asphyxiation. Wilting leaves despite wet soil.
Solution: The soil is likely over-compacted. Use a core aerator around the perimeter of the pavers to re-introduce oxygen to the rhizosphere.
Fix-It: If you observe stunted growth and purplish stems, you have a Phosphorus deficiency. Incorporate bone meal or a triple superphosphate into the soil at a rate of 2 pounds per 100 square feet.
Maintenance:
A professional landscape requires surgical precision. Use a hori-hori knife to remove any opportunistic weeds that emerge in the paver joints; this tool allows you to extract the entire taproot without disturbing the jointing sand. For surrounding shrubbery, use bypass pruners to maintain a clean vascular cut, which promotes faster healing.
Irrigation must be targeted. Apply 1.5 inches of water per week at the drip line of all adjacent plants. Do not spray the pavers directly, as this can lead to mineral staining and unnecessary runoff. Use a soil moisture meter daily for the first 21 days post-installation to monitor how the new hardscape affects the soil's evaporation rate.
The Yield:
If your asphalt pavers lead to a kitchen garden or cutting bed, the yield is your primary metric of success. Harvest leafy greens when they exhibit maximum turgor pressure, typically in the early morning before the sun triggers transpiration. For woody herbs like rosemary or lavender, harvest no more than one-third of the plant at a time to prevent physiological shock.
To maintain "day-one" freshness, submerge the stems in 40-degree Fahrenheit water immediately after cutting. This rapid cooling slows the metabolic rate and delays the onset of senescence, ensuring the cellular structure remains crisp and the essential oils remain potent.
FAQ:
How deep should I excavate for asphalt pavers?
Excavate to a total depth of 8 to 10 inches. This allows for a 6-inch compacted base, a 1-inch sand setting bed, and the thickness of the paver itself. Proper depth prevents frost heave and structural failure.
Can I install pavers over existing soil?
No. You must remove the organic O-horizon and the A-horizon topsoil. These layers contain organic matter that decomposes, leading to uneven settling. Always install on a compacted, inorganic mineral subbase for maximum stability.
What is the best jointing material?
Use polymeric sand for the joints. When activated with water, it creates a semi-flexible bond that resists weed penetration and erosion. This material maintains the structural integrity of the installation while allowing for minor thermal expansion.
How do I prevent weeds between pavers?
Maintain the integrity of the polymeric sand joints. If gaps appear, clean the debris with a stiff-bristle brush and refill the voids. Proper compaction during the initial installation is the most effective biological deterrent against weed colonization.