8 Traditional Ways How to Build a Garden Gate
Crushed pine needles release a sharp, resinous scent as your boots press into the damp earth. The turgor pressure of a healthy leaf depends on a stable perimeter; a garden without a barrier is merely a buffet for local herbivores. Learning how to build a garden gate is the final step in securing the rhizosphere from compaction and intrusion. It requires more than carpentry; it demands an understanding of structural load and the environmental stressors that act upon timber in a high-moisture horticultural setting.
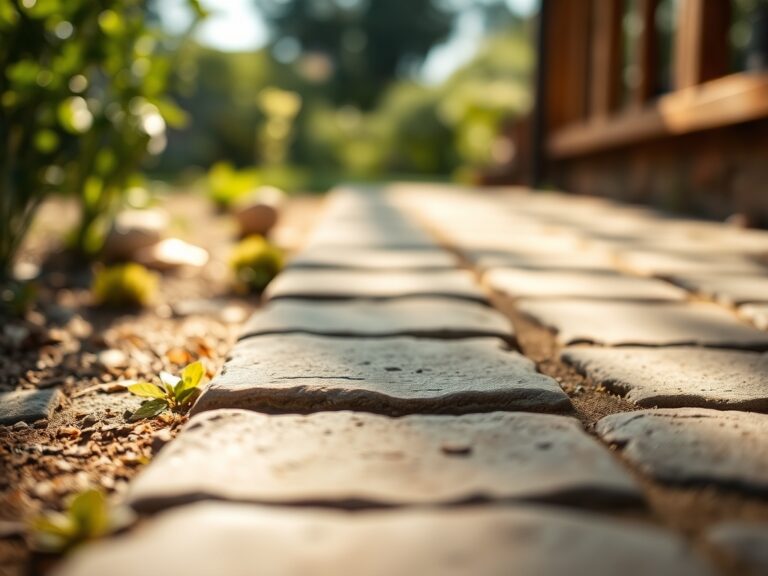
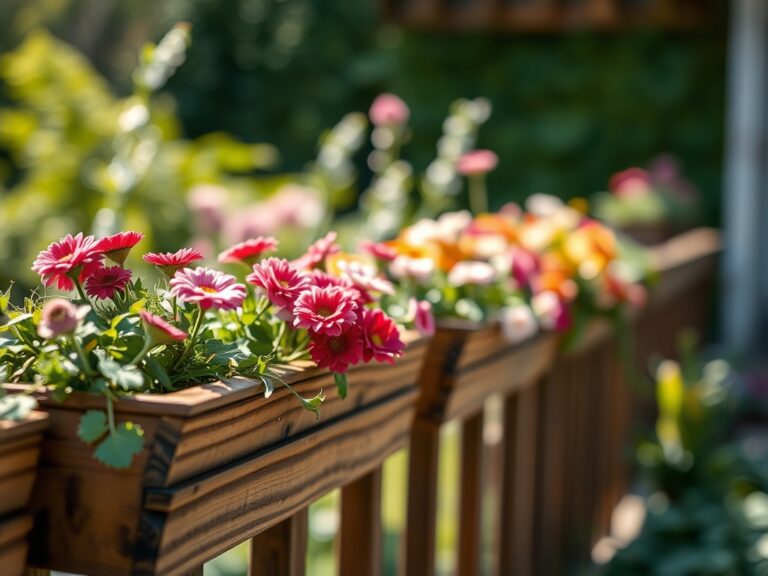
A gate serves as the primary valve for your garden ecosystem. It regulates airflow and access while providing a vertical plane for climbing species. Whether you are managing a high-production vegetable plot or a curated botanical collection, the gate must withstand constant exposure to UV radiation and soil-borne fungi. A poorly constructed gate sags, dragging across the soil surface and disrupting the delicate fungal networks of the topsoil. A properly engineered gate maintains its square, allowing for seamless transition between the cultivated interior and the wild exterior.
Materials:
The foundation of any garden structure begins with the soil chemistry surrounding the gate posts. In a **friable loam** with a **pH of 6.5**, moisture retention is high; this necessitates the use of pressure-treated lumber or rot-resistant heartwood like Western Red Cedar. If your soil has a high **Cation Exchange Capacity (CEC)**, it will hold onto minerals like calcium and magnesium, which can accelerate the corrosion of standard steel fasteners. Always utilize **304 stainless steel or hot-dipped galvanized hardware** to prevent oxidation.
For the surrounding flora, ensure the area is amended with a balanced NPK ratio of 10-10-10 to support the initial root establishment of any climbing vines intended for the gate frame. If you are planting nitrogen-fixing legumes near the posts, adjust to a 5-10-10 ratio to prevent excessive vegetative growth at the expense of structural integrity. The physical texture of the substrate should be loose enough to allow for a 24-inch deep post hole, ensuring the gate remains plumb despite the seasonal expansion and contraction of clay particles.
Timing:
Construction should align with the dormant season of your specific Hardiness Zone. In Zones 5 through 7, the ideal window is late winter or early spring, before the first frost-free date. This timing prevents the compaction of wet soil, which can destroy the pore space necessary for oxygen to reach the roots of nearby perennials.
Understanding the "Biological Clock" of your garden is essential. You must complete heavy construction before the vegetative stage of your primary crops begins. Once the photoperiod extends and plants enter their reproductive stages, the increased foot traffic and soil disturbance required to build a gate can cause significant stress. Aim to have the gate swinging before the soil temperature reaches a consistent 55 degrees Fahrenheit, as this is when microbial activity in the rhizosphere accelerates.
Phases:

Sowing the Foundation
The first phase involves setting the posts. Dig holes to a depth of one-third the height of the post. Add 4 inches of crushed gravel to the bottom of the hole to facilitate drainage and prevent anaerobic conditions that lead to root rot in nearby plantings.
Pro-Tip: Proper drainage at the post base prevents the accumulation of stagnant water; this avoids the proliferation of Phytophthora, a water-mold pathogen that thrives in saturated, low-oxygen soils.
Transplanting the Frame
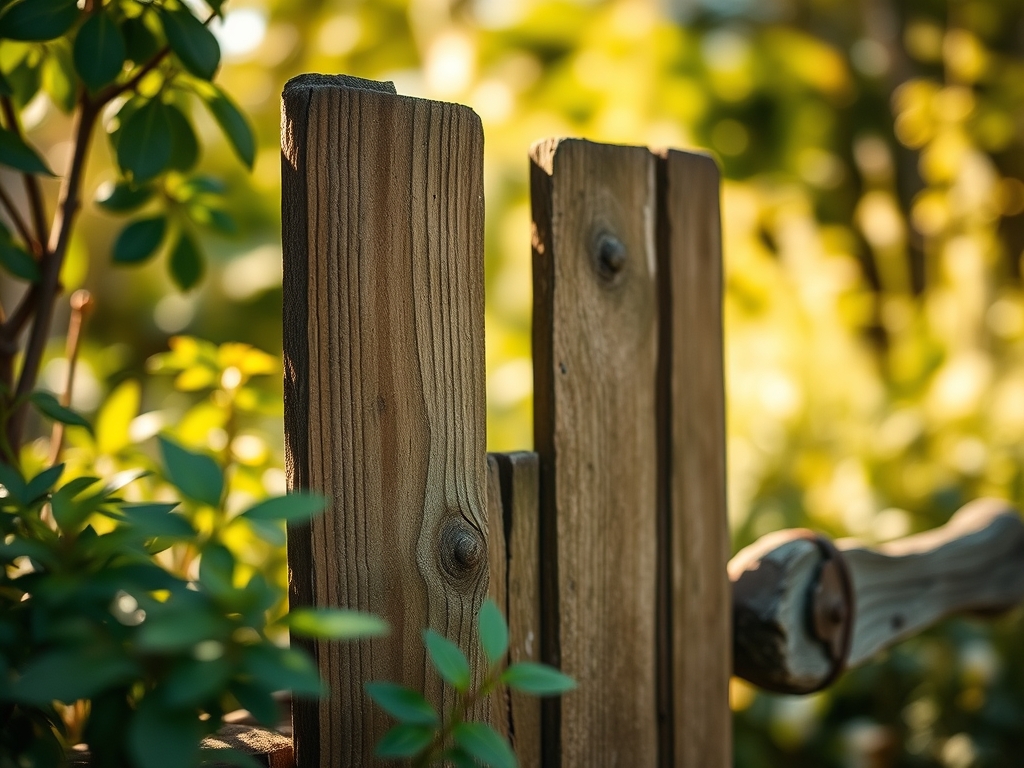
Construct the gate frame on a flat surface using a "Z" brace or a cross-brace. This geometry transfers the weight of the gate to the bottom hinge, preventing the wood from sagging over time. Use 3.5-inch exterior screws to secure the joints.
Pro-Tip: Use a cross-brace to counteract the force of gravity. This prevents auxin suppression in climbing plants by ensuring the gate remains at a consistent angle, allowing the plant to maintain its natural phototropism without being crushed by a shifting frame.
Establishing the Hardware
Attach the hinges to the post first, then hang the gate. Ensure a 0.5-inch clearance on the latch side to account for wood swelling during periods of high humidity. Apply a UV-rated sealant to all cut ends of the timber.
Pro-Tip: Leaving a gap for expansion mimics the natural turgor fluctuations in plant tissues. Wood is a biological material that breathes; restricting this movement leads to structural failure and the cracking of the protective cellular lignins.
The Clinic:
Even a well-built gate can face physiological and structural disorders. Monitor your gate and the surrounding plants for these common symptoms.
Symptom: Sagging gate or dragging latch.
Solution: Install a tension cable or "turnbuckle" from the top hinge corner to the bottom latch corner. This allows for micro-adjustments as the wood seasons.
Symptom: Premature wood rot at the soil line.
Solution: Ensure the concrete footer is sloped away from the post to shed water. Use a hori-hori knife to clear away mulch and organic debris that may be trapped against the wood.
Symptom: Nitrogen chlorosis in plants adjacent to the gate.
Fix-It: If you used fresh pressure-treated wood, the chemicals may temporarily disrupt local microbial life. Supplement the area with a high-nitrogen (20-10-10) liquid fertilizer to jumpstart the vegetative recovery.
Symptom: Iron deficiency (interveinal yellowing) in nearby acid-loving plants.
Fix-It: Concrete leaching can raise the local soil pH. Apply elemental sulfur or chelated iron to restore the acidity required for nutrient uptake.
Maintenance:
A garden gate requires consistent calibration to function as a component of a professional landscape. Use a soil moisture meter around the gate posts weekly; excessive moisture can indicate a drainage failure that will eventually rot the wood and drown the roots of flanking plants.
Apply 1.5 inches of water per week at the drip line of any ornamental climbers growing on the gate. Use bypass pruners to manage the growth of these plants, ensuring they do not infiltrate the hinge mechanisms or the latch. Every autumn, check the tension of all fasteners. The transition into senescence for many garden plants coincides with the time you should re-apply a water-repellent stain to the timber.
The Yield:
While a gate does not produce a caloric yield, its success is measured by the health of the plants it protects. If you have integrated the gate into a trellis system for grapes or hops, harvest when the fruit reaches its peak Brix level (sugar content). For grapes, this is often when the seeds turn brown and the stems begin to lignify.
Handle the harvest with care to maintain "day-one" freshness. Use a hori-hori knife for clean cuts on thick vines. Immediately move harvested perishables to a cool, shaded area to reduce the rate of respiration and preserve the cellular integrity of the produce.
FAQ:
What is the best wood for a garden gate?
Western Red Cedar or White Oak are superior due to their natural tannins and oils. These biological compounds resist decay and insect infestation. Pressure-treated pine is a cost-effective alternative for high-moisture environments.
How deep should garden gate posts be?
Posts should be buried at least 24 to 36 inches deep. In colder climates, the post must extend below the frost line to prevent "heaving," which occurs when freezing soil moisture expands and displaces the structure.
How do I stop my garden gate from sagging?
Install a diagonal "Z" brace. The brace must run from the bottom hinge corner to the top latch corner. This configuration uses compression to support the weight, maintaining the structural integrity of the timber frame.
Can I grow heavy vines on a wooden gate?
Yes, but you must account for the static load. Wisteria or trumpet vine can add hundreds of pounds of weight. Ensure the hinges are heavy-duty and the posts are anchored in at least 80 pounds of concrete.