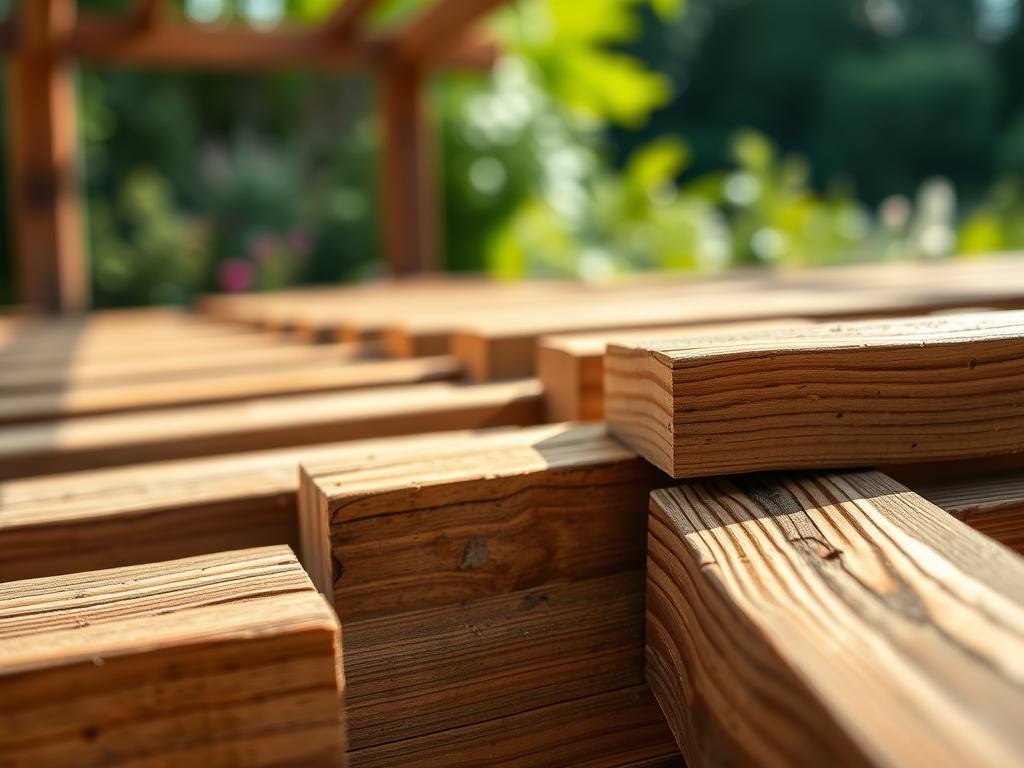
6 Vital Steps to Install Pergola Joists
The scent of damp cedar sawdust carries a sharp, resinous acidity that mimics the pheromones of a disturbed forest floor. Building a structural canopy requires the same precision as managing plant turgor pressure; if the skeletal framework fails, the entire microclimate beneath it collapses. You must master the steps to install pergola joists to ensure the structure survives seasonal wind loads and the weight of maturing woody vines. Success depends on structural integrity and the physiological health of the surrounding soil. A pergola is not merely a frame; it is a support system for the local rhizosphere. Every measurement must be exact to prevent torque from shearing the wood fibers over time.
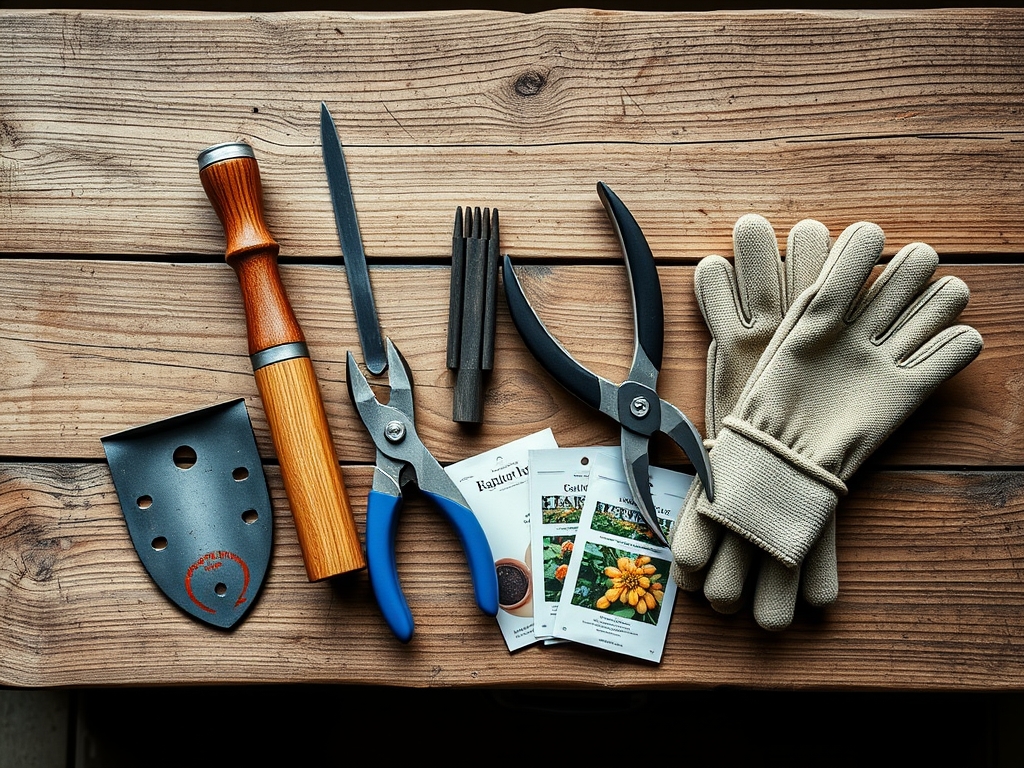
Materials:
Before setting your posts and joists, evaluate the substrate where the structure meets the earth. The ideal soil for a pergola perimeter is a **friable loam** with a **pH between 6.2 and 6.8**. This range ensures that any ornamental climbers you plant, such as Wisteria or Clematis, have maximum nutrient bioavailability.
For the surrounding vegetation, apply a granular fertilizer with an NPK ratio of 10-10-10 during the installation phase to offset root disturbance. Ensure the soil has a high Cation Exchange Capacity (CEC) of at least 15 to 25 milliequivalents per 100 grams. This allows the soil to retain essential nutrients like calcium and magnesium, which are often leached during the heavy foot traffic of construction. The texture should be crumbly, allowing for 10 percent air porosity to prevent anaerobic conditions around the post footings.
Timing:
Installation should occur during the dormant season for your local Hardiness Zone, typically between Zones 4 and 8. Aim for a window at least three weeks after the first hard frost or four weeks before the spring thaw. This timing respects the biological clock of the surrounding flora. By working while plants are in senescence, you minimize the risk of damaging active meristematic tissues.
The transition from vegetative to reproductive stages in nearby perennials is sensitive to light changes. Installing a pergola during the winter photoperiod allows the plants to adjust to the new shade patterns before the spring surge of auxin production. Avoid construction during the peak of summer, as high transpiration rates make plants susceptible to drought stress if their root zones are compacted by heavy machinery or lumber.
Phases:

Sowing the Foundation
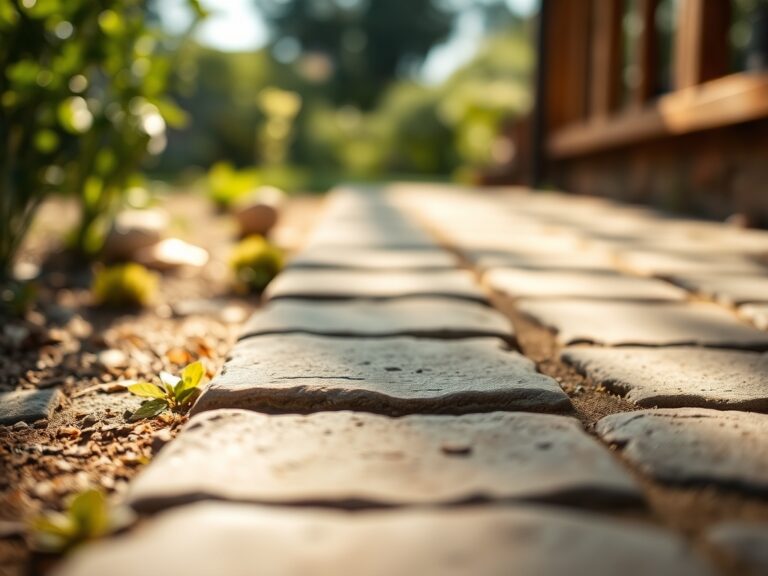
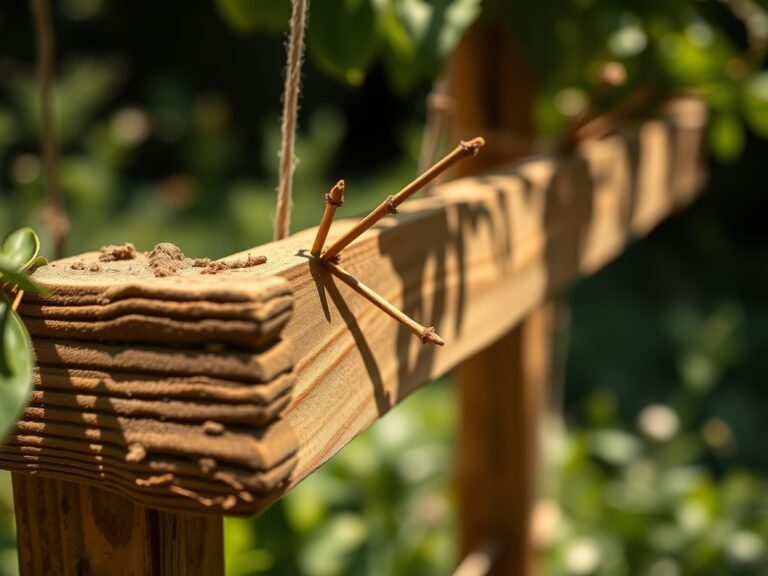
The first of the steps to install pergola joists involves securing the ledger board or support beams. Use 1/2 inch galvanized carriage bolts to anchor beams to the posts. Ensure the beams are perfectly level to prevent uneven weight distribution. A level beam is essential for the subsequent joist placement.
Pro-Tip: When digging post holes, avoid glazing the sides of the hole with a shovel. Glazing creates a hardpan layer that inhibits mycorrhizal symbiosis, preventing fungal networks from delivering phosphorus to nearby plant roots.
Transplanting the Joists
Lift the joists into position, spacing them 12 to 16 inches on center. This spacing provides optimal support for climbing plants while allowing sufficient sunlight to penetrate the canopy. Use 3-inch stainless steel wood screws to toe-screw the joists into the beams.
Pro-Tip: Orient the joists to account for phototropism. If you live in the Northern Hemisphere, a north-south orientation allows the sun to move across the joists, providing more consistent light to the plants below and reducing the risk of fungal pathogens in deep shade.
Establishing Stability
Install blocking between the joists every 4 to 6 feet. This prevents the lumber from warping or twisting as it undergoes cycles of wetting and drying. Secure the ends of the joists with hurricane ties to resist uplift during high-wind events.
Pro-Tip: Use a hori-hori knife to clean away any debris or wood shavings from the soil surface. Wood shavings have a high carbon-to-nitrogen ratio; as they decompose, they can cause nitrogen immobilization, temporarily starving your plants of essential growth elements.
The Clinic:
Physiological disorders in the landscape often stem from construction errors. Monitor these symptoms during and after the steps to install pergola joists.
-
Symptom: Interveinal chlorosis (yellowing leaves with green veins) in nearby shrubs.
-
Solution: This indicates Iron or Manganese deficiency, often caused by a spike in soil pH from concrete runoff. Apply chelated iron and flush the soil with water to restore a pH of 6.5.
-
Symptom: Marginal leaf scorch on climbers.
-
Solution: This is a sign of potassium deficiency or salt buildup. Test the soil; if K levels are below 150 ppm, apply a 0-0-50 sulfate of potash supplement.
-
Symptom: Wilting despite moist soil.
-
Solution: Soil compaction from construction has destroyed macropores. Use a garden fork to aerate the soil to a depth of 8 inches without severing major lateral roots.
Maintenance:
A pergola requires structural and biological upkeep. Inspect the joist connections annually for signs of wood rot or fastener fatigue. For the plants growing up the structure, provide 1.5 inches of water per week at the drip line. Do not water the foliage directly, as this increases the risk of powdery mildew.
Use bypass pruners to manage the growth of vines, ensuring they do not wrap too tightly around the joists. Girdling can occur when a vine constricts the joist, leading to localized wood decay. Use a soil moisture meter twice a week during the first growing season to ensure the root zone remains at 40 to 60 percent field capacity.
The Yield:
If your pergola supports fruiting vines like Vitis vinifera (grapes), harvest timing is critical. Use a refractometer to measure the Brix level; most table grapes are ready at 16 to 18 percent sugar content. Harvest in the early morning when the fruit is cool to maintain turgor pressure and extend shelf life.
Clip the clusters using sharp snips, leaving 1 inch of stem attached to the bunch. Store the harvest immediately in a cool, humid environment at 32 to 35 degrees Fahrenheit. This slows the rate of respiration and prevents the fruit from shriveling.
FAQ:
What is the best spacing for pergola joists?
Standard spacing is 12 to 16 inches on center. This provides structural stability and creates a balanced light environment for climbing plants, preventing excessive shade that could lead to leaf senescence in the lower canopy.
How deep should pergola posts be set?
Posts should reach below the local frost line, typically 36 to 48 inches deep. This prevents frost heave from shifting the joists and ensures the structure remains level, protecting the vascular systems of attached vines.
What wood is best for pergola joists?
Use Western Red Cedar or Pressure-Treated Southern Yellow Pine. These woods resist decay and fungal attacks. Cedar contains natural thujaplicins, which act as a botanical preservative against wood-rotting pathogens in humid environments.
Can I grow heavy vines on pergola joists?
Yes, provided the joists are 2×6 or 2×8 lumber and secured with galvanized hardware. Heavy woody vines like Wisteria require a robust framework to support their mass and the lateral pressure they exert as they thicken.
How do I prevent wood rot on joists?
Apply a penetrating oil-based sealer every two years. Ensure the tops of the joists are slightly beveled or capped to prevent standing water, which creates a breeding ground for wood-decaying fungi and compromises the structure.