8 Quick Steps to Attach Trellis to Wall
The smell of damp earth and the cool snap of a leaf with high turgor pressure define a successful garden. Verticality is the final frontier for the horticulturist seeking to maximize biomass in limited square footage. When you execute the steps to attach trellis to wall, you are not merely installing a support structure; you are creating a biological framework for climbing species to optimize their photoperiod exposure. A trellis provides the necessary mechanical stability for vines to channel energy away from structural lignin production and toward reproductive output. Without a rigid anchor, wind shear and the weight of saturated foliage can lead to mechanical failure and vascular damage. This guide provides the technical precision required to secure your vertical supports while respecting the physiological needs of the plant.
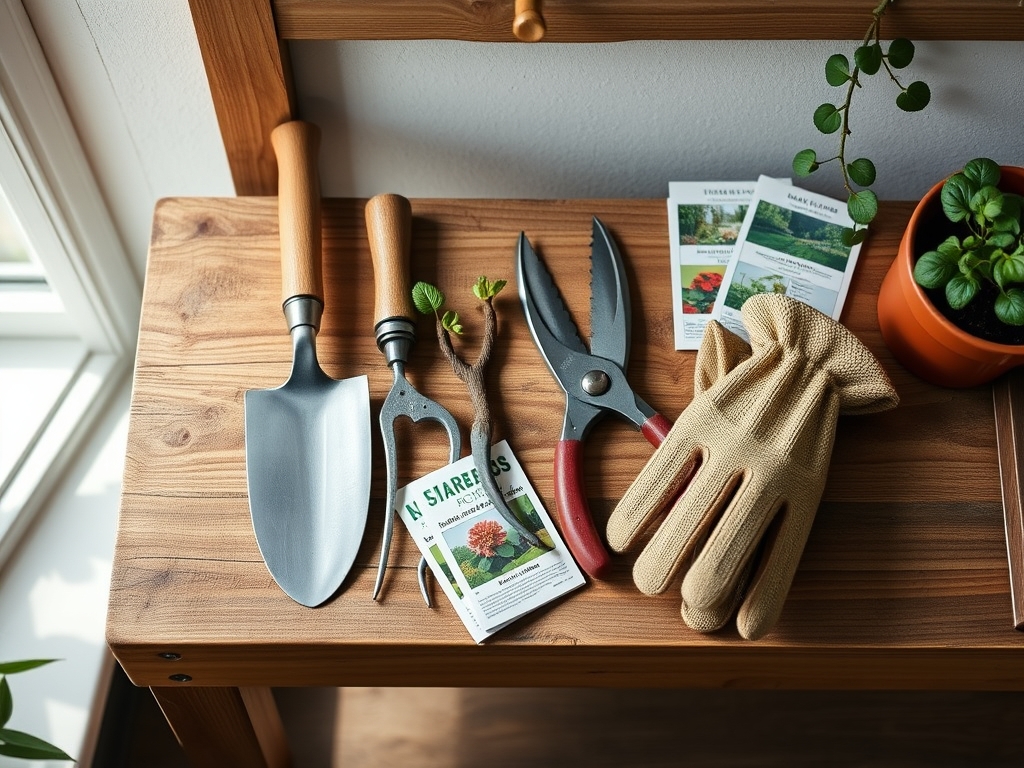
Materials:
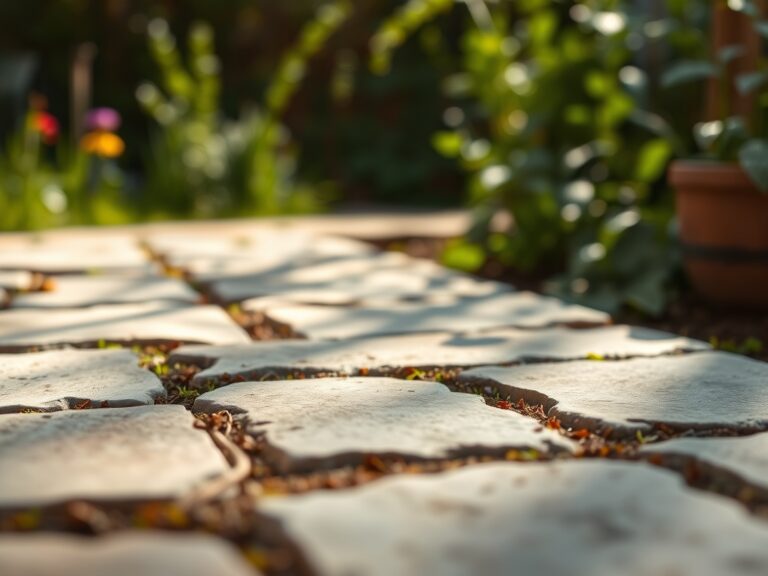
The foundation of vertical gardening begins in the rhizosphere. Before drilling into masonry, ensure the soil at the base is a **friable loam** with a **Cation Exchange Capacity (CEC) between 15 and 25**. The substrate should be composed of 40 percent sand, 40 percent silt, and 20 percent clay to ensure drainage while maintaining nutrient retention.
For heavy feeders like Clematis or climbing roses, the soil must be amended to a pH of 6.0 to 7.0. Incorporate a slow-release fertilizer with an NPK ratio of 10-30-20 to prioritize root establishment and floral development over excessive vegetative growth. You will also require 1-inch plastic spacers, 3-inch masonry screws, a hammer drill, and UV-stabilized garden ties. The spacers are critical; they prevent the foliage from resting directly against the wall, which reduces heat stress and improves airflow to prevent fungal colonization.
Timing:
Successful installation and planting must align with your local USDA Hardiness Zone. In Zones 5 through 7, the ideal window for mounting a trellis and introducing new climbers is early spring, approximately two to three weeks before the last frost date. This timing allows the root system to establish during the vegetative stage before the plant enters the high-energy reproductive stage in mid-summer.
Monitoring the biological clock of your specific cultivar is essential. Many woody perennials require a period of vernalization (cold treatment) to trigger spring growth. Installing the trellis during the dormant season ensures that as soon as soil temperatures reach 50 degrees Fahrenheit, the emerging shoots have immediate access to support. This prevents the "twining stress" that occurs when plants are forced to search for a climbable surface, which can deplete carbohydrate reserves stored in the roots.
Phases:

Sowing and Site Preparation
Begin by marking your drill points on the wall. Space your anchors every 18 to 24 inches to distribute the weight of the mature plant. If you are starting from seed, sow directly into the friable loam at a depth three times the seed's diameter. Ensure the soil moisture is maintained at 70 percent field capacity to trigger germination.
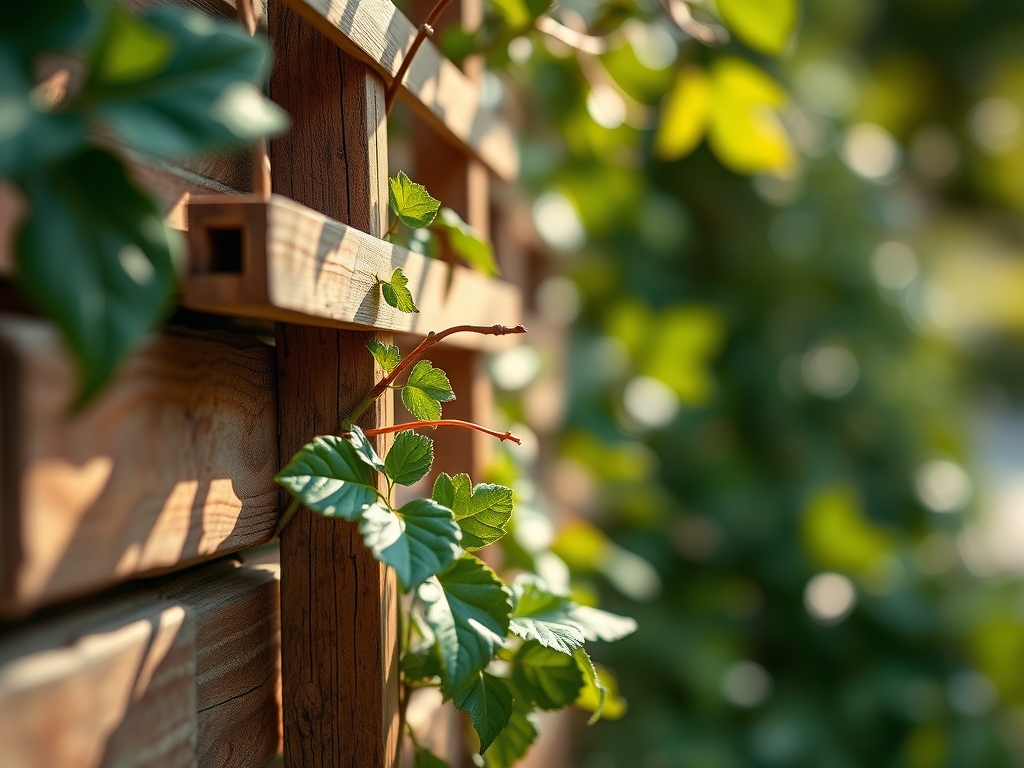
Pro-Tip: Proper spacing between the trellis and the wall facilitates convective cooling. By allowing a 1-inch gap, you prevent the "heat sink" effect of masonry, which can cause leaf scorch and localized senescence in high-temperature environments.
Transplanting
When moving a container-grown plant to the base of the trellis, dig a hole twice the width of the root ball. Use a hori-hori knife to gently tease out any circling roots, which prevents girdling. Position the plant 6 inches away from the wall to allow for future trunk expansion and to ensure the root crown is not buried too deep, which can lead to anaerobic conditions and rot.
Pro-Tip: Mycorrhizal symbiosis is vital during this phase. Inoculating the planting hole with endomycorrhizal fungi increases the surface area for nutrient uptake, specifically phosphorus, which is immobile in the soil profile but essential for cellular energy transfer.
Establishing and Training
As the plant enters its rapid growth phase, use garden ties to secure the primary leaders to the trellis. Avoid tight knots that could constrict the phloem and xylem, the plant's vascular transport systems. Monitor the plant's response to light; most climbers exhibit strong positive phototropism, meaning they will naturally grow toward the sun.
Pro-Tip: For many vines, removing the terminal bud (apical meristem) will trigger auxin suppression. This process encourages lateral branching from axillary buds, resulting in a fuller, more robust vertical display rather than a single, spindly vine.
The Clinic:
Physiological disorders often manifest when environmental conditions or nutrient levels deviate from the biological optimum.
- Symptom: Interveinal chlorosis (yellowing between leaf veins) on new growth.
- Solution: This typically indicates Iron deficiency, often caused by a soil pH above 7.5. Apply chelated iron and adjust the pH with elemental sulfur.
- Symptom: Leaf margins turning brown and "burnt" on the side facing the wall.
- Solution: Heat scorch. Increase the spacer depth between the trellis and the wall to improve air circulation and reduce radiant heat.
- Symptom: Stunted growth and dark purple tint on older leaves.
- Solution: Phosphorus deficiency. Ensure the soil temperature is above 55 degrees Fahrenheit, as phosphorus uptake is severely limited in cold soils. Amend with a high-phosphate fertilizer.
Fix-It: Nitrogen chlorosis appears as a uniform paling of the oldest leaves. Apply a quick-release high-nitrogen fertilizer (NPK 20-0-0) to restore chlorophyll production and stimulate vegetative vigor.
Maintenance:
Precision maintenance is the difference between a thriving vertical garden and a struggling one. Provide 1.5 inches of water per week delivered directly to the drip line using a soaker hose. This prevents foliar wetting, which is the primary vector for powdery mildew and other fungal pathogens. Use a soil moisture meter to verify that the moisture has penetrated at least 8 inches into the soil profile.
Pruning should be performed with sterilized bypass pruners to ensure clean cuts that heal quickly. Remove any dead, damaged, or diseased wood (the "three Ds") as soon as it is spotted. For spring-flowering species, prune immediately after the bloom cycle ends. For summer-flowering species, prune in late winter while the plant is dormant. Regular maintenance prevents the trellis from becoming "top-heavy," which can exert over 100 pounds of force on your masonry anchors during a storm.
The Yield:
For those growing edible climbers like pole beans or hops, harvest timing is dictated by the transition from the vegetative to the reproductive stage. Harvest beans when they reach the "snap" stage, usually 5 to 8 inches long, before the seeds inside begin to bulge. This prevents the plant from shifting its energy into seed maturation, which triggers senescence and ends the production cycle.
For floral yields, cut stems in the early morning when turgor pressure is at its peak. Use a sharp knife to make a 45-degree angle cut and immediately submerge the stems in 100-degree Fahrenheit water. This "pulsing" technique removes air bubbles from the xylem and ensures "day-one" freshness for several days.
FAQ:
How deep should I drill into the wall?
Drill at least 2.5 inches into masonry using a carbide-tipped bit. This depth ensures the anchor can withstand the lateral tension and weight of a mature plant during high-wind events or heavy rain saturation.
Can I attach a trellis to wood siding?
Yes, but you must locate the structural studs behind the siding. Use stainless steel screws to prevent rust streaks and always use spacers to maintain a gap for airflow, preventing rot on the wood surface.
What is the best material for a permanent trellis?
Powder-coated steel or Western Red Cedar are superior. Steel offers maximum rigidity and longevity; cedar contains natural oils that resist decay and insect infestation, making it ideal for long-term botanical support.
How do I prevent the trellis from pulling out?
Use toggle bolts for hollow walls or expansion anchors for solid masonry. Ensure the total weight capacity of the fasteners exceeds the estimated mature weight of the plant by at least 50 percent to account for environmental variables.