6 Easy Steps to Install Porch Planters
Crushed perlite dust and the sharp, metallic scent of damp humus signal the start of a successful container installation. Achieving high turgor pressure in a newly set plant requires more than aesthetic placement; it demands a rigorous understanding of the steps to install porch planters to ensure long-term vascular health. A successful installation begins with managing the rhizosphere within a confined volume. This guide provides the technical framework to transition from bare containers to a thriving, high-performance micro-ecosystem.
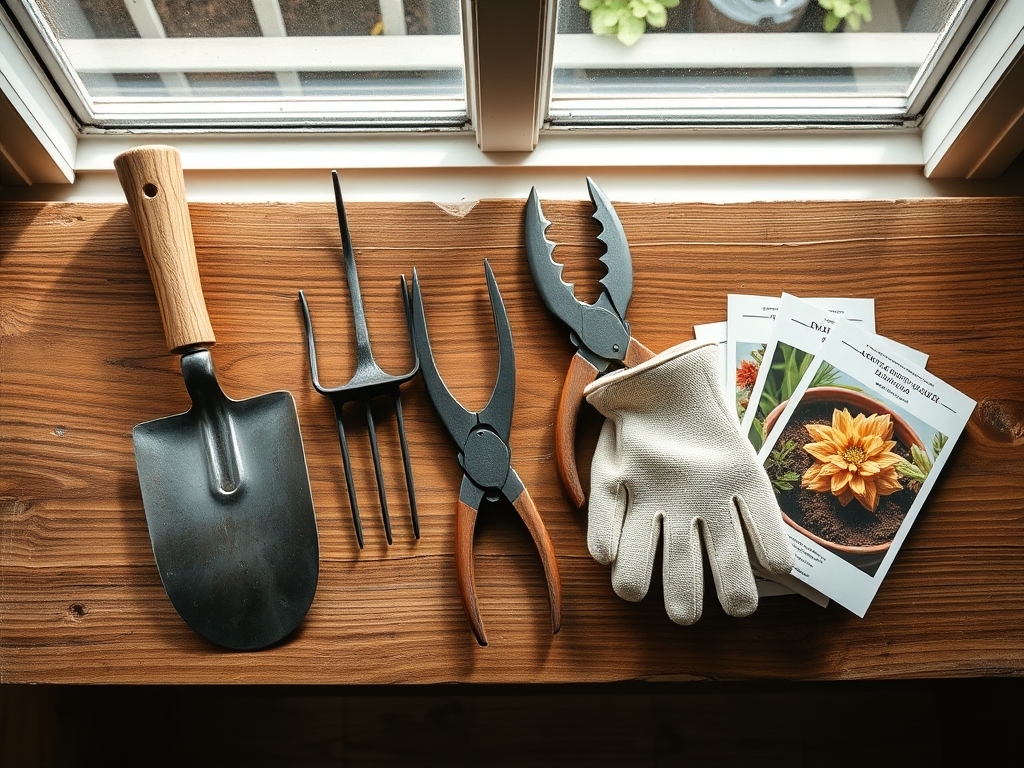
Materials:
Substrate selection determines the Cation Exchange Capacity (CEC), which governs how effectively your plants can access nutrients. Avoid standard "topsoil," which compacts in containers and leads to anaerobic conditions. Instead, utilize a friable loam-based potting mix with a pH range of 6.2 to 6.8.
The physical texture must be porous, consisting of 60 percent peat moss or coconut coir, 20 percent perlite, and 20 percent composted organic matter. For the initial planting phase, incorporate a slow-release granular fertilizer with an NPK ratio of 10-10-10 or a starter-specific 5-10-5 to prioritize root development over rapid foliar expansion. High phosphorus (the middle number) is essential for ATP production and cellular division in new root tips. Ensure your containers have drainage holes at least 0.5 inches in diameter to prevent perched water tables.
Timing:
Successful installation depends on the local frost-free window. In Hardiness Zones 5 through 7, the ideal window opens between late April and mid-May, once soil temperatures consistently exceed 55 degrees Fahrenheit. Planting too early triggers cold stress, which slows metabolic processes and can lead to permanent stunting.
Understanding the biological clock is vital. Most annuals and perennials used in porch planters are currently in their vegetative stage. You must install them before they reach the reproductive stage (flowering) to ensure the plant directs its energy toward establishing a robust root system in the new substrate. If a plant is already "root-bound" or showing heavy bloom, it has already shifted its hormonal balance toward senescence, making establishment more difficult.
Phases:

Sowing and Preparation
Before placing any biological material, pre-hydrate your potting medium. Dry peat-based mixes are hydrophobic and will repel water if not saturated beforehand. Fill the container to within 3 inches of the rim. If sowing seeds directly, follow the depth rule of 2 to 3 times the seed's width. For most porch varieties, this means a depth of 0.125 to 0.25 inches.
Pro-Tip: Pre-moistening the soil prevents "dry pockets" that can cause localized root desiccation. This ensures immediate capillary action, allowing the root hairs to interface with soil particles immediately.
Transplanting
Remove the plant from its nursery container by supporting the main stem between your fingers and inverting the pot. If the roots are circling the root ball, use a hori-hori knife to make four vertical scores 0.5 inches deep. This mechanical disruption breaks apical dominance in the roots and forces lateral branching into the new soil.
Pro-Tip: This process utilizes the plant's response to wounding. By cutting the root tips, you suppress the flow of auxins that maintain the circular growth pattern, instead stimulating the growth of new, fine root hairs that increase nutrient uptake.
Establishing
Set the plant so the top of the root ball is level with the soil surface. Deep planting can lead to stem rot, while shallow planting exposes the crown to desiccation. Firm the soil gently to remove large air pockets but do not pack it tightly; oxygen diffusion is critical for cellular respiration in the rhizosphere.
Pro-Tip: Immediate irrigation after transplanting is not just for hydration. It settles the soil particles around the roots, eliminating air gaps and establishing the mycorrhizal symbiosis necessary for long-term nutrient cycling.
The Clinic:
Physiological disorders often mimic infectious diseases. Accurate diagnosis is required before intervention.
- Symptom: Interveinal chlorosis (yellowing between green leaf veins) on new growth.
- Solution: This indicates an Iron (Fe) deficiency, often caused by a pH above 7.0. Apply chelated iron and verify soil pH.
- Symptom: Marginal leaf burn or "scorching" on older leaves.
- Solution: Potassium (K) deficiency or salt accumulation. Flush the container with 2 gallons of water per square foot of surface area to leach excess salts.
- Symptom: Lower leaves turning uniform pale yellow.
- Solution: Nitrogen (N) chlorosis. The plant is scavenging nitrogen from old growth to support new leaves. Apply a liquid 20-20-20 fertilizer at half strength.
- Symptom: Wilting despite moist soil.
- Solution: Root rot (Phytophthora). This is an anaerobic condition. Improve drainage and reduce watering frequency.
Maintenance:
Precision is the difference between survival and performance. Use a soil moisture meter to verify that the root zone, not just the surface, is damp. Most porch planters require 1.5 inches of water per week, delivered directly to the drip line to avoid wetting the foliage, which can invite fungal pathogens.
Use bypass pruners to "deadhead" spent blooms. This is a hormonal intervention; by removing the developing seed pod, you stop the plant from completing its reproductive cycle, forcing it to redirect energy back into vegetative growth and further flower production. Monitor the container weekly for compaction. If the soil has pulled away from the edges of the pot, use a small hand rake to scarify the surface and improve water infiltration.
The Yield:
For those growing ornamental flowers or edible herbs in porch planters, timing the harvest is essential for post-harvest longevity. Harvest during the "cool" of the morning, specifically between 6:00 AM and 8:00 AM, when the plants are at peak turgidity.
For cut flowers, use a sharp blade to make a 45-degree angle cut and immediately submerge the stems in 100-degree Fahrenheit water. This "pulse" treatment breaks air embolisms in the xylem, allowing for maximum water uptake. For herbs, never harvest more than 30 percent of the leaf mass at once, as this can trigger a stress response that leads to premature bolting.
FAQ:
How often should I fertilize porch planters?
Containers require supplemental nutrition every 14 to 21 days. Frequent irrigation leaches mobile nutrients like Nitrogen and Potassium from the porous substrate. Use a water-soluble balanced fertilizer to maintain a steady supply of ions for plant uptake.
Why are my container plants wilting in the afternoon?
This is often "temporary wilting point" caused by transpiration rates exceeding the roots' ability to pull water. If the plant recovers by evening, the root system is likely undersized for the leaf area. Increase shading during peak solar radiation.
What is the best way to prevent root rot?
Ensure the container has adequate drainage and use a substrate containing 20 percent perlite or vermiculite. Avoid letting the pot sit in a saucer of standing water, which creates an anaerobic environment that kills root tissue within 24 hours.
Can I reuse potting soil from last year?
It is not recommended. Old soil loses its physical structure and CEC capacity. It may also harbor overwintering pathogens or pests. Always start with fresh, sterilized media to ensure a disease-free rhizosphere and optimal air-to-water ratios.