10 Basic Steps to Fix Leaf Spots
Leaf spots spread fast. Brown, yellow, or black lesions appear overnight, turning prize specimens into shabby shadows. The steps to fix leaf spots begin with accurate diagnosis, move through cultural and chemical intervention, and end with prevention protocols that protect future flushes. Each step builds resistance into the plant's vascular system while eliminating pathogen reservoirs in soil and canopy.
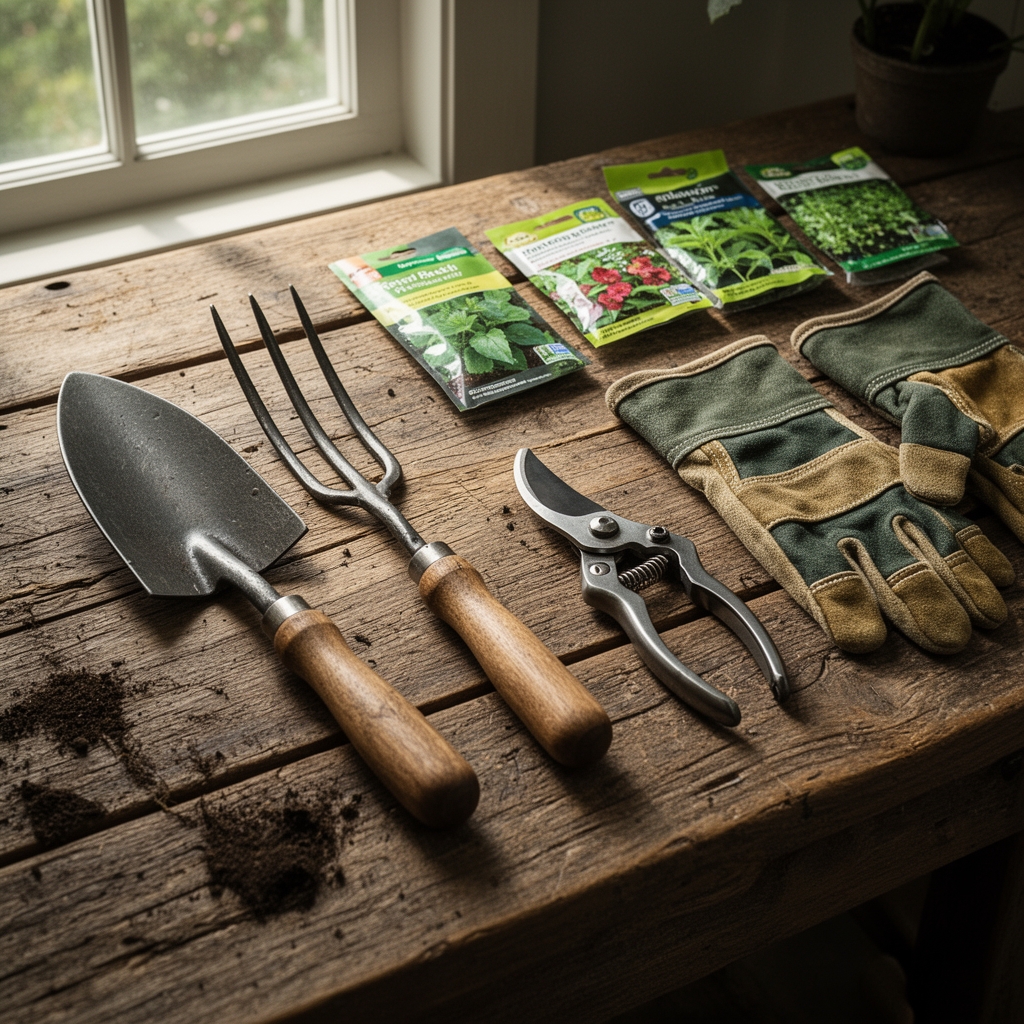
Materials
Successful treatment demands precision. Gather copper fungicide (fixed copper at 50% metallic equivalent), neem oil (azadirachtin concentration at 0.9% minimum), sulfur dust (90% elemental sulfur), and potassium bicarbonate (85% food-grade). Soil amendments should include compost with a C:N ratio of 25:1, mycorrhizal fungi inoculant (Glomus intraradices at 120 propagules per gram), and a balanced organic fertilizer rated 4-4-4 for NPK. Add chelated iron (Fe-EDDHA at 6% iron) if chlorosis accompanies spotting. Maintain spray equipment with brass or stainless nozzles. Plastic degrades under copper and sulfur compounds. Stock pruning shears, isopropyl alcohol (70% concentration), pH strips calibrated 4.0 to 8.0, and a soil thermometer reading to 0.5 degrees Fahrenheit. The cation exchange capacity of your medium determines amendment rates. Sandy loam requires double the organic matter of clay.
Timing
Fungal and bacterial pathogens flourish in humidity above 85% and temperatures between 60 and 75 degrees Fahrenheit. In Zones 5 through 7, leaf spot outbreaks peak from late May through September. Begin preventive sprays two weeks after last frost when daytime temperatures stabilize above 55 degrees. In Zones 8 through 10, monitor year-round. Winter rains create humid microclimates even when ambient air stays dry. Apply treatments early morning when dew persists but before temperatures exceed 80 degrees. Fungicide efficacy drops 40% above that threshold. Reapply every seven to fourteen days depending on rainfall. More than 0.5 inches of rain washes protective coatings from leaf surfaces.
Phases

Step 1: Identify the Pathogen
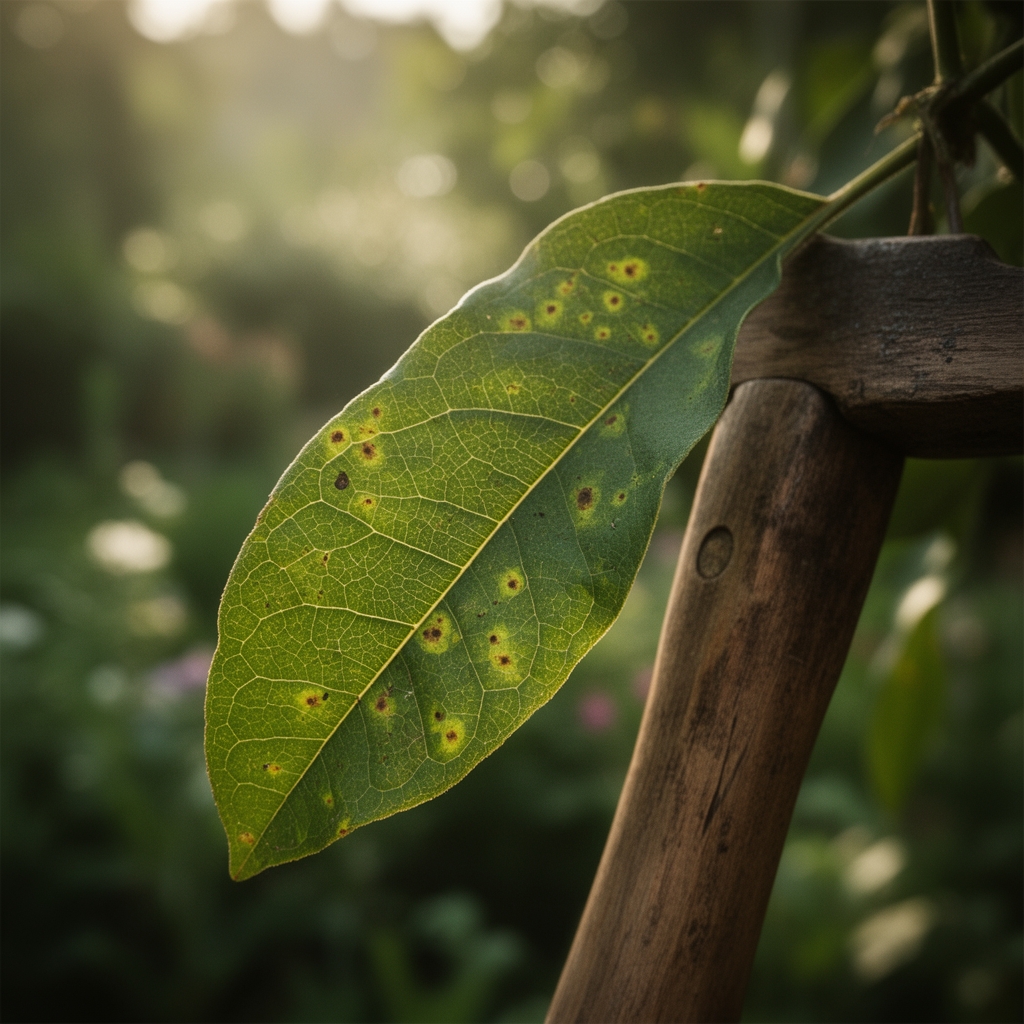
Examine spot morphology. Concentric rings indicate Alternaria or Septoria. Yellow halos suggest bacterial infection (Pseudomonas or Xanthomonas). Tar-like spots point to Rhytisma acerinum. Send samples to extension labs for culture if uncertainty persists. Misdiagnosis wastes resources and accelerates resistance.
Step 2: Remove Infected Tissue
Prune all symptomatic leaves at the petiole base. Cut 0.25 inches into healthy tissue. Sterilize blades between cuts by dipping in isopropyl alcohol for ten seconds. Dispose of debris in sealed bags, never compost piles. Fungal spores survive composting unless temperatures exceed 140 degrees for three consecutive days.
Step 3: Improve Air Circulation
Space plants to allow 18 inches minimum between canopies. Thin interior branches at 45-degree angles to the trunk. Horizontal cuts collect water and invite secondary infection. Redirect auxin distribution by removing apical dominance where crowding occurs.
Pro-Tip: Install oscillating fans in greenhouses to maintain airflow at 2 to 3 miles per hour. This rate prevents spore germination without desiccating foliage.
Step 4: Adjust Irrigation
Water at soil level using drip lines or soaker hoses. Overhead watering extends leaf wetness periods, the primary driver of fungal sporulation. Deliver 1 inch per week in a single deep session rather than frequent shallow pulses. Deep watering promotes root growth to 12 inches, improving drought tolerance and nutrient uptake.
Step 5: Modify Soil pH
Test soil monthly during treatment. Most pathogens thrive in acidic conditions below pH 6.0. Raise pH to 6.5 to 7.0 using dolomitic lime at 5 pounds per 100 square feet for sandy soil, 7 pounds for loam, 10 pounds for clay. Retest after thirty days. Excess lime locks phosphorus into insoluble compounds.
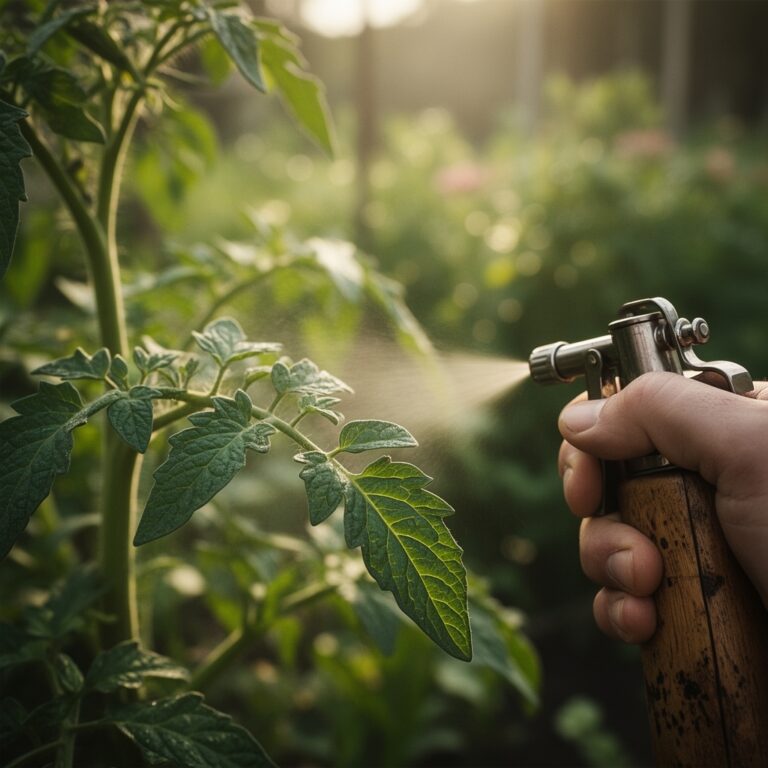
Step 6: Apply Fungicides
Rotate active ingredients to prevent resistance. Week one, apply copper fungicide at 2 tablespoons per gallon. Week three, switch to sulfur dust at 3 ounces per 10 square feet. Week five, use potassium bicarbonate at 1 tablespoon per gallon. Spray until runoff. Coat undersides of leaves where stomata concentrate.
Pro-Tip: Add 0.5 teaspoons of insecticidal soap per gallon as a spreader-sticker. This increases coverage by 30%.
Step 7: Introduce Beneficial Microbes
Inoculate root zones with Trichoderma harzianum and Bacillus subtilis. These organisms colonize leaf surfaces and outcompete pathogens for resources. Apply at 1 gram per liter of water as a soil drench and foliar spray. Repeat every two weeks for three applications.
Step 8: Feed for Resistance
Avoid high-nitrogen fertilizers during outbreaks. Excess nitrogen creates succulent growth with thin cell walls. Switch to a 3-1-2 NPK ratio. Boost potassium to strengthen cell membranes. Apply kelp extract (1 tablespoon per gallon) for micronutrients and natural cytokinins.
Step 9: Mulch Strategically
Spread 2 inches of aged hardwood mulch around plants, leaving 3 inches clear at the stem base. Mulch moderates soil temperature and prevents splash-back of contaminated soil onto foliage during rain.
Step 10: Monitor and Record
Document spot size, distribution, and weather conditions weekly. Track fungicide application dates and rates. Patterns emerge over seasons, revealing optimal intervention windows for your microclimate.
Troubleshooting
Symptom: Spots enlarge despite fungicide applications.
Solution: Pathogen resistance has developed. Rotate to a different chemical class. Switch from copper to chlorothalonil or mancozeb.
Symptom: New spots appear on upper leaves while lower leaves clear.
Solution: Systemic infection or continued splash contamination. Increase spray frequency to every five days and expand coverage to include surrounding soil.
Symptom: Yellowing between veins accompanies spots.
Solution: Nutrient deficiency (manganese or iron) complicates infection. Apply chelated micronutrients at label rates.
Symptom: Spots darken and leaves drop within 48 hours.
Solution: Bacterial pathogen. Copper sprays provide moderate control. Remove infected plants if spread accelerates.
Maintenance
Water at dawn to allow eight hours of leaf drying before nightfall. Maintain soil moisture at 60% of field capacity using a tensiometer. Feed every four weeks with 4-4-4 organic blend at 0.5 pounds per 10 square feet. Prune for air circulation monthly, removing no more than 20% of canopy per session. Inspect undersides of leaves weekly with a 10x hand lens for early lesion detection. Clean tools after each use. Store fungicides in opaque containers below 75 degrees to preserve potency.
FAQ
How long before spots disappear?
Existing spots remain but cease expanding within 7 to 10 days of effective treatment. New growth emerges clean after 14 to 21 days.
Can I use milk as a fungicide?
Diluted milk (1 part milk to 9 parts water) shows efficacy against powdery mildew but limited effect on leaf spot pathogens.
Are leaf spots contagious to other plant species?
Most pathogens demonstrate host specificity. Tomato Septoria does not infect roses. Exceptions include Botrytis and Pythium, which attack many genera.
Will infected plants recover fully?
Yes, if caught early. Severe defoliation (over 60% leaf loss) reduces photosynthetic capacity and may require two seasons for full recovery.
Should I spray preventively on healthy plants?
In high-humidity climates or where leaf spot history exists, preventive copper or sulfur applications every 14 days reduce outbreak probability by 70%.