8 Efficient Ways How to Build a Potting Station
The smell of damp peat moss and the gritty texture of perlite under your fingernails define the workspace of a serious horticulturalist. Maintaining high turgor pressure in a seedling requires a transition from nursery flat to final container that is swift and precise. To achieve this efficiency, you must understand how to build a potting station that functions as a laboratory for plant physiology. A well designed bench reduces root exposure to ambient air; preventing the desiccation of delicate root hairs during the critical transplanting window.
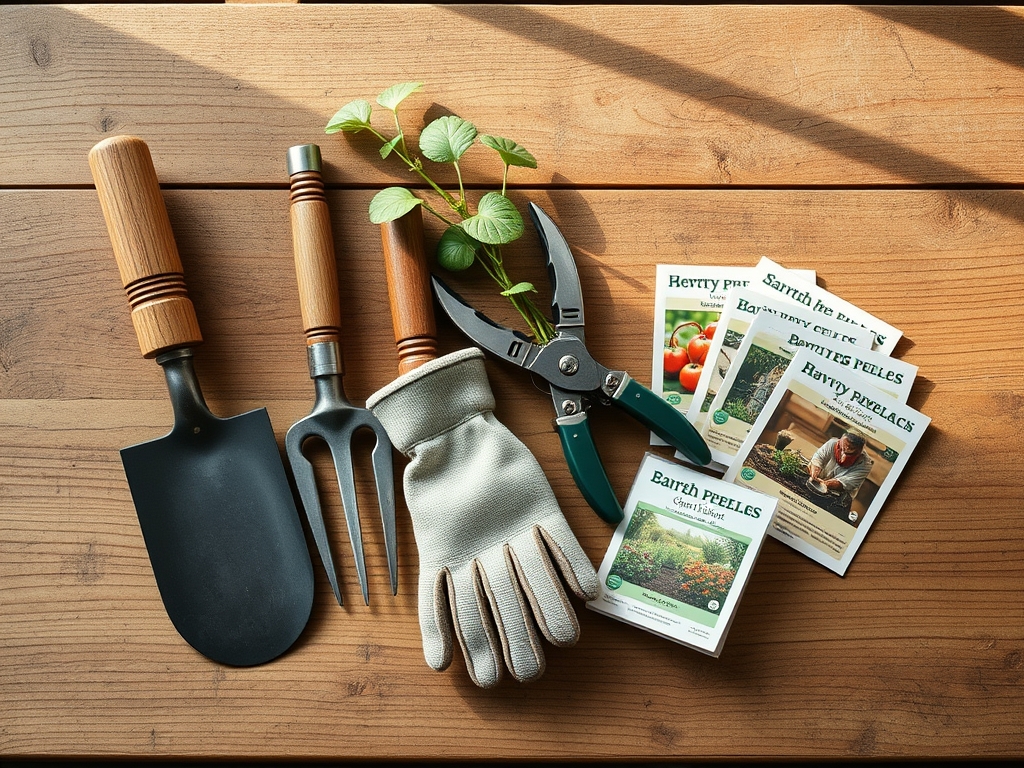
Materials:
A professional potting station requires a substrate library organized by chemical composition. Your primary medium should be a **friable loam** with a **pH range of 5.8 to 6.5** to ensure maximum nutrient availability. For general vegetative growth, stock a balanced **10-10-10 NPK** fertilizer. For flowering species, maintain a high-phosphorus **5-20-10** blend to support reproductive development.
The physical structure of the station must include a non-porous work surface; stainless steel or sealed cedar prevents the accumulation of soil-borne pathogens. You require bins for raw components: coarse sand for drainage, sphagnum peat for moisture retention, and vermiculite to increase the Cation Exchange Capacity (CEC). High CEC allows the soil to hold onto positively charged nutrients like Calcium (Ca2+) and Magnesium (Mg2+); preventing them from leaching out during irrigation.
Timing:
The utility of your potting station follows the solar cycle and USDA Hardiness Zones. In Zones 5 through 7, the station becomes the primary hub for starting seeds 6 to 8 weeks before the last frost date. This period marks the transition from the dormant phase to the vegetative stage.
The "Biological Clock" of the plant is governed by the photoperiod. As day length increases, plants move from the vegetative stage (foliar expansion) to the reproductive stage (bud initiation). Your station must be ready for "The Great Shift" in mid-spring when soil temperatures consistently reach 55 degrees Fahrenheit (12.8 Celsius). This is the thermal threshold for microbial activity in the rhizosphere to begin in earnest.
Phases:
Sowing
Begin with sterile seed-starting mix to prevent "damping off," a fungal condition caused by Pythium or Rhizoctonia. Place seeds at a depth exactly two times their diameter. Maintain a consistent bench temperature of 70 degrees Fahrenheit for optimal germination.
Pro-Tip: Utilize bottom heat to stimulate rapid cell division in the radicle. This exploits geotropism, ensuring the primary root grows downward immediately upon emergence from the seed coat.
Transplanting
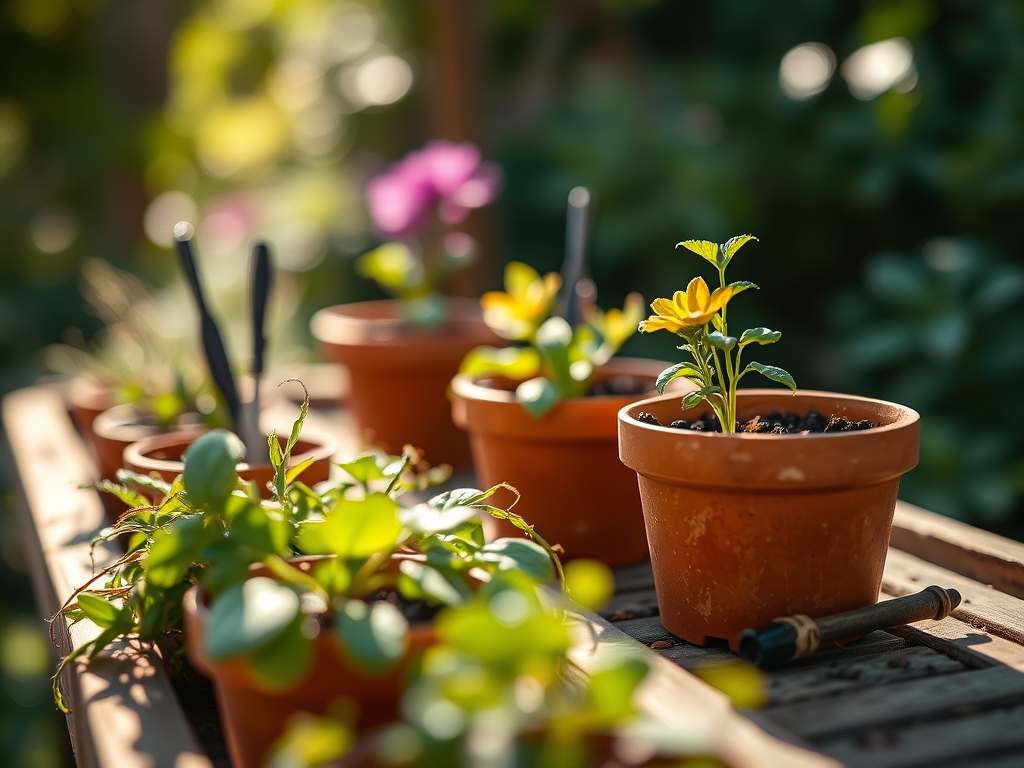
When the first set of true leaves appears, the plant has transitioned from relying on endosperm energy to active photosynthesis. Move the seedling to a larger vessel using a hori-hori knife to lift the root ball without compression. Ensure the new soil medium is pre-moistened to prevent "wicking" moisture away from the roots.
Pro-Tip: Always handle plants by the leaves, never the stems. A crushed leaf can be replaced through new growth, but a crushed vascular system (xylem and phloem) leads to permanent senescence and plant death.
Establishing
Once transplanted, the plant enters a phase of rapid biomass accumulation. This requires a stable environment with high humidity. Monitor the soil moisture meter daily; the goal is to maintain "field capacity" where the soil is saturated but oxygen is still present in the pore spaces.
Pro-Tip: Inoculate the potting mix with mycorrhizal fungi. This creates a symbiotic relationship that effectively increases the root surface area by 10 to 1,000 times; significantly improving phosphorus uptake.
The Clinic:
Physiological disorders often mimic infectious diseases. Use your potting station as a diagnostic bench to identify these common issues:
- Nitrogen Chlorosis: Older leaves turn pale yellow while veins remain green. Fix-It: Apply a water-soluble high-nitrogen (20-0-0) fertilizer to restore chlorophyll production.
- Blossom End Rot: Sunken, leathery spots on the base of fruit. This is a calcium deficiency often caused by inconsistent watering. Fix-It: Maintain a steady 1.5 inches of water per week and ensure soil pH is above 6.0 to keep calcium mobile.
- Etiolation: Stems become long, weak, and pale. This is a light deficiency. Fix-It: Increase light intensity to trigger photomorphogenesis, which inhibits stem elongation and promotes sturdy growth.
- Interveinal Necrosis: Browning between leaf veins, often indicating Magnesium deficiency. Fix-It: Supplement with Epsom salts (Magnesium Sulfate) at a rate of 1 tablespoon per gallon of water.
Maintenance:
A potting station is only as effective as the tools it houses. Clean your bypass pruners with a 10 percent bleach solution between every use to prevent the spread of viral pathogens.
Watering must be surgical. Apply water at the drip line of the container rather than the base of the stem to encourage lateral root expansion. For most established container plants, the rule is 1.5 inches of water per week, delivered in two deep sessions rather than daily shallow mists. This prevents salt buildup in the upper layers of the substrate. Use a soil moisture meter to verify that moisture has reached the bottom third of the pot before re-irrigating.
The Yield:
Harvesting is the final stage of the station's cycle. For herbs and leafy greens, harvest in the early morning when turgor pressure is at its peak. This ensures the cell walls are fully distended with water, providing maximum crispness.
Use sharp bypass pruners to make clean cuts at a 45-degree angle; this increases the surface area for water uptake if the stems are placed in a vase and prevents water from pooling on the mother plant's wound. Post-harvest, immediately move produce to a cool, shaded area to slow the rate of respiration and preserve sugars.
FAQ:
What is the best height for a potting station?
The work surface should be 34 to 36 inches high. This aligns with the average person's waist; reducing lumbar strain during repetitive tasks like sifting soil or filling multiple 4-inch nursery pots for spring transplanting.
Can I use garden soil in my potting station?
No. Garden soil is too dense and lacks the necessary pore space for container drainage. It also introduces pathogens and weed seeds. Stick to a "soilless" mix of peat, perlite, and pine bark for optimal aeration.
How do I disinfect my potting bench?
Mix a solution of one part bleach to nine parts water. Scrub all surfaces and bins at the start of each season. This eliminates dormant fungal spores and bacteria that cause seedling blight and root rot.
What is the most important tool for a potting station?
A high-quality soil moisture meter. It removes guesswork from irrigation. Over-watering is the leading cause of plant mortality in containers because it displaces oxygen in the rhizosphere, leading to anaerobic conditions and root decay.