7 Simple Steps to Install a Compost Bin
The smell of damp earth and the turgor of a healthy leaf depend entirely on the subterranean chemistry of your garden. Success begins with the conversion of organic waste into stable humus; a process that requires a controlled environment to manage aerobic decomposition. Mastering the steps to install a compost bin ensures your soil maintains a high Cation Exchange Capacity (CEC), allowing plants to efficiently uptake essential macronutrients. Without a dedicated system, nitrogen volatilizes into the atmosphere rather than enriching the rhizosphere. Proper installation creates a biological reactor that transforms cellulose and lignin into plant available nutrients. This guide provides the technical framework to establish a functional composting unit, focusing on thermal regulation and microbial efficiency. You must treat the compost bin as an extension of the soil itself; a living organ that breathes, heats, and matures according to strict biochemical parameters.
Materials:
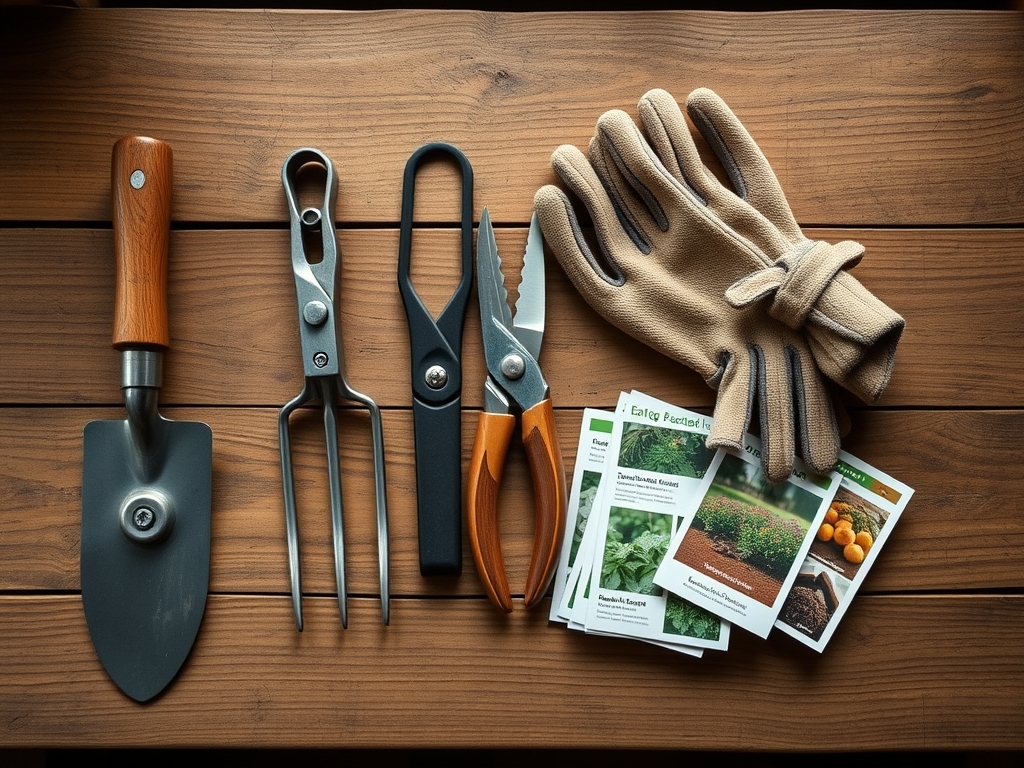
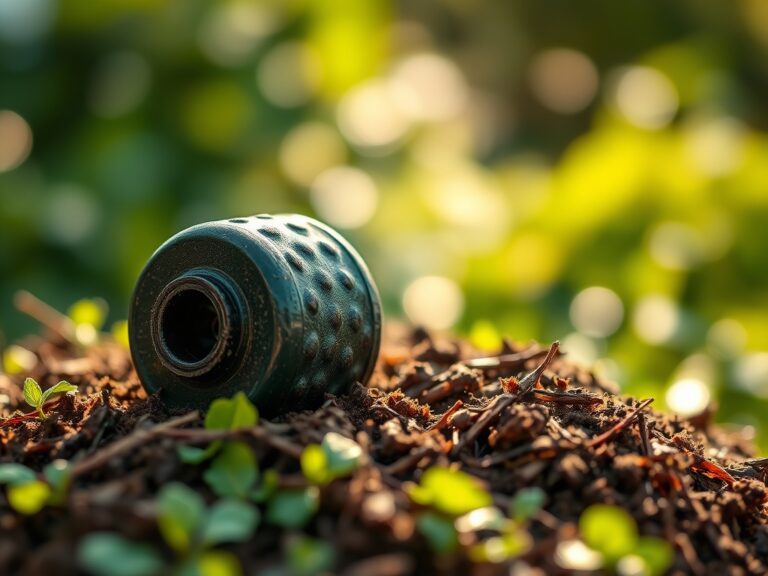
The ideal substrate for the base of your bin is a **friable loam** with a **pH between 6.0 and 7.5**. This range optimizes the solubility of phosphorus and potassium. You will need a bin constructed from UV stabilized polyethylene or untreated cedar to prevent chemical leaching into the organic matter.
To initiate the biological process, assemble materials based on their NPK ratios and Carbon to Nitrogen (C:N) values. High nitrogen "greens" like fresh grass clippings typically possess an NPK ratio of 4-0.5-2, while carbon heavy "browns" such as dried leaves or straw provide the structural matrix required for oxygen flow. You will also need a soil moisture meter to maintain a consistent hydration level of 40 to 60 percent. A long stem thermometer is mandatory for monitoring the thermophilic phase, which should reach internal temperatures between 135 and 160 degrees Fahrenheit to neutralize weed seeds and pathogens.
Timing:
The biological clock of a compost pile is dictated by ambient temperatures and the local frost date window. In Hardiness Zones 3 through 6, installation should occur in late spring once the soil temperature consistently exceeds 50 degrees Fahrenheit. This ensures that indigenous soil microbes are active enough to colonize the new bin.
In warmer Hardiness Zones 8 through 11, installation is viable year round; however, high summer heat requires increased monitoring to prevent desiccation. The transition from the initial mesophilic stage to the active thermophilic stage generally takes 7 to 14 days under optimal conditions. Understanding the "Biological Clock" of the bin involves recognizing that decomposition slows significantly during the winter months as microbial respiration decreases. Aim to establish your bin at least 90 days before your primary planting season to ensure a finished product is available for soil amendment.
Phases:

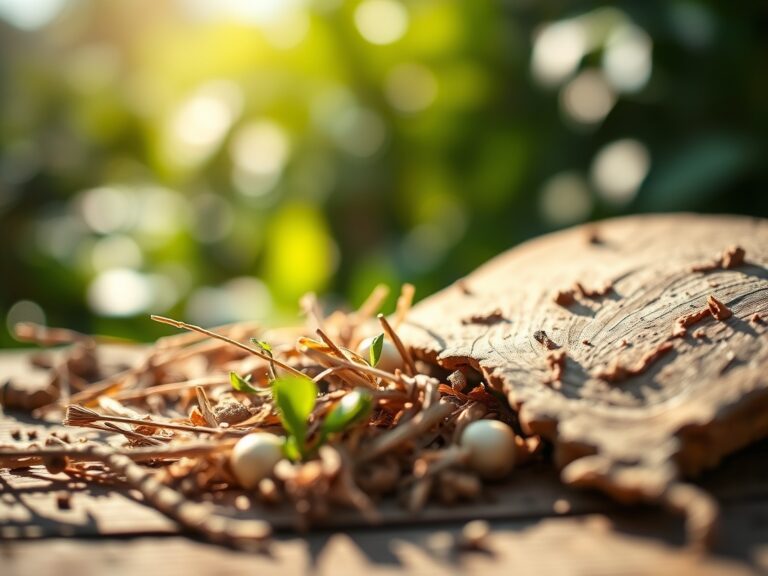
Sowing the Base
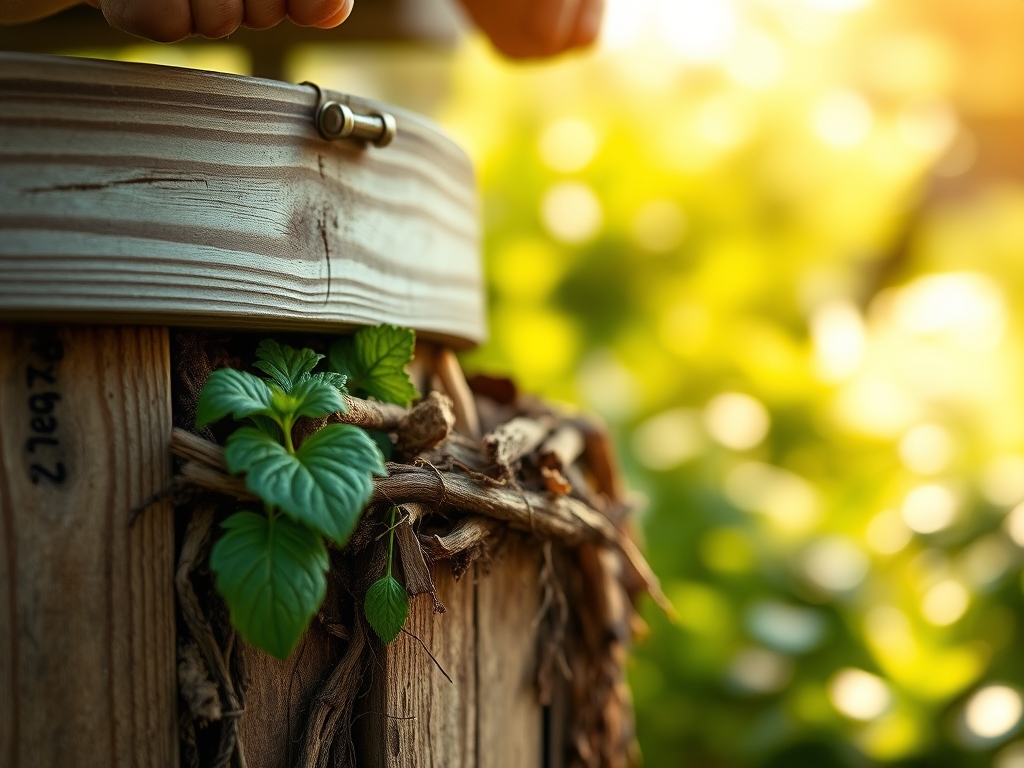
Clear a square area of earth measuring at least 3 feet by 3 feet. Remove all sod and excavate the top 2 inches of soil to expose the mineral layer. This direct contact with the ground allows for the upward migration of earthworms and beneficial bacteria. Lay a 4 inch thick layer of coarse brush or small branches at the bottom.
Pro-Tip: This coarse base facilitates passive aeration. By creating air pockets at the bottom, you utilize the chimney effect to draw oxygen upward, preventing anaerobic pockets that cause foul odors and nutrient loss.
Transplanting Organic Matter
Layer your materials in a "lasagna" format. Start with 6 inches of carbon rich browns, followed by 3 inches of nitrogen rich greens. Repeat this process until the bin is full. Water each layer lightly until it feels like a wrung out sponge.
Pro-Tip: Maintaining a 30:1 Carbon to Nitrogen ratio is essential for microbial proteosynthesis. If nitrogen levels are too high, the excess is lost as ammonia gas; if too low, the microbes lack the energy to break down the carbon.
Establishing the Colony
Once the bin is filled, "seed" the pile with a shovel of finished compost or healthy garden loam. This introduces a diverse population of actinomycetes and fungi. Monitor the internal temperature daily. Once the core hits 140 degrees Fahrenheit, use a pitchfork to turn the outer material into the center.
Pro-Tip: Turning the pile stimulates aerobic respiration. This mechanical agitation breaks up fungal mats and redistributes moisture, ensuring that the entire mass undergoes uniform decomposition rather than localized rot.
The Clinic:
Physiological disorders in a compost pile often manifest as olfactory or visual cues. Use the following diagnostic criteria to troubleshoot your bin performance.
- Symptom: Rotten Egg Odor. This indicates anaerobic conditions caused by excessive moisture or lack of porosity.
- Solution: Incorporate dry, coarse carbon materials like wood chips or shredded cardboard. Turn the pile every 24 hours to reintroduce oxygen.
- Symptom: Cold Pile. If the pile fails to heat, it likely lacks nitrogen or moisture.
- Solution: Add high nitrogen catalysts such as blood meal or fresh manure. Ensure the moisture content is at least 50 percent.
- Symptom: Ammonia Smell. This is a sign of a low C:N ratio, where nitrogen is escaping as gas.
- Solution: Increase the volume of "brown" materials. Aim for a pH check; if it rises above 8.5, the nitrogen loss will accelerate.
- Fix-It for Nitrogen Chlorosis: If your finished compost is applied to plants and they turn yellow, the compost was "unfinished" and is robbing the soil of nitrogen.
- Fix: Return the material to the bin and add a high nitrogen source to complete the breakdown of remaining carbon.
Maintenance:
Precision maintenance is the difference between a waste pile and a nutrient factory. Use a soil moisture meter to ensure the pile never drops below 40 percent moisture. If the pile feels dry, apply 1.5 gallons of water per 10 cubic feet of material.
Use a hori-hori knife to occasionally core into the pile to check the texture; it should become increasingly homogenous and dark. Every 14 days, use a compost turner or pitchfork to move material from the cold exterior to the hot center. Keep the area around the bin clear of weeds using bypass pruners to prevent the encroachment of invasive root systems that might steal the concentrated nutrients from the bin.
The Yield:
Harvesting occurs when the material is dark, crumbly, and smells of geosmin (fresh earth). There should be no recognizable scraps of the original feedstock. Use a 0.5 inch hardware cloth screen to sift the compost. The fine material that passes through is your "black gold," ready for immediate application.
Apply the finished compost as a top dressing 2 inches thick around the drip line of your plants. This provides a slow release of nutrients and improves soil structure. For "day-one" freshness in the garden, integrate the compost into the top 6 inches of soil at least two weeks before sowing to allow the soil chemistry to stabilize.
FAQ:
How long does it take to get finished compost?
In an active, turned system, finished compost is produced in 8 to 12 weeks. In a passive, unturned bin, the process can take 6 to 12 months depending on the ambient temperature and material density.
Can I put citrus peels in my compost bin?
Yes, but in moderation. Citrus peels contain d-limonene, which can be antimicrobial in high concentrations. Chop them finely to increase surface area and ensure the bin pH remains between 6.0 and 7.5 for optimal microbial health.
Why is my compost bin attracting flies?
Flies are attracted to exposed nitrogen rich food scraps. To prevent this, always "cap" your greens with a 2 inch layer of carbon such as dried leaves or sawdust. This creates a biofilter that traps odors and discourages pests.
Do I need to add worms to my compost bin?
If your bin has an open bottom in contact with the soil, indigenous epigeic earthworms will migrate into the pile naturally. For enclosed tumblers, you may need to manually introduce Red Wigglers (Eisenia fetida) to accelerate the breakdown process.