7 Vital Steps to Hang a Garden Gate
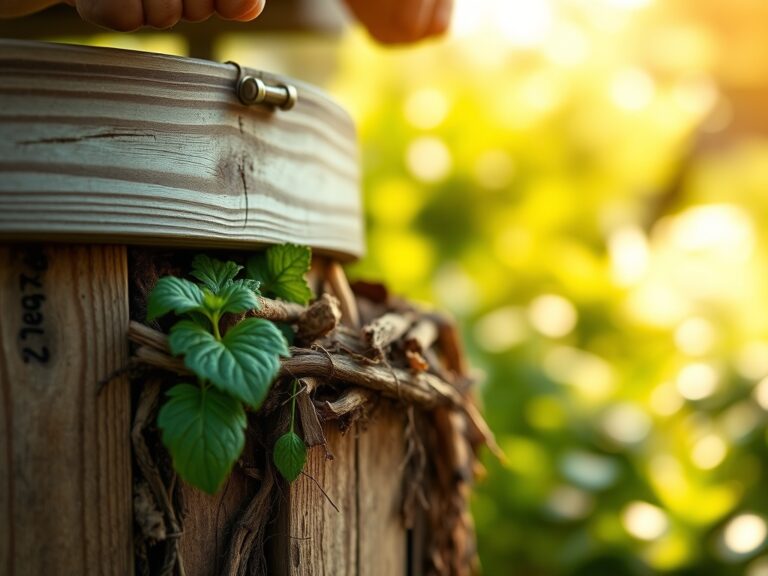
Crushed limestone dust and the sharp, metallic scent of galvanized steel mingle with the damp aroma of disturbed rhizosphere. A properly installed entrance is the threshold between the wild and the cultivated; it requires structural integrity to withstand the turgor of surrounding vine growth and the weight of seasonal saturation. Mastering the steps to hang a garden gate ensures that the transition into your growing space remains fluid and secure. This process demands precise measurements to prevent sagging, which can compress the soil at the gate's foot and disrupt the delicate mycorrhizal networks essential for plant health.
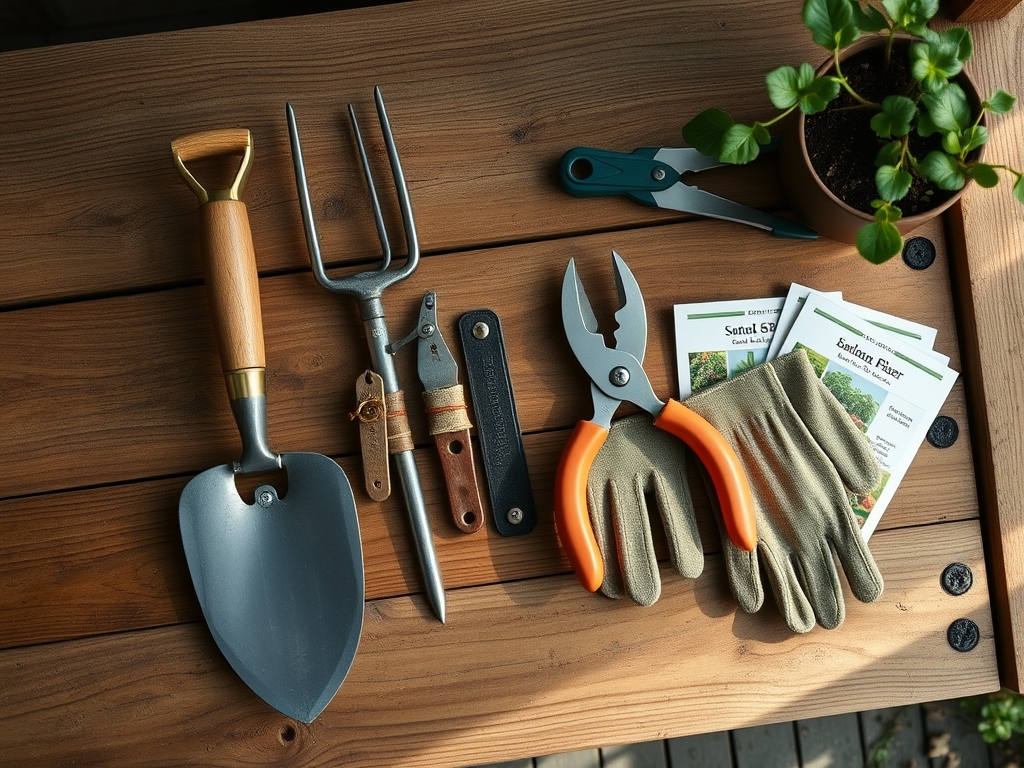
Materials:
The foundation of any gate begins with the soil stability surrounding the posts. For optimal post-setting, you require a friable loam or a well-draining mineral substrate. Avoid heavy clay with a pH above 7.5, as high alkalinity can accelerate the corrosion of galvanized hardware. If your soil has a low Cation Exchange Capacity (CEC), it may lack the structural cohesion needed to hold a post under tension.
Before installation, amend the surrounding area with a balanced 10-10-10 NPK ratio fertilizer to support the root systems of nearby perennials that may be disturbed during excavation. Ensure you have pressure-treated 4×4 timber, 3-inch stainless steel lag bolts, and a high-torque impact driver. For the base, use Grade A crushed stone to facilitate drainage and prevent anaerobic conditions that lead to fungal wood rot at the soil line.
Timing:
Successful installation depends on the thermal properties of your soil. In Hardiness Zones 4 through 6, gate installation must occur after the final frost but before the peak vegetative growth phase. Attempting to set posts in frozen ground leads to "heaving," where the expansion of ice crystals in the soil pores displaces the post vertically.
Observe the biological clock of your garden. The ideal window is the transition from the dormant stage to the vegetative stage. Installing the gate during this period allows the soil to settle before the peak transpiration rates of mid-summer. If you wait until the reproductive stage (flowering), the physical disturbance of the soil may cause abscission in sensitive nearby species due to root stress and sudden changes in water availability.
Phases:

Sowing the Foundation
Excavate a hole to a depth of at least one-third the height of the post, plus an additional 6 inches for a gravel drainage bed. In regions with deep frost lines, you must dig below the freeze point to prevent frost jacking. Use a soil moisture meter to ensure the substrate is not oversaturated before pouring concrete; excess water will dilute the mixture and weaken the structural bond.
Pro-Tip: Utilize the concept of geotropism. When backfilling, ensure the post is perfectly plumb. If a post leans even two degrees, the gravitational pull creates uneven tension on the hinges, which can eventually snap the lateral roots of nearby plants as the post shifts in the soil.
Transplanting the Hardware
Attach the hinges to the gate frame before mounting it to the post. Space the hinges at 12-inch intervals from the top and bottom rails to distribute the load. Use a hori-hori knife to clear away any encroaching sod or invasive rhizomes that might interfere with the gate's swing path.
Pro-Tip: Consider auxin suppression. When clearing the area for the gate's swing, prune back overhanging branches using bypass pruners. This removal of terminal buds redirects auxins to lateral buds, encouraging a bushier growth habit that frames the gate without obstructing the entrance.
Establishing the Swing
Position the gate on blocks to maintain a 2-inch clearance from the soil surface. This gap is critical for airflow, preventing the accumulation of moisture that triggers senescence in low-lying foliage. Secure the hinges to the post using heavy-duty lag screws, ensuring the gate remains level throughout its full range of motion.
Pro-Tip: Respect the rhizosphere. Avoid compacting the soil directly under the gate's path. Heavy compaction reduces pore space, limiting the oxygen available to aerobic soil bacteria and hindering the nutrient uptake of the surrounding flora.
The Clinic:
Physiological disorders in the garden often manifest near heavy traffic areas like gates. Monitor for these specific symptoms:
-
Symptom: Iron Chlorosis. Yellowing of leaves with green veins in plants adjacent to the gate.
-
Solution: This often occurs if the concrete post-set leaches lime into the soil, raising the pH. Apply chelated iron and elemental sulfur to lower the pH to a range of 6.0 to 6.5.
-
Symptom: Root Hypoxia. Wilting plants despite adequate rain.
-
Solution: Check for soil compaction caused by foot traffic at the gate. Use a broadfork to aerate the soil without overturning the horizons.
-
Symptom: Mechanical Canker. Dark, sunken lesions on woody stems near the gate.
-
Solution: This is caused by the gate striking the plant. Prune the affected limb 1 inch above the nearest node and adjust the gate stop.
-
Fix-It for Nitrogen Deficiency: If plants near the gate show stunted growth and pale lower leaves, apply a high-nitrogen (20-0-0) liquid feed. This provides immediate bioavailability to recover from the stress of post-installation soil disturbance.
Maintenance:
A garden gate requires consistent calibration to protect the surrounding ecosystem. Check the hardware every six months for oxidation. Lubricate hinges with a non-toxic, silicone-based spray to prevent chemical runoff into the soil.
Irrigation management is paramount. Ensure the gate area receives 1.5 inches of water per week at the drip line of nearby plants. Use a soil moisture meter to verify that the post-hole hasn't created a "bathtub effect," where water pools around the timber and drowns the roots of adjacent specimens. If you notice sagging, use a turnbuckle to redistribute the weight; this prevents the gate from dragging and stripping the topsoil of its organic matter.
The Yield:
While a gate does not produce a harvest, its placement dictates the yield of the surrounding beds. A gate that facilitates easy access ensures that crops like Lactuca sativa (lettuce) or Solanum lycopersicum (tomato) are harvested at their peak physiological maturity.
For "day-one" freshness, harvest during the early morning when turgor pressure is at its highest. Use bypass pruners for clean vascular cuts, which minimize the plant's energy expenditure on wound healing. Immediate transport through a well-functioning gate to a cool environment prevents rapid transpiration and preserves the nutrient density of the yield.
FAQ:
How deep should I set the gate posts?
Posts should be buried at least one-third of their total length. In cold climates, ensure the base sits 6 inches below the frost line to prevent vertical displacement during freeze-thaw cycles.
What is the best wood for a garden gate?
Use Western Red Cedar or Pressure-Treated Pine. These species contain natural tannins or chemical preservatives that resist rot and fungal pathogens, maintaining structural integrity in high-moisture environments.
How do I prevent the gate from sagging over time?
Install a diagonal cross-brace running from the bottom hinge corner to the top latch corner. This transfers the weight to the hinges and prevents the frame from deforming under gravitational force.
Can I set gate posts without concrete?
Yes, in well-draining soils, use compacted crushed stone. This method provides excellent drainage for the timber and maintains a higher cation exchange capacity in the surrounding soil compared to alkaline concrete.