5 Practical Ways How to Design a Kitchen Garden
Crushing a handful of damp, dark earth reveals the sharp scent of geosmin; this is the biological signal that your substrate is active. When you learn how to design a kitchen garden, you are managing the turgor pressure of living cells and the chemical signaling of the rhizosphere. Success is not found in aesthetic patterns but in the calculated placement of species based on solar intake and soil chemistry. A functional kitchen garden requires a structural focus on high-yield accessibility and nutrient density.
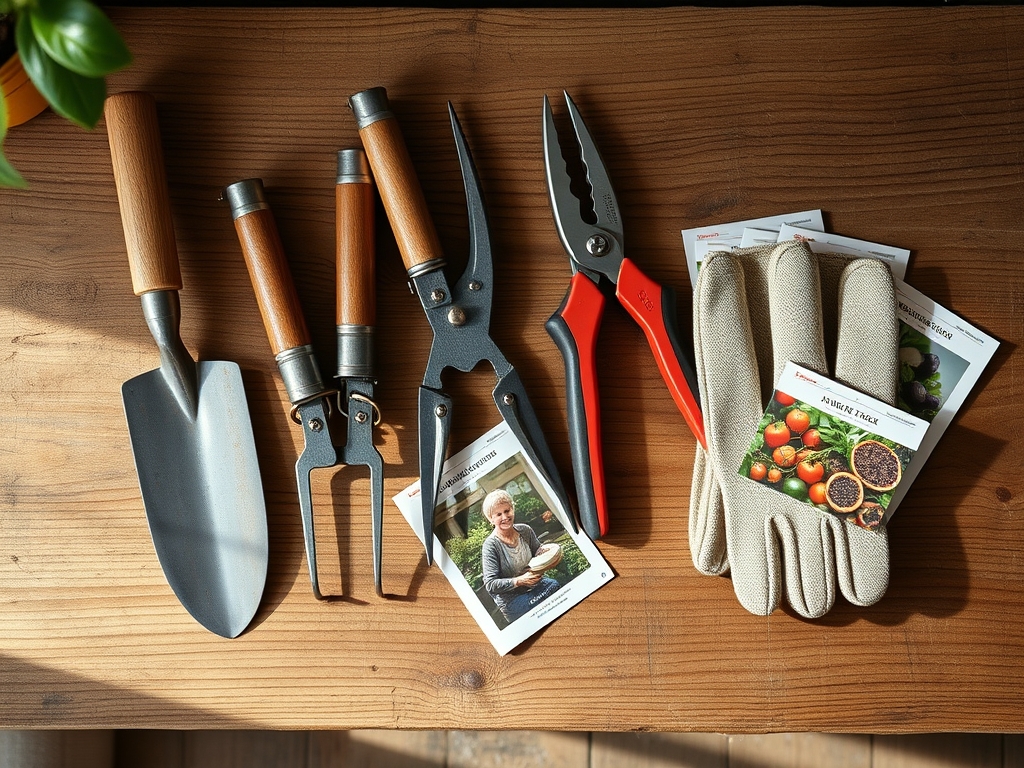
Materials:
The foundation of a kitchen garden is the substrate. You must aim for a friable loam texture; this is a soil composition of roughly 40 percent sand, 40 percent silt, and 20 percent clay. This balance ensures high Cation Exchange Capacity (CEC), allowing the soil to hold onto essential nutrients like potassium and magnesium rather than letting them leach away during irrigation.
For heavy feeders like brassicas and nightshades, the soil pH must sit between 6.2 and 6.8. If the pH drops below 6.0, phosphorus becomes chemically locked, leading to stunted root systems. Use a 10-10-10 NPK ratio for general establishment. However, once plants move into the reproductive phase, shift to a 5-10-15 ratio to prioritize fruit and tuber development over excessive leaf production. Organic matter should constitute at least 5 to 8 percent of the total soil volume to support microbial life.
Timing:
Design requires a strict adherence to the USDA Hardiness Zones. In Zones 5 through 7, the window for cool-season crops opens when soil temperatures reach a consistent 45 degrees Fahrenheit. Warm-season crops, such as tomatoes and peppers, require a minimum soil temperature of 65 degrees Fahrenheit to prevent root shock and stunted growth.
Understanding the "Biological Clock" is vital. This is the transition from the vegetative stage (leaf and stem growth) to the reproductive stage (flowering and fruiting). This transition is often triggered by the photoperiod; the number of daylight hours. For example, spinach will bolt and undergo senescence (aging and death) when days exceed 14 hours of light. Plan your sowing dates to ensure the plant reaches peak maturity before these environmental triggers force the plant to stop producing edible tissue.
Phases:
Sowing
Direct sow seeds at a depth exactly three times the diameter of the seed. This ensures the seedling has enough energy to reach the surface before exhausting its endosperm. Keep the soil surface consistently moist but not saturated to avoid "damping off," a fungal infection that attacks the stem at the soil line.
Pro-Tip: Utilize scarification on seeds with hard coats, such as peas. By lightly nicking the seed coat, you accelerate the imbibition of water, which triggers the metabolic processes required for germination.
Transplanting
When moving seedlings from a tray to the garden, you must minimize transplant shock. Dig a hole twice the width of the root ball. Ensure the root crown is level with the soil surface. Air pockets in the soil will kill fine root hairs, so firm the soil gently to ensure direct contact.
Pro-Tip: Inoculate the planting hole with mycorrhizal fungi. This symbiotic relationship extends the reach of the root system by up to 100 times, significantly increasing the plant's ability to uptake water and phosphorus.
Establishing
During the first 14 days, the plant focuses on root expansion. Avoid high-nitrogen fertilizers during this window, as excessive nitrogen can lead to weak, succulent growth that attracts sap-sucking insects. Focus on maintaining consistent moisture to support turgor pressure, which keeps the plant upright and functional.
Pro-Tip: Practice auxin suppression by pinching off the terminal buds on herbs like basil. This removes the apical dominance, forcing the plant to redirect growth hormones to lateral buds, resulting in a bushier, more productive plant.
The Clinic:
Physiological disorders often mimic disease but are usually caused by environmental stress or nutrient imbalances.
- Blossom End Rot: This appears as a sunken, leathery spot on the bottom of tomatoes. It is caused by a Calcium deficiency, often triggered by inconsistent watering that prevents the plant from transporting calcium to the fruit. Fix-It: Maintain even soil moisture and apply a foliar calcium spray if soil tests show low levels.
- Nitrogen Chlorosis: This manifests as a general yellowing of the older, lower leaves while the veins remain green. The plant is scavenging nitrogen from old growth to support new leaves. Fix-It: Apply a fast-acting liquid fertilizer with a high first number (N) in the NPK ratio.
- Tip Burn: Common in lettuce, this is caused by high transpiration rates where calcium cannot reach the leaf edges. Fix-It: Increase airflow and shade the plants during peak afternoon heat.
- Bolting: The plant prematurely produces a flower stalk and becomes bitter. This is a response to heat stress or photoperiod changes. Fix-It: Use shade cloths to keep soil temperatures below 75 degrees Fahrenheit.
Maintenance:
Precision is the difference between a surviving garden and a thriving one. Deliver 1.5 inches of water per week directly at the drip line. Avoid overhead watering, which increases leaf wetness duration and promotes fungal pathogens. Use a soil moisture meter to verify that moisture has penetrated at least 6 inches deep.
Weed management should be handled with a hori-hori knife. This tool allows you to sever the taproot of invasive species deep underground without disturbing the root zone of your crops. For pruning, use sharp bypass pruners to make clean cuts at a 45-degree angle. This prevents water from pooling on the wound, which reduces the risk of infection. Mulch the surface with 2 inches of organic straw to suppress weed germination and reduce evaporation.
The Yield:
Harvesting is a physiological intervention. For leafy greens, harvest in the early morning when turgor pressure is at its highest; this ensures the leaves are crisp and have the longest shelf life. Use a sharp blade to cut the outer leaves, allowing the central meristem to continue producing.
For fruiting crops like peppers or beans, frequent harvesting prevents the plant from reaching its "seed set" goal. Once a plant produces mature seeds, it will often stop flowering. By removing fruit just before peak maturity, you signal the plant to continue its reproductive cycle, thereby increasing your total yield. Post-harvest, immediately plunge produce into cold water to remove field heat and slow down the rate of respiration.
FAQ:
How much sun does a kitchen garden need?
Most edible crops require a minimum of 6 to 8 hours of direct sunlight daily. Leafy greens can tolerate partial shade, requiring only 4 hours, but fruiting plants like tomatoes will fail to produce without maximum solar intake.
What is the best soil for a raised bed?
Use a mix of 60 percent topsoil, 30 percent high-quality compost, and 10 percent potting mix. This combination ensures proper drainage, high nutrient availability, and a stable structure that prevents compaction over multiple growing seasons.
How do I prevent soil compaction?
Never step inside the growing beds. Design your garden with paths that allow you to reach the center of the bed from the side. Compaction collapses the macropores in the soil, suffocating roots and preventing water infiltration.
When should I fertilize my kitchen garden?
Apply a balanced granular fertilizer at planting. Provide a secondary "side-dressing" of compost or liquid fertilizer mid-season when the plants enter their heavy reproductive phase. Always water thoroughly after applying fertilizer to prevent root burn from salt accumulation.