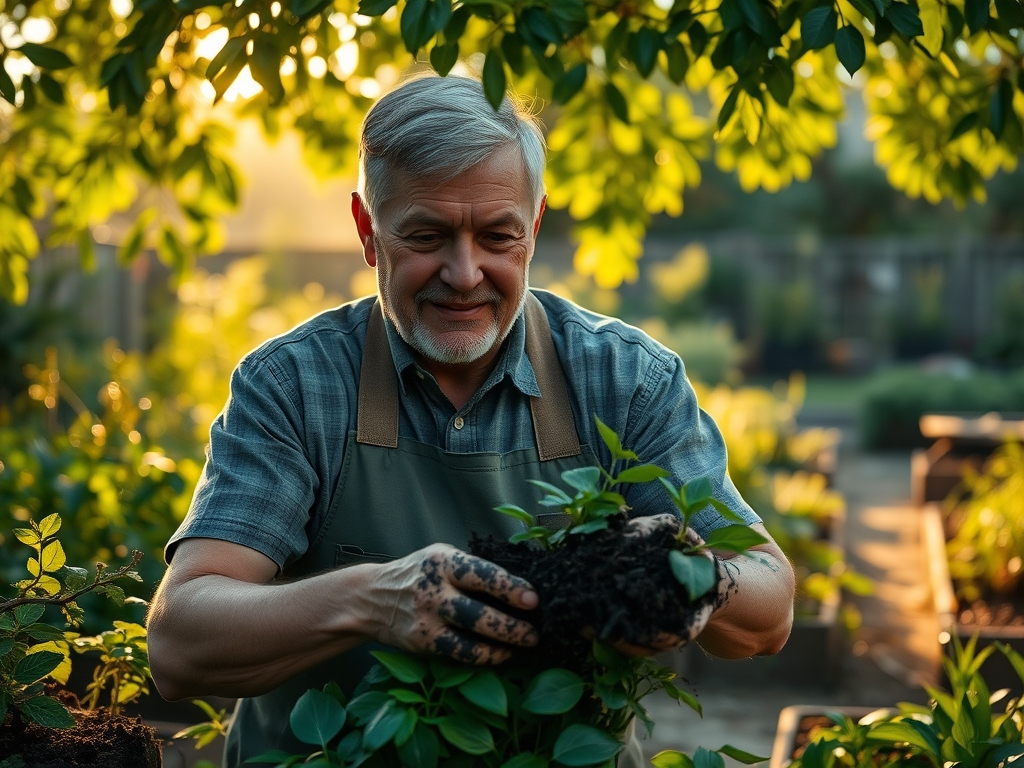
8 Best Plant Swap Communities to Join
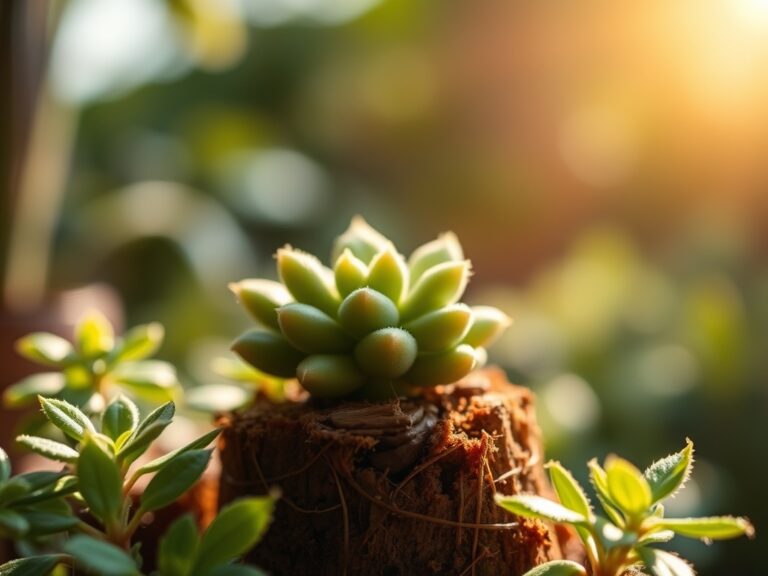
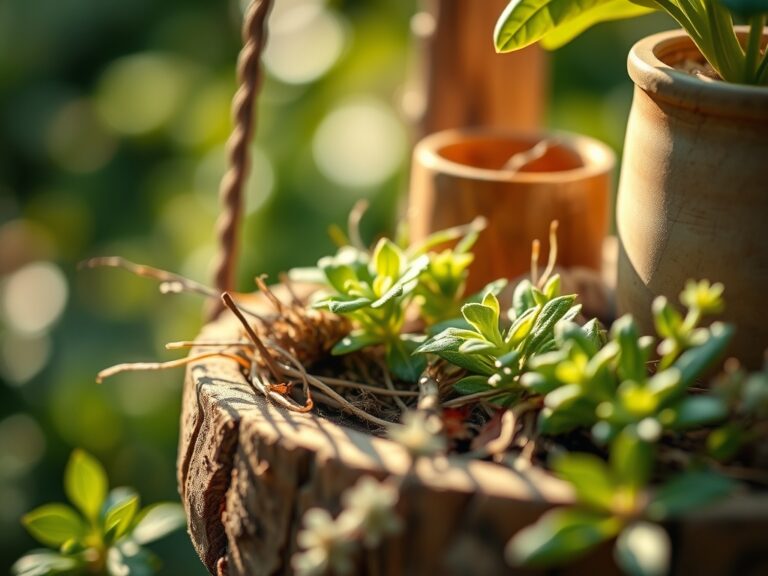
The smell of damp, decomposing leaf mold and the high turgor pressure of a healthy Monstera leaf define the sensory reality of a serious collector. When the root mass outgrows its terracotta housing or a rare specimen produces more offsets than your shelf space can accommodate, the best plant swap communities become essential infrastructure for the modern horticulturist. These networks function as decentralized germplasm repositories; they allow for the exchange of genetic material without the carbon footprint of commercial nursery logistics. Engaging with these communities requires more than just a surplus of cuttings; it demands a rigorous understanding of phytosanitary standards and the biological needs of the species being traded. Successful swapping hinges on the ability to identify healthy vascular tissue and ensure that the transition between microclimates does not induce systemic shock. By leveraging digital platforms and local meetups, you can diversify your collection with species that possess superior resilience and localized adaptations.
Materials:
To prepare specimens for the best plant swap communities, you must optimize the substrate for maximum Cation Exchange Capacity (CEC). Most tropical aroids require a friable loam with a **pH between 5.8 and 6.5**. This acidity level ensures that micronutrients like iron and manganese remain bioavailable rather than becoming locked in the soil matrix. For heavy feeders, maintain an **NPK ratio of 3-1-2** during the active growth phase to support both foliar expansion and structural integrity.
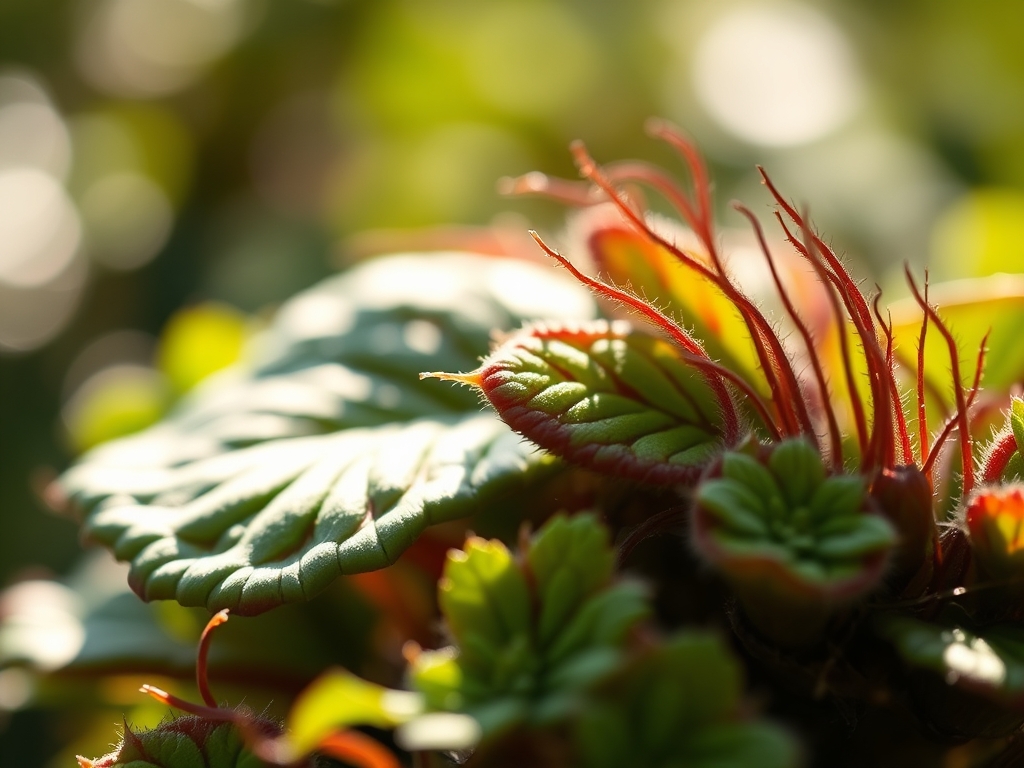
The physical texture of your potting medium should be porous yet moisture-retentive. A blend of 40 percent orchid bark, 30 percent perlite, and 30 percent coco coir provides the necessary macropores for gas exchange in the rhizosphere. This prevents anaerobic conditions that lead to root senescence. When prepping a plant for trade, ensure the root ball is consolidated but not girdled. A healthy specimen should exhibit white, firm root tips, indicating active cell division and efficient nutrient uptake.
Timing:
Timing is dictated by the biological clock of the plant and the environmental constraints of your USDA Hardiness Zone. In Zones 7 through 9, the window for safe shipping and outdoor swapping typically opens after the last frost date, usually between late March and mid-April. Trading during the transition from the vegetative stage to the reproductive stage can be risky; plants divert energy to flowering or seed production, reducing their ability to recover from the stress of a new environment.
Monitor the photoperiod. As daylight exceeds 12 hours, plants enter a high-metabolic state characterized by increased transpiration rates. This is the optimal time for swapping, as the plant possesses the hormonal drive to establish new root systems quickly. Conversely, avoid swapping during the winter dormancy period when metabolic rates drop and the risk of chilling injury (at temperatures below 50 degrees Fahrenheit) is high.
Phases:
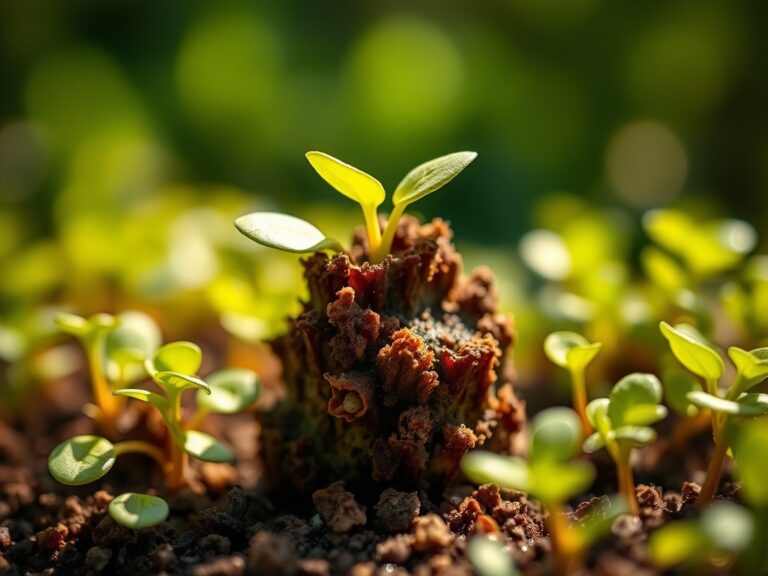
Sowing and Propagation
Successful swaps start with robust propagation. Use a sterilized scalpel to take cuttings just below the node, where the concentration of undifferentiated meristematic cells is highest. Place the cutting in a medium with a high water-holding capacity, such as sphagnum moss, maintained at a constant 75 degrees Fahrenheit.
Pro-Tip: Dip the wounded tissue in a rooting hormone containing Indole-3-butyric acid (IBA). This triggers auxin-driven cell differentiation, forcing the plant to prioritize root initiation over foliar growth, which ensures a faster establishment period for the recipient.
Transplanting
When moving a plant into a transit vessel, minimize root disturbance to prevent transplant shock. Use a soil moisture meter to ensure the medium is at 60 percent saturation. This level of moisture maintains cell turgor without saturating the air pockets needed for respiration.
Pro-Tip: Incorporate endomycorrhizal fungi into the transplant hole. This establishes a mycorrhizal symbiosis, effectively increasing the root surface area by up to 1,000 percent and improving the uptake of immobile nutrients like phosphorus.
Establishing
The first 14 days post-swap are critical. Place the new acquisition in a high-humidity environment (above 60 percent relative humidity) to reduce the vapor pressure deficit (VPD). This allows the plant to keep its stomata open for photosynthesis without losing excessive water through transpiration.
Pro-Tip: Avoid fertilizing for the first two weeks. High salt concentrations in the soil can cause osmotic stress, drawing water out of the vulnerable new roots and leading to localized desiccation.
The Clinic:
Physiological disorders often manifest during the stress of a swap. Identifying these early is vital for maintaining the health of your collection.
- Symptom: Interveinal chlorosis on young leaves.
- Solution: This indicates an Iron (Fe) deficiency, often caused by a pH above 7.0. Lower the pH using elemental sulfur to increase nutrient solubility.
- Symptom: Leaf tip burn or marginal necrosis.
- Solution: This is typically a sign of salt accumulation or Boron toxicity. Flush the substrate with three volumes of distilled water to leach excess solutes.
- Symptom: Epinasty (downward curling of leaves).
- Solution: Often caused by ethylene gas exposure during shipping. Provide high airflow and stable temperatures of 70 degrees Fahrenheit to allow the plant to metabolize the stress hormone.
Fix-It for Nitrogen Chlorosis: If older leaves turn a uniform pale yellow, the plant is scavenging nitrogen for new growth. Apply a quick-release liquid fertilizer with a high N rating (e.g., 10-5-5) at half strength to restore chlorophyll density.
Maintenance:
Precision maintenance ensures your plants remain "swap-ready" at all times. Deliver exactly 1.5 inches of water per week at the drip line, rather than the base of the stem, to encourage lateral root expansion. Use a soil moisture meter daily to monitor the volumetric water content; never let the substrate drop below 20 percent moisture for tropical species.
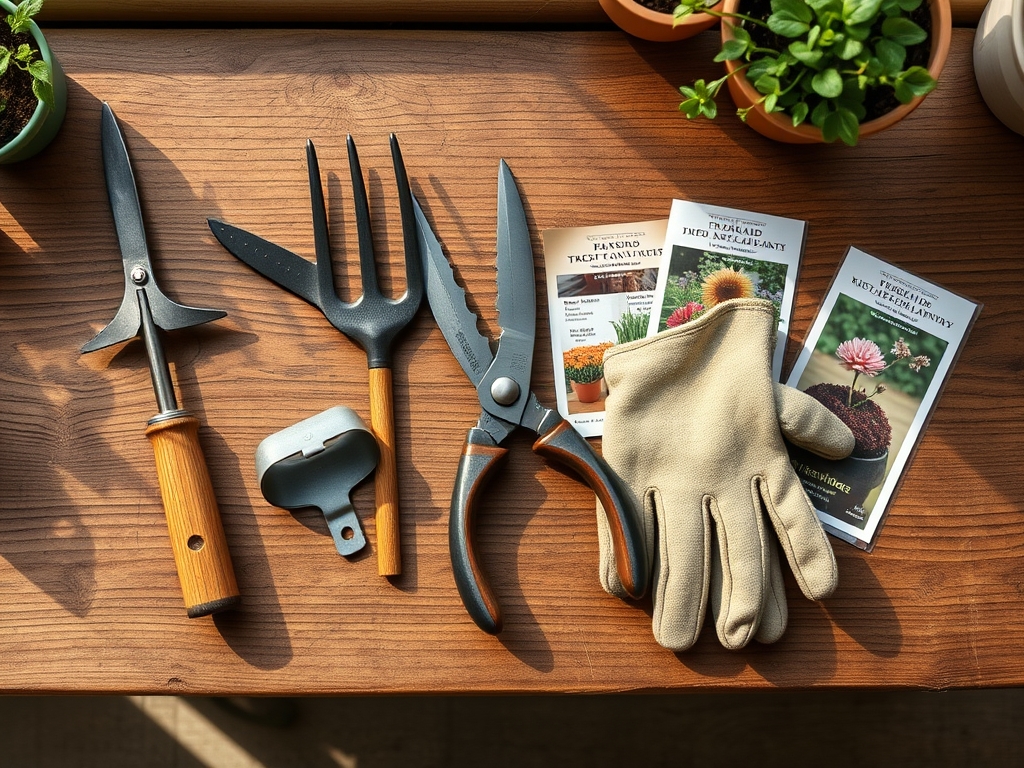
For structural maintenance, use bypass pruners for clean cuts on soft tissue and a hori-hori knife for dividing congested root masses. Sanitize tools with 70 percent isopropyl alcohol between every plant to prevent the mechanical transmission of pathogens. Pruning should focus on removing senescent foliage to redirect energy toward the apical meristem.
The Yield:
When harvesting cuttings or seeds for a swap, timing is paramount. For seeds, wait until the pod or fruit reaches full physiological maturity, indicated by a color shift or desiccation of the outer casing. For cuttings, harvest in the early morning when cell turgor is at its peak.
Post-harvest handling determines the "day-one" freshness of the trade. Immediately wrap the cut end in damp paper towels and seal it in a polyethylene bag to maintain a 100 percent humidity microclimate. This prevents the xylem from cavitating, ensuring the vascular system remains functional until the recipient can initiate the rooting process.
FAQ:
Which digital platforms are best for plant swapping?
Reddit (r/takeaplantleaveaplant) and Facebook Marketplace are top choices. They offer robust review systems and large user bases. Specialized apps like Blossom or secondary market sites also provide filtered searches for rare species based on your specific geographic location.
How do I safely ship plants in the mail?
Bareroot the plant and wrap roots in damp sphagnum moss. Secure the plant to the box interior with tape to prevent shifting. Use 72-hour heat packs if temperatures drop below 40 degrees Fahrenheit to prevent cellular crystallization and death.
What are the legal restrictions on swapping plants?
International swaps are governed by CITES and USDA APHIS regulations. It is illegal to ship soil or certain species across state lines (e.g., citrus in Florida/California) without a phytosanitary certificate. Always verify local quarantine laws to prevent spreading invasive pathogens.
How can I tell if a swap plant is healthy?
Inspect the undersides of leaves and the leaf axils for irregularities. Check the root system for firm, white tissue and a lack of foul odors. High turgor pressure and consistent coloration across the leaf surface are primary indicators of a healthy specimen.