10 Basic Steps to Plumb a Garden Sink
The smell of damp earth and the high turgor pressure of a hydrated leaf define the success of a managed landscape. Efficiency in the field requires immediate access to water for cleaning root crops and rinsing tools. To achieve this, you must master the steps to plumb a garden sink using durable materials that withstand shifting soil temperatures and hydraulic pressure. Proper plumbing prevents stagnant water in the rhizosphere and ensures that runoff does not alter the local soil salinity or pH balance.
A functional outdoor station bridges the gap between the primary water source and the garden bed. This installation requires a technical understanding of fluid dynamics and drainage. You must account for the local frost line to prevent pipe bursts during winter senescence. By integrating a sink into your workspace, you reduce the physical stress on plant tissues by processing harvests immediately, maintaining the cellular integrity of the produce. The following sections detail the rigorous technical requirements for a professional grade outdoor plumbing installation.
Materials:
The substrate surrounding your plumbing lines must be a **friable loam** with a high Cation Exchange Capacity (CEC) to handle occasional overflow without compacting. If the sink drains into a greywater garden, the soil pH should be maintained between **6.2 and 6.8** to optimize nutrient uptake. Use a base of **crushed 3/4 inch gravel** for the drainage pit to facilitate rapid percolation.
For the plumbing itself, utilize Schedule 40 PVC for drainage and PEX or UV-resistant copper for supply lines. If you are fertilizing nearby, ensure the soil contains an NPK ratio of 10-10-10 to support the microbial activity required to break down organic matter in the drainage area. Avoid heavy clays that trap moisture; instead, backfill with a mix of 70 percent sand and 30 percent organic compost to ensure the stability of the pipe bedding.
Timing:
Installation must occur when the soil is workable and not saturated. In Hardiness Zones 5 through 7, this window typically opens in late spring after the final frost has passed and the soil temperature reaches a consistent 55 degrees Fahrenheit. Excavating frozen or waterlogged soil destroys the soil structure and leads to anaerobic conditions that can rot nearby root systems.
The biological clock of your garden dictates the urgency of this project. You should complete the installation during the early vegetative stage of your primary crops. This timing ensures that as plants move toward their reproductive phase and water demand increases, your irrigation and cleaning systems are fully operational. Installing during the heat of mid summer can cause transplant shock to any peripheral vegetation disturbed during the trenching process.
Phases:

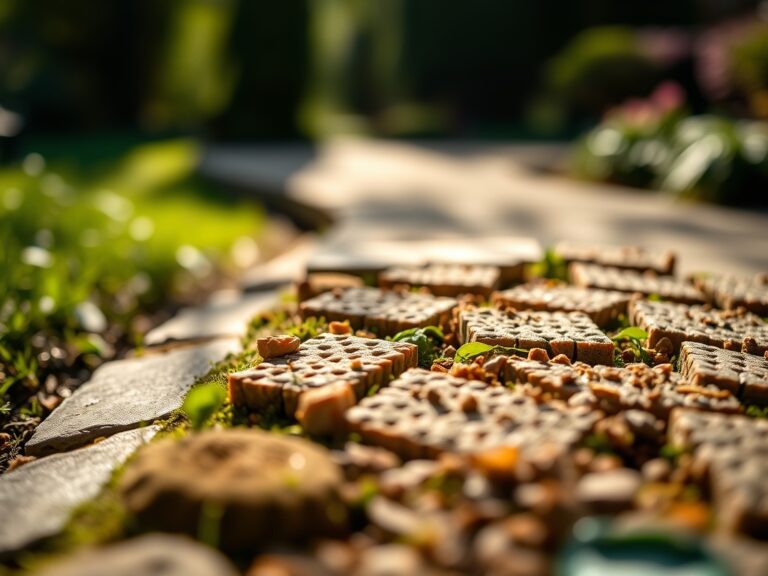
Sowing the Infrastructure
Begin by trenching a line from your main water spigot to the sink location at a depth of at least 12 inches to protect against mechanical damage from aeration tools. Lay the supply line with a slight pitch toward the source for winter draining.
Pro-Tip: Apply a layer of geotextile fabric over the drainage gravel. This prevents fine soil particles from migrating into the voids, a biological necessity to maintain aerobic conditions for the beneficial bacteria that process greywater.
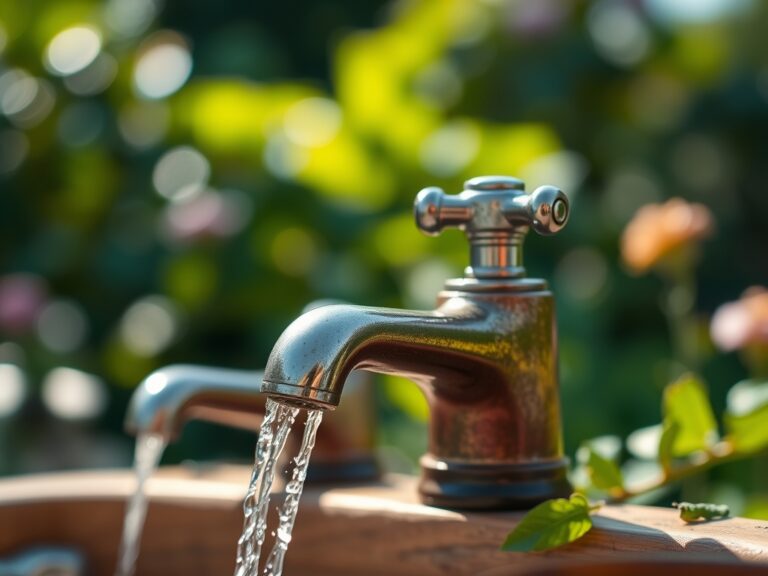
Transplanting the Fixture
Mount the sink to a pressure treated frame or a stone pedestal. Connect the faucet using stainless steel braided hoses which offer superior resistance to thermal expansion and contraction compared to rigid plastic. Ensure all threaded connections are sealed with PTFE tape to prevent slow leaks that could lead to localized soil erosion.
Pro-Tip: Use a P-trap even in outdoor settings. This creates a water seal that prevents subterranean gases and pests from entering the sink basin, utilizing the principle of hydraulic equilibrium to maintain a sanitary workspace.
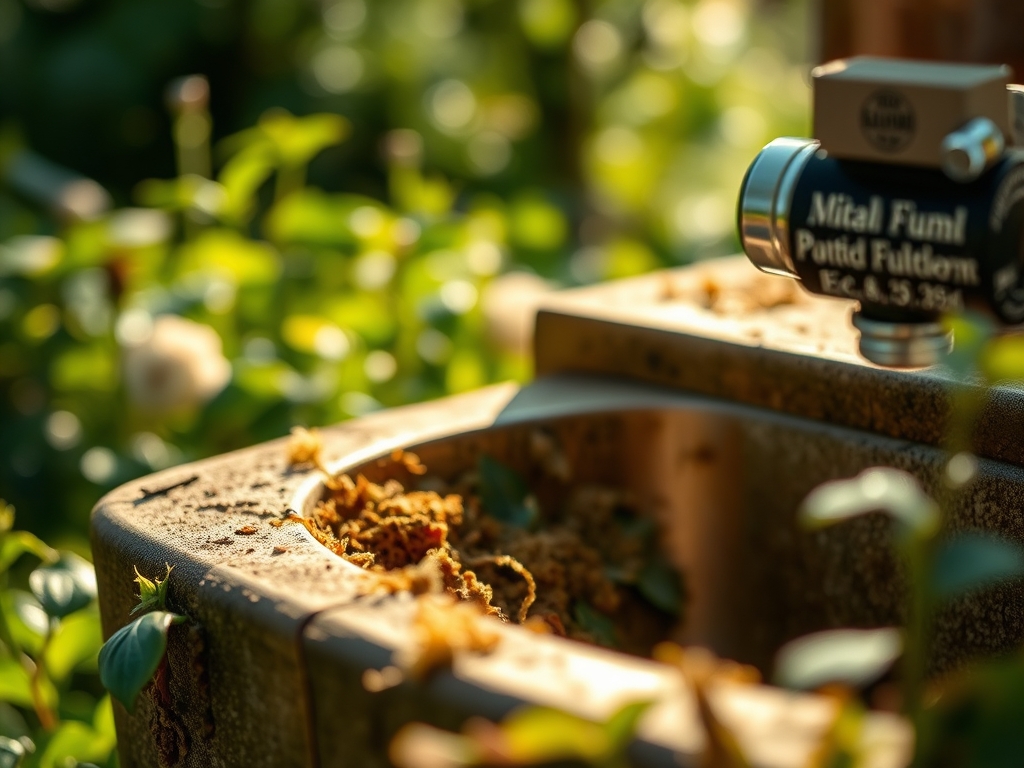
Establishing the Drainage
The final step in the steps to plumb a garden sink involves the waste line. Direct the drain pipe into a dry well or a designated mulch basin. The exit point must be at least 10 feet away from the foundation of any structure to prevent moisture related soil instability.
Pro-Tip: Plant heavy feeders like Salix (willow) or Sambucus (elderberry) near the drainage area. These plants utilize phytoremediation to filter the water, turning excess moisture and organic debris into biomass through rapid transpiration.
The Clinic:
Monitoring the physiological health of the surrounding flora is essential after modifying the water table via plumbing.
-
Symptom: Interveinal chlorosis (yellowing leaves with green veins).
-
Solution: This indicates a micronutrient lockout, often Iron or Manganese, caused by high pH runoff from concrete or soap. Apply chelated iron and adjust the drainage path.
-
Symptom: Marginal leaf burn or necrosis.
-
Solution: This suggests sodium accumulation if greywater is used. Flush the soil with 1 inch of fresh rainwater and switch to biocompatible, salt free cleaners.
-
Symptom: Epinasty (downward curling of leaves).
-
Solution: This is a sign of waterlogging and oxygen deprivation in the rhizosphere. Increase the depth of the gravel drainage pit by 6 inches to improve gas exchange.
Fix-It: For Nitrogen chlorosis (general paling of older leaves), incorporate a high nitrogen blood meal (12-0-0) into the top 2 inches of soil to restore chlorophyll production and protein synthesis.
Maintenance:
A plumbed sink requires consistent oversight to remain an asset rather than a liability. Inspect all joints for leaks every 30 days using a soil moisture meter to detect underground saturation before it reaches the surface. During the peak growing season, ensure the drainage area receives no more than 1.5 inches of water per week to prevent root rot in nearby perennials.
Use a hori-hori knife to clear any invasive roots that may attempt to enter the drainage perforations. If you notice a decrease in flow, use bypass pruners to trim back any overhanging canopy that might drop debris into the basin. Before the first hard freeze, shut off the internal valve and blow out the lines with compressed air to prevent ice expansion from fracturing the pipes.
The Yield:
The primary yield of a garden sink is the preservation of post harvest quality. For leafy greens, harvest when turgor pressure is highest, typically between 5:00 AM and 8:00 AM. Immediately submerge the produce in the sink filled with cool water to remove field heat. This process slows the rate of senescence and preserves the volatile oils and sugars within the plant tissues. For root vegetables, use the sink to remove abrasive soil particles that can damage the epidermis, ensuring the produce stays crisp and viable for long term storage.
FAQ:
How deep should I bury the water lines?
Bury lines at least 12 to 18 inches deep. In colder climates, lines must sit below the local frost line or be equipped with a manual drain valve to prevent freezing and pipe rupture during winter months.
Can I drain my garden sink directly into my flower beds?
Yes, provided you use biodegradable, phosphorus-free soap. Ensure the soil has high permeability to prevent waterlogging, which can lead to anaerobic conditions and root rot in sensitive species like roses or lavender.
What is the best pipe material for an outdoor sink?
UV-rated PVC or PEX is ideal for most residential setups. These materials resist corrosion from soil minerals and handle the expansion of water better than rigid galvanized steel, which can rust over time.
How do I prevent the sink from smelling?
Install a P-trap in the drainage line. This holds a small amount of water that acts as a barrier, preventing odors from the drainage pit or dry well from traveling back up through the sink drain.