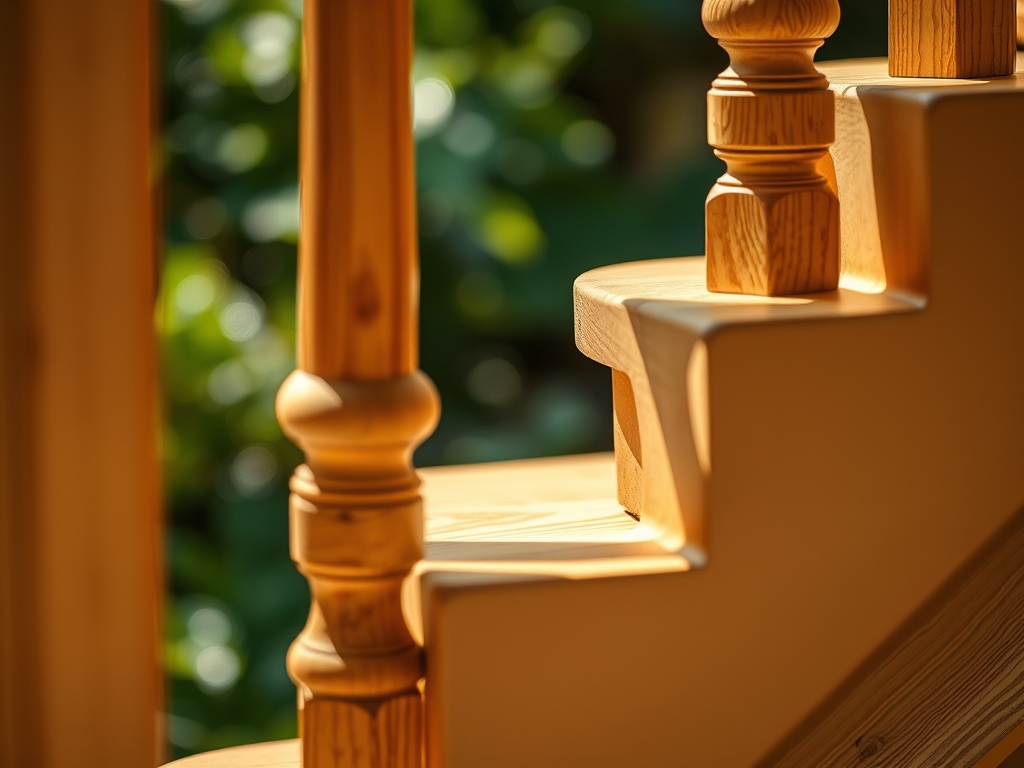
10 Precise Steps to Install Balusters
The scent of damp, mineral-rich earth signals the beginning of any structural garden project. When the turgor pressure of the surrounding flora is at its peak, the soil provides the necessary stability for exterior architectural integration. Understanding the steps to install balusters requires the same precision as grafting a delicate scion onto a hardy rootstock. You must measure with the accuracy of a botanist and execute with the force of a master builder to ensure the structural integrity of your perimeter.
Success in this installation depends on the foundation. Just as a plant fails without a healthy rhizosphere, a balustrade fails without a level, secure base. You are not merely placing spindles; you are engineering a barrier that must withstand environmental stressors, from high-velocity winds to the expansion and contraction cycles of humidity. Every measurement is a data point. Every fastener is a root. By following these technical protocols, you ensure that your structural additions complement the biological rhythm of your landscape while meeting rigorous safety standards.
Materials:
The installation environment must be prepared with the same care as a seedbed. If you are installing balusters into wooden planters or deck surrounds, the substrate must be a friable loam with a pH between 6.0 and 7.0 to prevent the corrosion of metal fasteners. High acidity in the soil can lead to rapid oxidation of galvanized steel.
For the structural components, utilize high-density polyethylene or kiln-dried pressure-treated lumber. The hardware should consist of 316-grade stainless steel screws to resist the corrosive effects of fertilizers with a high salt index. If the installation area includes heavy plantings, ensure the NPK ratio of the surrounding soil is balanced at 10-10-10 to maintain plant health without causing excessive vegetative surge that might crowd the new balustrade. A high Cation Exchange Capacity (CEC) in the soil ensures that the minerals required for plant health remain available even after the soil is disturbed during the construction phase.
Timing:
Installations should be synchronized with the local climate data. In Hardiness Zones 5 through 8, the ideal window for installation is during the dormant season or early spring before the "Biological Clock" triggers the transition from vegetative to reproductive stages in the surrounding perennials.
Avoid installation during the first frost-free window when soil moisture is at its peak. Saturated soil has lower load-bearing capacity; wait until the soil moisture meter reads between 25% and 40% at a depth of six inches. This prevents soil compaction around the base of your posts. Compaction destroys the macropores necessary for oxygen to reach the roots of nearby specimens, leading to anaerobic conditions and root rot.
Phases:

Sowing the Layout
Begin by marking the center points of each baluster on the top and bottom rails. Per building code, the gap between balusters must not allow a 4-inch sphere to pass through. To achieve a professional aesthetic, calculate the spacing so the gaps are uniform across the entire run. Use a chalk line to ensure perfect linear alignment.
Pro-Tip: Proper spacing prevents phototropism issues in understory plants. If balusters are too dense, they block essential PAR (Photosynthetically Active Radiation), causing nearby plants to lean unnaturally toward the light source.
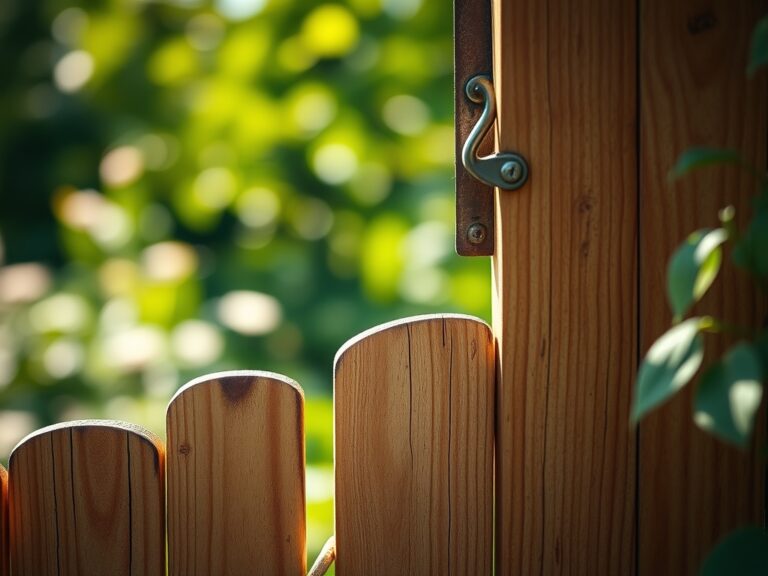
Transplanting the Hardware
Secure the mounting brackets to the rails using a drill with a depth-stop. If you are using wood balusters, pre-drill every hole to prevent splitting the grain. For metal systems, use the manufacturer-provided gaskets to create a thermal break between the metal and the wood rail. This prevents moisture traps that harbor fungal pathogens.
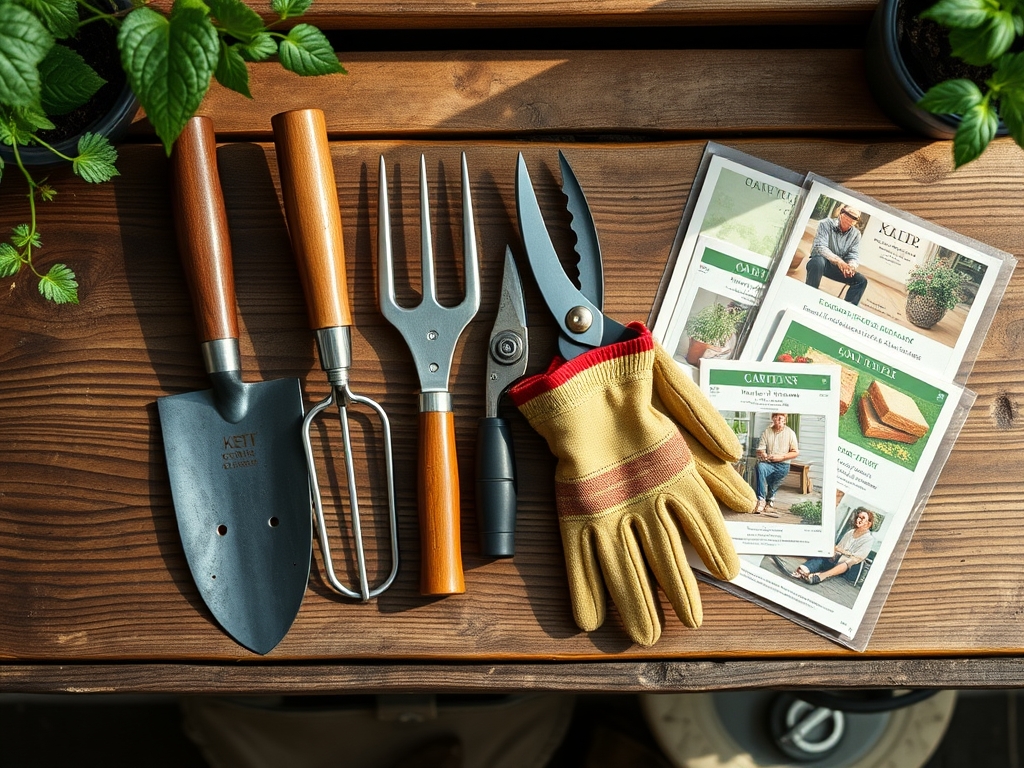
Pro-Tip: Use a hori-hori knife to clear away encroaching roots or weeds from the work area. This minimizes damage to the mycorrhizal symbiosis in the soil, ensuring the surrounding plants continue to receive phosphorus efficiently during the construction stress.
Establishing the Structure
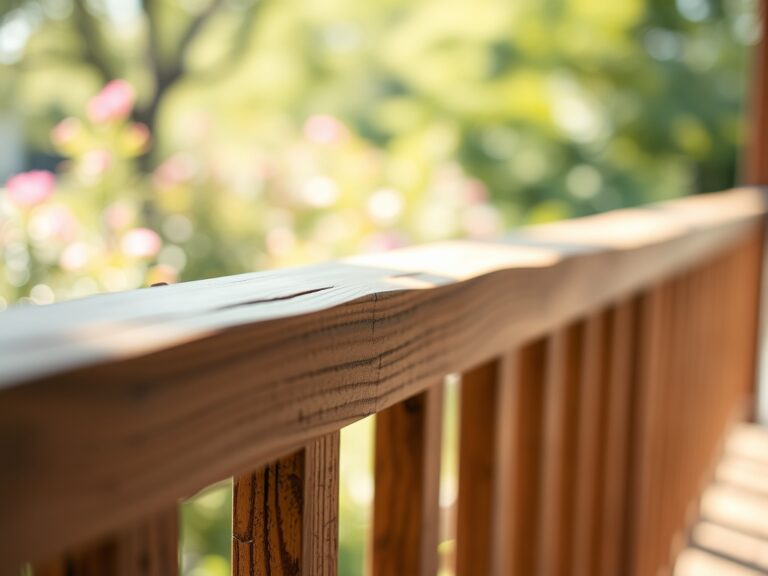
Slide the balusters into the bottom rail first, then lower the top rail onto the spindles. Secure the top rail to the support posts using 5-inch structural screws. Check for plumb using a spirit level on every third baluster. Once the structure is rigid, apply a UV-rated sealant to all joints to prevent water ingress.
Pro-Tip: Constant vibration during installation can cause auxin suppression in nearby young stems. Minimize heavy hammering to prevent the plant from "stalling" its vertical growth as a stress response to mechanical touch, a phenomenon known as thigmomorphogenesis.
The Clinic:
Structural and biological systems both exhibit symptoms when stressed. Monitor your installation and the surrounding flora for these specific physiological disorders:
- Symptom: Baluster "rattle" or loose fit.
Solution: Check for wood shrinkage due to low ambient humidity. Install silicone grommets at the insertion points to dampen movement and seal out moisture. - Symptom: Interveinal chlorosis (yellowing leaves with green veins) in nearby plants.
Solution: This indicates a Manganese or Iron deficiency, often caused by a pH spike from concrete dust or construction debris. Flush the soil with 2 gallons of water per square foot and apply a chelated micronutrient spray. - Symptom: Dark, water-soaked lesions on the base of wooden posts.
Solution: This is a fungal infection caused by poor drainage. Improve the soil tilth by incorporating perlite or coarse sand to increase the infiltration rate. - Fix-It for Nitrogen Chlorosis: If foliage turns pale green across the entire leaf, the soil's Nitrogen is depleted. Apply a high-nitrogen fertilizer (NPK 20-10-10) at a rate of 0.5 lbs per 100 square feet to restore chlorophyll production.
Maintenance:
A professional installation requires ongoing calibration. Use a soil moisture meter weekly to ensure the area receives exactly 1.5 inches of water per week at the drip line. Excess water will lead to wood rot and metal oxidation; insufficient water will cause the soil to pull away from the post footings.
Use bypass pruners to maintain a 6-inch clearance between the foliage and the balusters. This promotes airflow, which reduces the incidence of powdery mildew and other foliar diseases. Inspect the fasteners annually. If you notice "bleeding" or rust streaks, replace the hardware immediately with higher-grade stainless steel to prevent structural failure. Clean the balusters with a soft brush and a pH-neutral soap to remove bird droppings, which are high in uric acid and can etch the finish of the material.
The Yield:
While balusters do not produce a caloric yield, the "harvest" is the longevity of the structure and the health of the integrated garden. A successful installation allows the garden to reach its full aesthetic potential without the interference of structural decay. If your balusters support climbing vines like Clematis or Lonicera, harvest the spent blooms regularly to encourage a second flush of growth. Handle all post-harvest trimmings with care; compost them only if they are free of chemical sealants or wood preservatives to maintain the purity of your organic matter cycle.
FAQ:
How far apart should I space balusters?
Space balusters so that a 4-inch sphere cannot pass between them. This usually results in a gap of approximately 3.5 to 3.75 inches depending on the thickness of the baluster itself.
Can I install balusters in the winter?
Yes, but avoid working when the ground is frozen. Frozen soil makes it impossible to set posts accurately and can lead to heaving, which will misalign the balusters once the spring thaw occurs.
What is the best material for garden balusters?
Powder-coated aluminum or composite materials are superior for garden environments. They resist the high humidity and organic acids present in the rhizosphere, unlike untreated softwoods which rot within five years.
How do I prevent the wood from splitting?
Always pre-drill pilot holes that are 1/16th of an inch smaller than the screw diameter. This relieves the internal pressure on the wood fibers while still allowing the threads to bite securely into the material.