10 Basic Steps to Install Rubber Flooring
The scent of damp earth and the firm turgor of a healthy leaf define the success of any structural garden project. When retrofitting a greenhouse or a high-traffic potting shed, the foundation must support both the gardener and the plant. Mastering the steps to install rubber flooring ensures a stable, non-porous surface that protects the rhizosphere from temperature fluctuations and chemical runoff. A properly installed floor provides the necessary insulation for delicate root systems while maintaining a sterile environment. Precision in the subfloor preparation prevents moisture traps that harbor anaerobic bacteria. This technical process demands the same attention to detail as calibrating a nutrient solution. Every millimeter of alignment contributes to the long term durability of the workspace. By following these rigorous steps to install rubber flooring, you create a controlled microclimate that facilitates efficient labor and superior plant health. Failure to level the substrate or secure the seams results in uneven weight distribution and structural degradation over time. Consistency is the primary requirement for a professional horticultural installation.
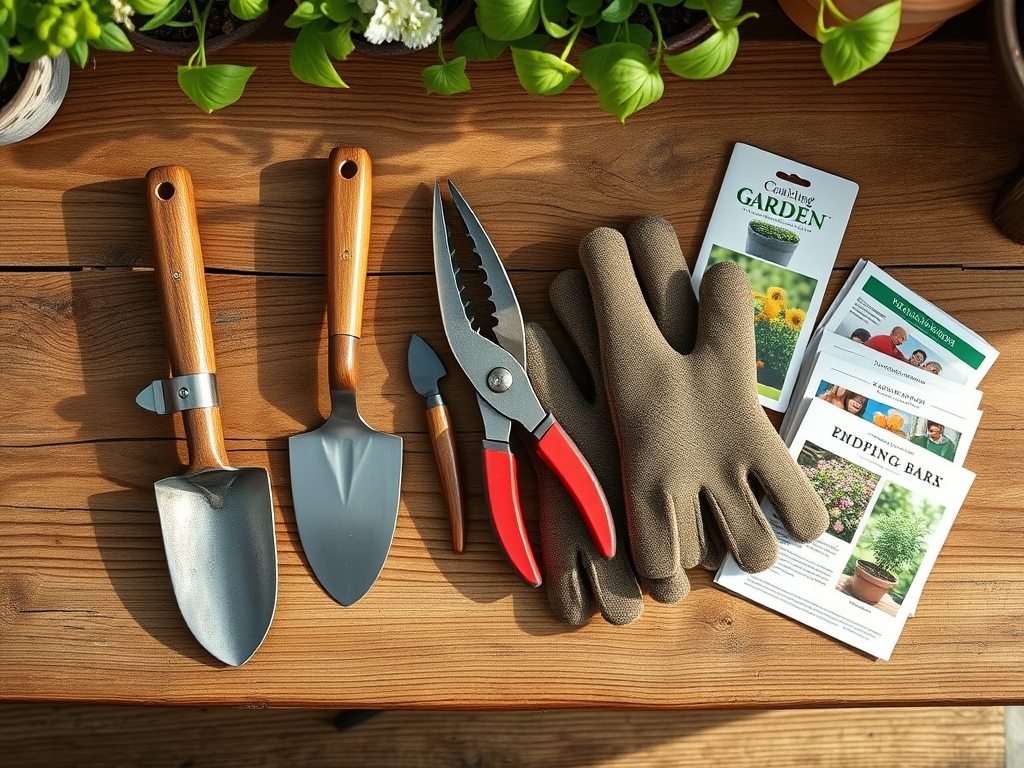
Materials:
Before the installation begins, the substrate must be analyzed with the same scrutiny as a soil profile. The ideal base is a **friable loam** of leveled concrete or a high-density crushed stone aggregate. If the flooring is being placed over soil, the **Cation Exchange Capacity (CEC)** of the underlying earth must be considered; high clay content may lead to shifting during freeze-thaw cycles.
You will require a neutral pH adhesive to prevent chemical off-gassing that could interfere with sensitive stomatal conductance in nearby seedlings. Ensure the NPK ratio of any surrounding organic matter remains undisturbed by using non-leaching materials. The primary toolkit includes a heavy-duty utility knife, a straight edge, and a 100-pound floor roller. For drainage areas, incorporate a perforated rubber matting with a high flow rate to prevent water stagnation. The substrate must be cleared of all debris to ensure a Cation Exchange neutral interface between the rubber and the subfloor.
Timing:
Installation should occur when the ambient temperature is between 65 and 75 degrees Fahrenheit. This range mirrors the ideal vegetative growth stage for most Hardiness Zone 7 through 9 perennials. If the temperature is too low, the rubber loses elasticity; if too high, it expands beyond its standard dimensions.
The biological clock of your workspace is critical. Schedule the installation during the plant's senescence or dormant period to avoid stressing the collection with VOCs or physical disruption. For those in Hardiness Zones 4 to 6, this typically means a late autumn or early spring window, ensuring the floor is cured before the spring surge in turgor pressure and rapid biomass accumulation. Avoid installation during periods of high humidity, as excess moisture can become trapped under the membrane, leading to fungal pathogens that could migrate to the plant root zones.
Phases:
Sowing the Foundation
The first phase involves dry-laying the mats to allow them to acclimate to the room's microclimate for 24 to 48 hours. This prevents future shrinkage. Measure the room's center point and snap a chalk line to establish a geometric grid.
Pro-Tip: Acclimation is vital because of thermal expansion coefficients. Just as a plant exhibits phototropism by stretching toward light, rubber expands toward heat. Allowing the material to stabilize prevents the seams from buckling later.
Transplanting the Mats
Apply the adhesive using a 1/16-inch square-notched trowel. Lay the rubber mats starting from the center and working outward. Ensure the edges are flush to prevent "tripping hazards" and to eliminate gaps where soil and pathogens can accumulate.
Pro-Tip: Use a 100-pound roller to eliminate air pockets. This process is similar to ensuring mycorrhizal symbiosis; you need direct contact between the two surfaces to create a permanent, functional bond.
Establishing the Seal
Once the mats are laid, trim the perimeter using a sharp blade, leaving a 1/8-inch gap at the walls for expansion. Seal the seams with a specialized rubber sealant to create a waterproof barrier.
Pro-Tip: Maintaining a sealed surface prevents the buildup of salts and mineral deposits. This mimics auxin suppression in a controlled environment; by limiting external stressors and leaks, you direct all "energy" toward the intended utility of the space.
The Clinic:
Horticultural spaces are subject to specific physiological and structural disorders. Monitor your installation for these common symptoms:
Symptom: Bubbling or lifting of the rubber surface.
Solution: This usually indicates moisture vapor transmission from the subfloor. Use a calcium chloride test to check the moisture emission rate. If it exceeds 3 lbs per 1,000 square feet, a moisture barrier is required.
Symptom: Gapping between seams.
Solution: This is a result of improper acclimation. In a garden setting, this gap can collect organic matter and trigger Nitrogen chlorosis in nearby potted plants as the decomposing material leaches nitrogen from the immediate environment. Fill gaps with a color-matched EPDM caulk.
Symptom: Surface chalking or brittleness.
Solution: Often caused by UV degradation or harsh chemical cleaners. Switch to a pH-neutral cleaner and ensure the rubber is rated for high UV exposure if used in a glass-enclosed greenhouse.
Fix-It for Nutrient Deficiencies: If your nearby plants show yellowing (chlorosis), check if the rubber adhesive contains high levels of sulfur or volatile compounds. Increase ventilation to 3 air exchanges per hour to mitigate gas buildup.
Maintenance:
A professional horticultural floor requires disciplined upkeep. Use a soil moisture meter to ensure that water runoff from the mats is not oversaturating the edges of your growing beds. Clean the surface weekly with a solution of one ounce of mild detergent per gallon of water.
For precision work around the floor edges, use a hori-hori knife to clear out any encroaching weeds or moss that might attempt to take root in the expansion gaps. When moving heavy planters, always use a dolly to prevent "shearing" the rubber. If a section becomes damaged, use bypass pruners or a utility knife to cut out the affected square and replace it with a fresh patch, ensuring the same 1/16-inch adhesive depth is maintained.
The Yield:
The "yield" of a successful flooring installation is measured in ergonomic efficiency and the prevention of crop loss due to contamination. A clean, resilient floor allows for the rapid transport of harvests. When handling post-harvest materials, the rubber surface provides a soft landing that prevents bruising of delicate fruits or breakage of brittle stems. This maintains "day-one" freshness by reducing physical trauma to the plant tissues. A sterile floor also reduces the presence of soil-borne pathogens, ensuring that the transition from the growing bench to the packing station is biologically secure.
FAQ:
How long does rubber flooring need to acclimate?
Rubber mats require 24 to 48 hours in the destination environment. This allows the material to reach equilibrium with local temperature and humidity, preventing post-installation shrinkage or expansion that ruins seam integrity.
Can I install rubber flooring over dirt?
Installation over raw soil is not recommended. You must first install a 4-inch compacted gravel base or a concrete pad. This provides the structural stability needed to prevent the rubber from shifting and tearing.
What is the best way to cut thick rubber mats?
Use a heavy-duty utility knife and a straight edge. Dip the blade in a solution of water and dish soap to reduce friction. Make multiple shallow passes rather than one deep cut for maximum precision.
Is rubber flooring safe for organic greenhouses?
Yes, provided you use VOC-free, pH-neutral adhesives. High-quality recycled rubber is chemically inert and does not leach nutrients or toxins into the rhizosphere, making it compatible with strict organic cultivation standards.