5 Quick Steps to Use Cutworm Collars
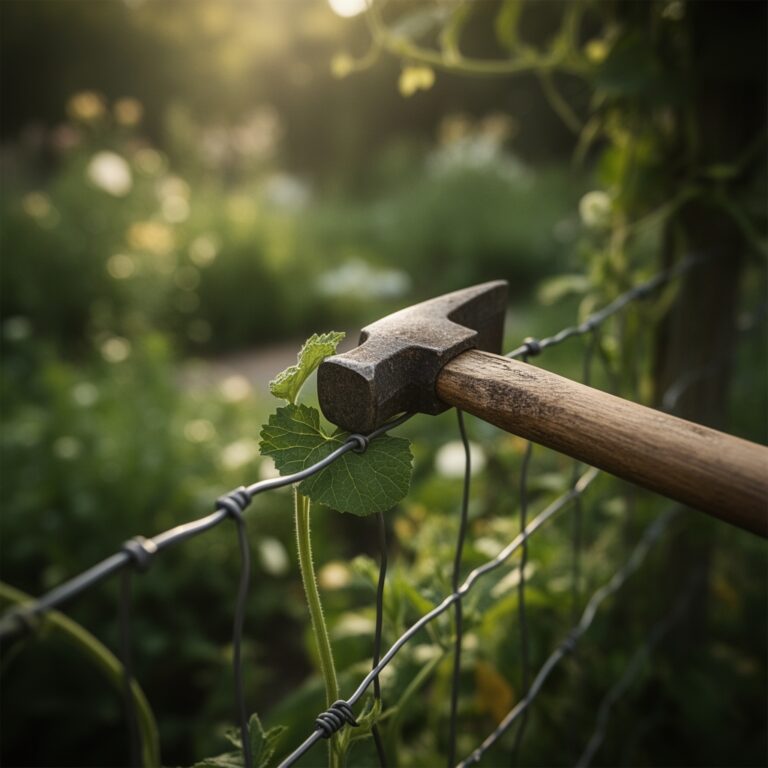
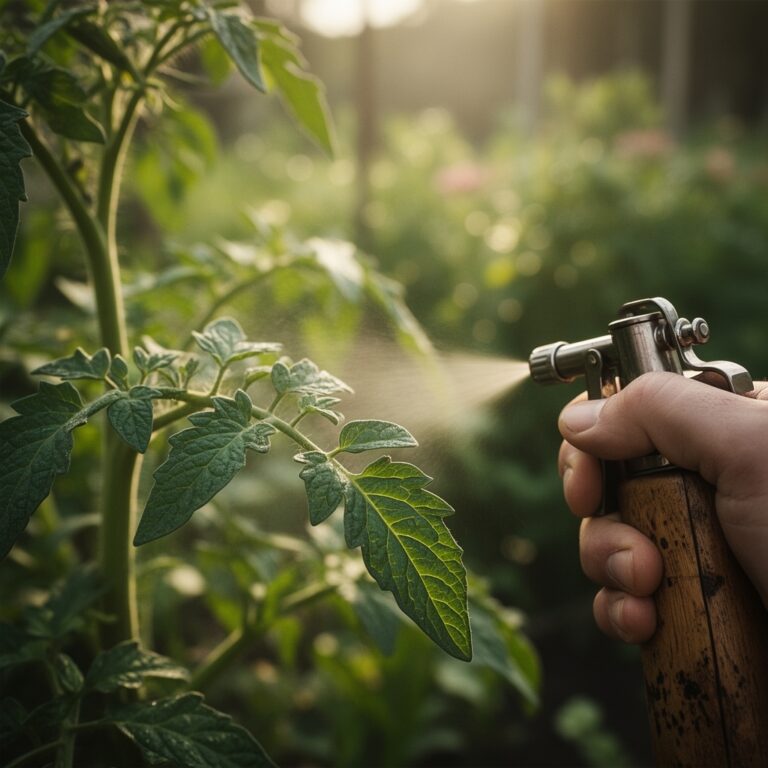
Cutworm larvae slice through seedling stems at soil level during the first warm nights of spring, severing the vascular cambium before dawn. The attack happens fast. A thriving tomato transplant stands upright at dusk, then lies wilted by sunrise with its stem chewed through. Learning the proper steps to use cutworm collars transforms this annual seedling massacre into a preventable event. Physical barriers made from simple household materials create an impenetrable zone around each plant's crown, blocking the nocturnal feeding pattern of Agrotis ipsilon and related noctuid moth larvae.
Materials
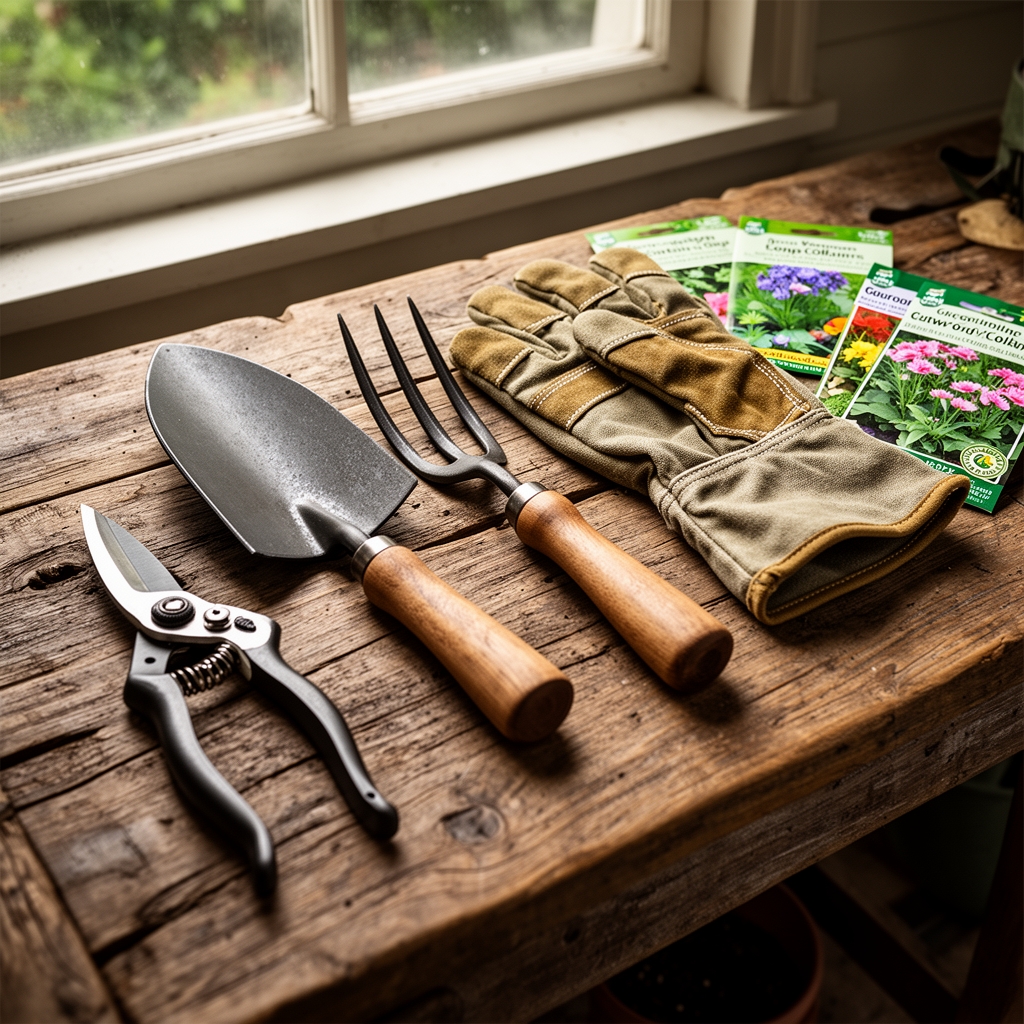
Effective cutworm collars require rigid materials that resist soil moisture while maintaining structural integrity for 4-6 weeks. Toilet paper tubes provide ready-made cylinders but decompose within 10-14 days in moist soil. Corrugated cardboard strips cut 3 inches tall and 4 inches long last 3-4 weeks when the soil pH ranges from 6.0-7.0. Plastic nursery containers sliced into rings withstand an entire growing season and work well in acidic soils below pH 5.5 where cardboard breakdown accelerates.
Aluminum foil folded into triple-layer cylinders reflects heat and deters cutworms through both physical barrier and light refraction. Newspaper sections rolled into 3-inch diameter tubes and secured with natural twine decompose slowly while adding carbon to soil with a C:N ratio near 175:1. The cation exchange capacity of your soil determines material longevity. Clay-heavy soils above 25 meq/100g retain more moisture and accelerate organic collar breakdown.
Pair collar installation with a balanced 4-4-4 organic fertilizer blend. This NPK ratio provides adequate nitrogen for post-transplant recovery without triggering excessive vegetative growth that attracts additional pest pressure. Bone meal at 3-15-0 supports root establishment below the collar barrier. Blood meal at 12-0-0 creates a secondary deterrent through scent compounds that interfere with cutworm chemoreception.
Timing
Install cutworm collars in Hardiness Zones 3-6 exactly at the average last spring frost date. Soil temperature reaches the critical 50°F threshold when Agrotis larvae become active. In Zones 7-9, begin installation 3-4 weeks before the last frost as soil warms earlier and cutworm generations overlap.
The first generation of larvae emerges when forsythia blooms reach 50% coverage. This phenological indicator signals that degree days have accumulated to 200-250 base 50°F. Second generation pressure peaks 35-40 days later when soil temperature stabilizes between 60-70°F. Fall crops in Zones 5-7 require collar installation 6 weeks before first frost as autumn cutworm populations surge during the final reproductive cycle.
Phases

Sowing Phase: Direct-seeded crops like beans and corn show vulnerability during cotyledon emergence. Press collars 1 inch into soil immediately after seeding, centering them over the planting hole. The collar diameter should measure 3 inches to accommodate seedling expansion without restricting airflow. Leave 2 inches of collar height above soil surface.
Pro-Tip: Dust the interior collar surface with Steinernema carpocapsae nematodes suspended in kaolin clay at a concentration of 50,000 nematodes per collar. The nematodes parasitize cutworm larvae that attempt to breach the barrier while the clay creates a tactile deterrent.
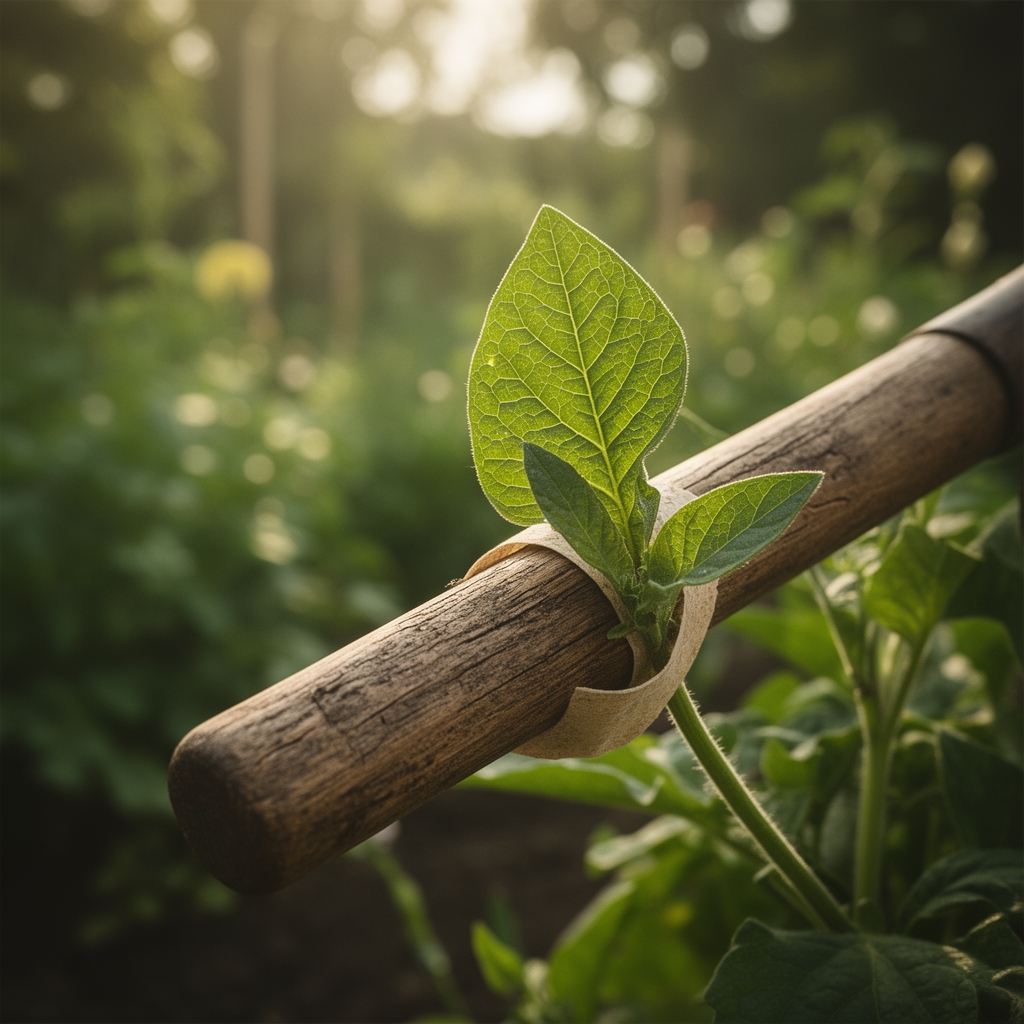
Transplanting Phase: Seedlings moving from indoor germination to outdoor beds face maximum cutworm risk. Slide the collar over the root ball before setting the transplant into the prepared hole. Position the collar so 1.5 inches extends below finished soil grade and 1.5 inches projects above. Firm soil around both the root ball and the exterior collar wall to eliminate gaps.
Pro-Tip: Apply 2 tablespoons of mycorrhizal fungi inoculum directly to the root zone during transplanting. Rhizophagus irregularis colonizes roots within 72 hours and enhances auxin distribution, accelerating recovery from transplant shock by 40%.
Establishing Phase: Monitor collars daily for the first 14 days as plants initiate secondary root growth. Check for soil settling that creates gaps at the collar base. Cutworm larvae exploit openings as narrow as 3 millimeters. Add soil to maintain the barrier seal.
Pro-Tip: Side-dress with a 5-10-10 fertilizer blend positioned 4 inches from the collar perimeter at day 10. This placement encourages lateral root expansion beyond the protected zone while maintaining the physical barrier during peak vulnerability.
Troubleshooting
Symptom: Seedlings wilt despite intact collars. Roots show brown, water-soaked lesions at soil line.
Solution: Damping-off fungi (Pythium spp.) exploit the humid microclimate inside collars. Reduce collar diameter by 0.5 inches to improve air circulation. Apply Trichoderma harzianum at 1×10^6 CFU per plant to suppress fungal pathogens.
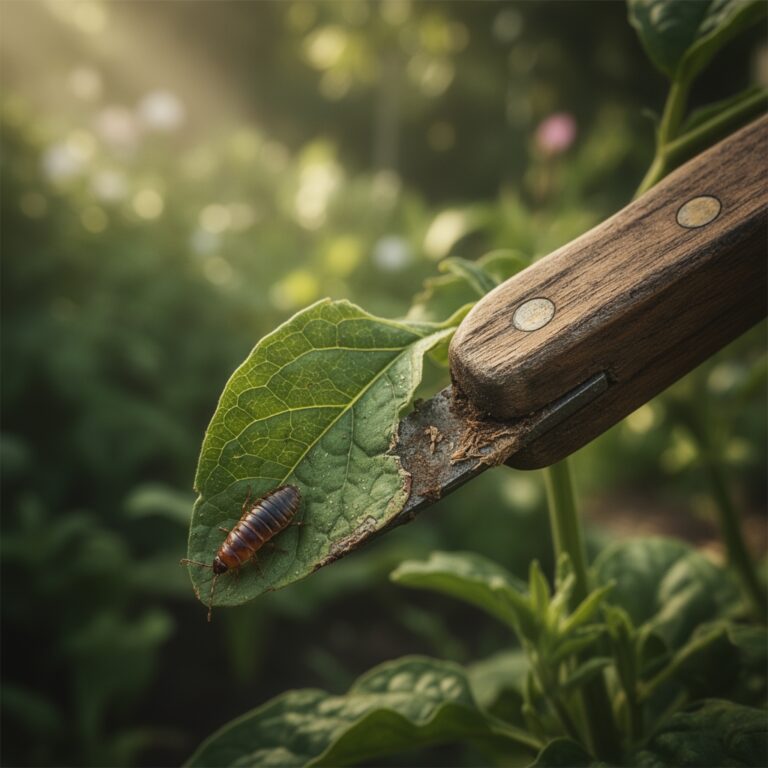
Symptom: Cutworm larvae found inside collar boundaries.
Solution: Larvae were present before installation. Remove collars, hand-pick larvae at dusk using a headlamp, then reinstall with fresh Bacillus thuringiensis var. kurstaki dust applied to interior surfaces at 0.5 grams per collar.
Symptom: Collars tip over in loose, sandy soil.
Solution: Sandy soils below 8% clay content lack structural stability. Increase insertion depth to 2 inches and pack soil around the exterior with 10% compost by volume to boost cohesion.
Symptom: Plants show purple leaf margins and stunted growth inside collars.
Solution: Phosphorus deficiency from restricted root exploration. Foliar feed with fish emulsion at 5-1-1 diluted to 2 tablespoons per gallon every 5 days until roots extend beyond collar boundaries.
Maintenance
Water transplants with 0.5 inches immediately after collar installation to settle soil and eliminate air pockets. Provide 1 inch of water per week for the first 3 weeks, delivered in two 0.5-inch applications spaced 3-4 days apart. Avoid overhead irrigation that saturates collar material and promotes decomposition.
Remove collars when stems reach 0.5 inches diameter, typically 4-6 weeks post-installation. The lignified stem tissue resists cutworm mandibles at this development stage. Compost cardboard and paper collars. Sanitize plastic collars in a 10% bleach solution for 10 minutes, then store dry for next season's use.
Apply 2 inches of aged compost as mulch around established plants, maintaining a 2-inch clearance from stems. The mulch moderates soil temperature fluctuations that trigger secondary cutworm activity during mid-summer heat stress.
FAQ
What collar height works best for tomatoes?
Three inches total height with 1.5 inches below and above soil grade. Tomato stems thicken rapidly and contact shorter collars, creating abrasion wounds vulnerable to bacterial canker.
Can collars be reused across seasons?
Plastic and metal collars withstand multiple seasons. Sterilize with hydrogen peroxide at 3% concentration. Organic materials decompose and should be composted after one season.
Do collars affect beneficial insects?
Ground beetles (Carabidae) hunt cutworms nocturnally. Collars do not impede beetle access. Maintain 3-inch spacing between collars to preserve beetle corridors through the garden.
When can collars be removed from peppers?
Remove when stem diameter reaches 0.4 inches and secondary branching begins, typically 35-42 days after transplanting in Zones 6-8. Earlier removal in Zone 9 at 28-32 days aligns with faster growth rates.
Do collars prevent wireworm damage?
No. Wireworms (Elateridae larvae) feed on roots 2-6 inches below soil surface. Collars only protect the stem crown from surface-dwelling cutworm larvae.